 N O T I C E
MSPbots WIKI is moving to a new home at support.mspbots.ai![]() to give you the best experience in browsing our Knowledge Base resources and addressing your concerns. Click here
to give you the best experience in browsing our Knowledge Base resources and addressing your concerns. Click here![]() for more info!
for more info!
N O T I C E
MSPbots WIKI is moving to a new home at support.mspbots.ai![]() to give you the best experience in browsing our Knowledge Base resources and addressing your concerns. Click here
to give you the best experience in browsing our Knowledge Base resources and addressing your concerns. Click here![]() for more info!
for more info!
What's in this article:
Introduction
This article primarily guides admins on how to customize the bot message returned by TeamsCommand nt bot when a user types the nt command in Teams or Slack.
Required Permissions
This operation guide is applicable to users with an admin role.
Prerequisites
- Currently, using the nt command can obtain information about NextTicket for Autotask, NextTicket for ConnectWise Manage, NextTicket for Kaseya BMS, NextTicket for Syncro, or NextTicket for Halo apps.
- Successfully connected Teams integration or Slack integration to MSPbots.
How to Edit the Message of the TeamsCommand nt Bot
- Go to Bots on the MPSbots app menu and search for “teamscommand nt”.

- Click the TeamsCommand nt bot.
- When the TeamsCommand nt window opens, click Design.

- Configure the following two fields. Once you have made your selection, click Next on the Message Command window.
Message Tool - Select Teams or Slack, the selected app is when you send the nt command in this application and receive the next ticket information sent by the TeamsCommand nt bot.
- Command - Specify the command you want to send to trigger the bot. In most cases, keeping the default nt is recommended, but custom commands are also supported.
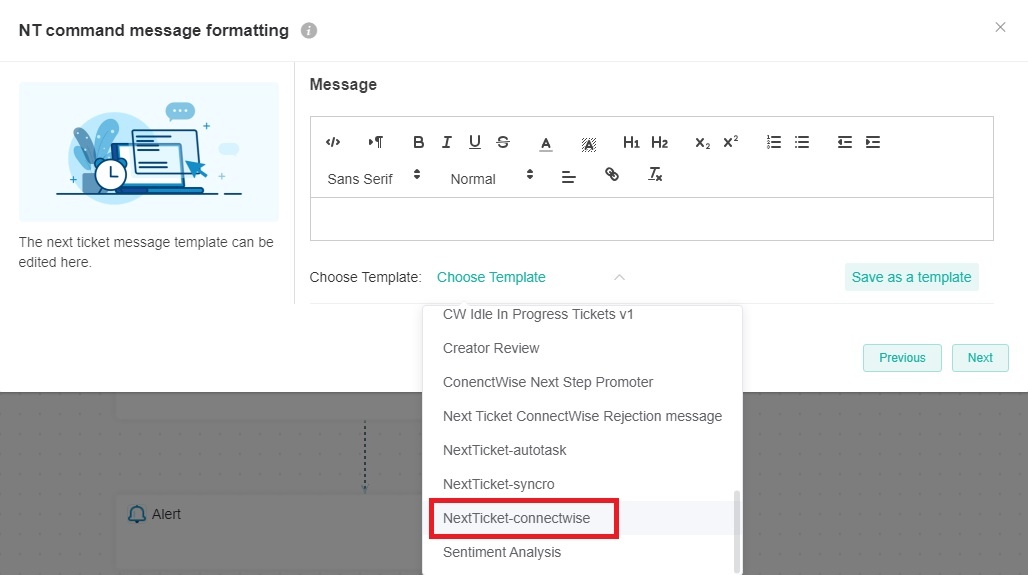
- The NT command message formatting window should now open. Click on the Choose Template link and select a template. If you are using ConnectWise, select NextTicket-connectwise template.
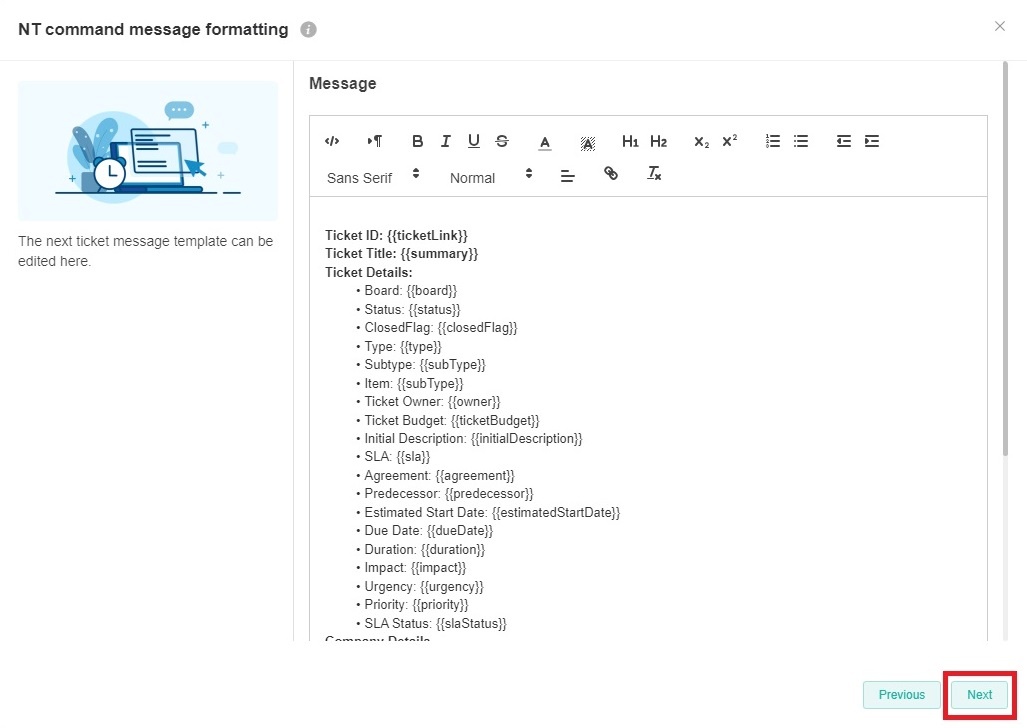
- Go through the message template that appears and delete the fields to be removed from the bot message. Click Next when done.
- Then click Finish.

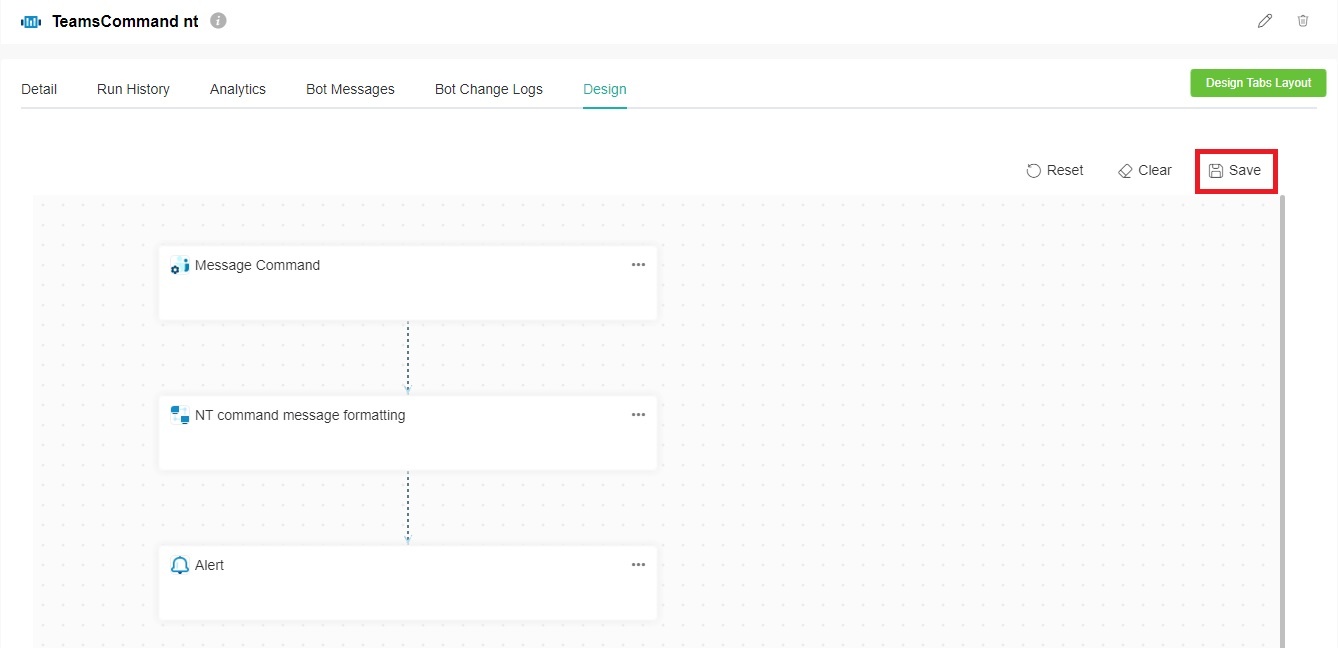
- Lastly, click Save on the TeamsCommand nt tab.
- Testing in Teams' MSPbots or testing in the Slack workspace connected to MSPbots.
- Not selecting a template in Step 5 will include all fields in the message.
- You do not have to use the Save as a template button unless you want to have a template that's ready for future use.
- You can only delete or restore deleted fields; you cannot add new fields.
Related Topic
Overview
Content Tools
N O T I C E
MSPbots WIKI is moving to a new home at support.mspbots.ai![]() to give you the best experience in browsing our Knowledge Base resources and addressing your concerns. Click here
to give you the best experience in browsing our Knowledge Base resources and addressing your concerns. Click here![]() for more info!
for more info!