 N O T I C E
MSPbots WIKI is moving to a new home at support.mspbots.ai![]() to give you the best experience in browsing our Knowledge Base resources and addressing your concerns. Click here
to give you the best experience in browsing our Knowledge Base resources and addressing your concerns. Click here![]() for more info!
for more info!
 N O T I C E
MSPbots WIKI is moving to a new home at support.mspbots.ai![]() to give you the best experience in browsing our Knowledge Base resources and addressing your concerns. Click here
to give you the best experience in browsing our Knowledge Base resources and addressing your concerns. Click here![]() for more info!
for more info!
The Advanced Rule function of the NextTicket Manager allows you to create custom rules when the pre-set priority rules do not meet your business requirements. This feature is useful when you want to add a new priority rule and would like to create it on your own.
This guide applies to NextTicket for ConnectWise Manage, NextTicket for Halo and NextTicket for Autotask only.
To add an advanced rule
- Go to Priority Rules by clicking the priority rules link on the NextTicket screen.
- Click the Advanced Rule button to open the Advanced Rule pop-up window.
- Fill in the following fields for adding an advanced rule:
- Rule Name - Enter a unique rule name.
- Rule Description - Enter a description for the rule. (Optional)
- Rule - Create conditions for the advanced rule. Add more groups or conditions if you need to. You can also do the following actions in this section:
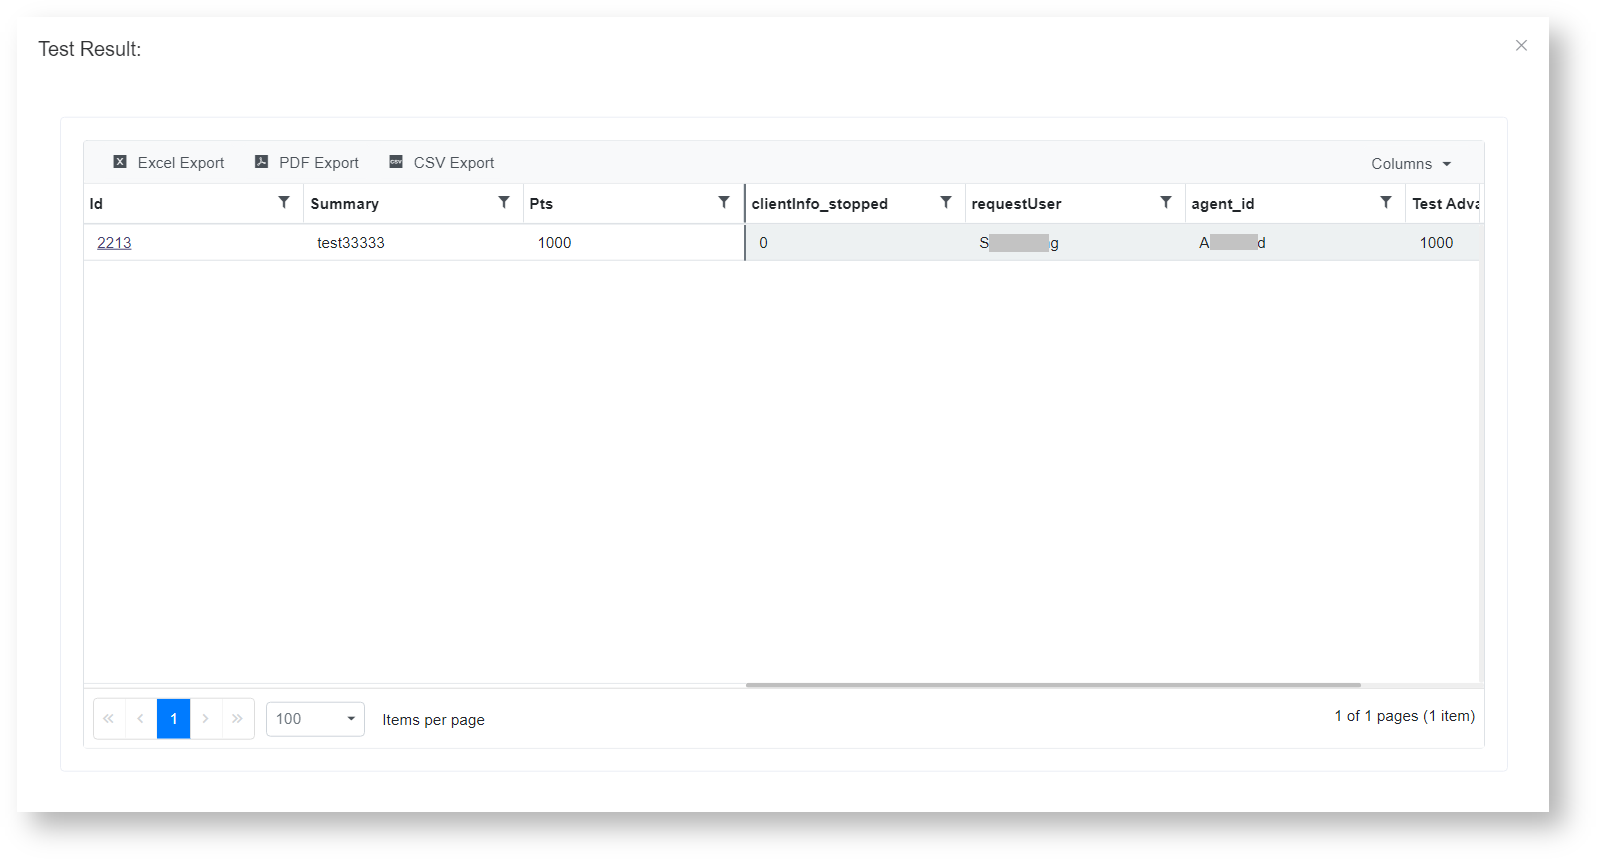
- Click theicon to save the priority rule and test the values of the rule. Below is an example of the Test Result window.
- Click the icon to delete the rule.
- Click theicon to save the priority rule and test the values of the rule. Below is an example of the Test Result window.
- Add positive points to increase prioritization.
- Click Save to keep the settings.
If using this feature does not meet your new rule requirement, file a new feature request or email support@mspbots.ai for assistance.
Related Topics


