 N O T I C E
MSPbots WIKI is moving to a new home at support.mspbots.ai![]() to give you the best experience in browsing our Knowledge Base resources and addressing your concerns. Click here
to give you the best experience in browsing our Knowledge Base resources and addressing your concerns. Click here![]() for more info!
for more info!
N O T I C E
MSPbots WIKI is moving to a new home at support.mspbots.ai![]() to give you the best experience in browsing our Knowledge Base resources and addressing your concerns. Click here
to give you the best experience in browsing our Knowledge Base resources and addressing your concerns. Click here![]() for more info!
for more info!
The Role Management section in the MSPbots app is where admins can create the roles that can access MSPbots assets. Here, you can assign and limit the scope of access for each role and delete or edit existing ones.
What's in this article:
How to create a role in Role Management
- Open the MSPbots app and go to Settings > Role Management.
- On the Role Management screen, click the Add button to add a role.

- In the Add window, provide the following:
- Name - Enter a unique role name.
- Remarks - Remarks to describe the role.
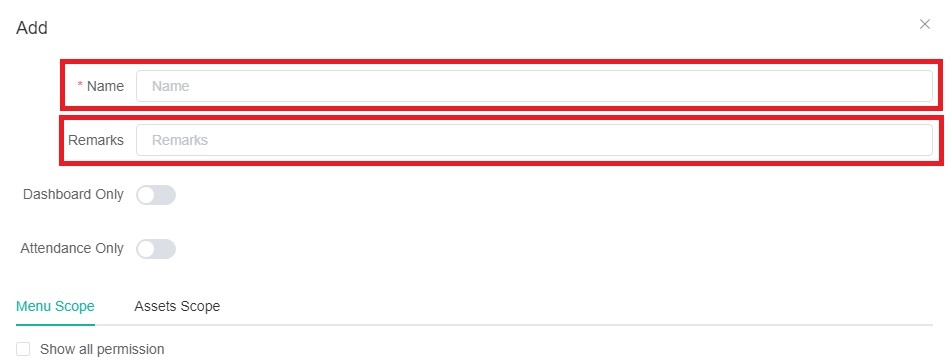
- Attendance Only - You can create default Attendance Only roles with different asset scopes for the Attendance Only menu scope by toggling the switch.
- When you turn on the "Attendance Only" switch, the will automatically be filled in as "Attendance Only" and cannot be modified.
- Assets related to attendance will be automatically added in the . You only need to adjust the asset scope based on your actual needs. By assigning different asset scopes to every "Attendance Only" role, you can precisely control the assets that each user can access based on their needs and permission levels. This ensures that each user can only view and handle attendance assets related to their work.
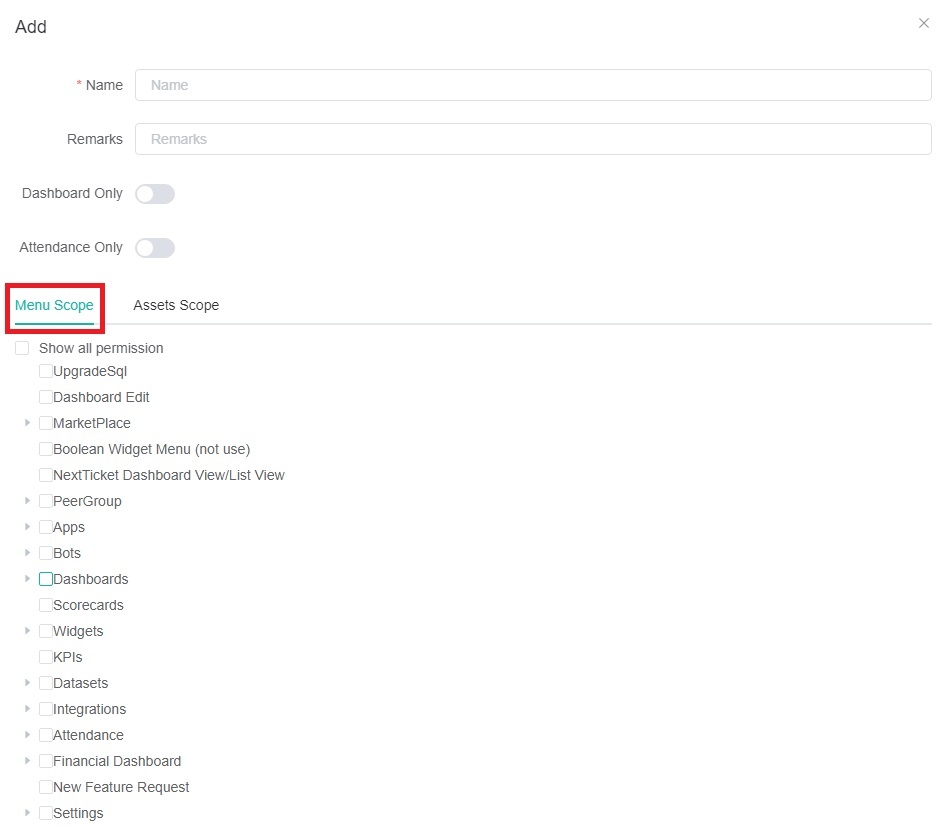
- Next in the Add window, click Menu Scope and select the sections in the MSPbots app that the role can access.
- Next, click Assets Scope and select the assets that will be accessible to the role.
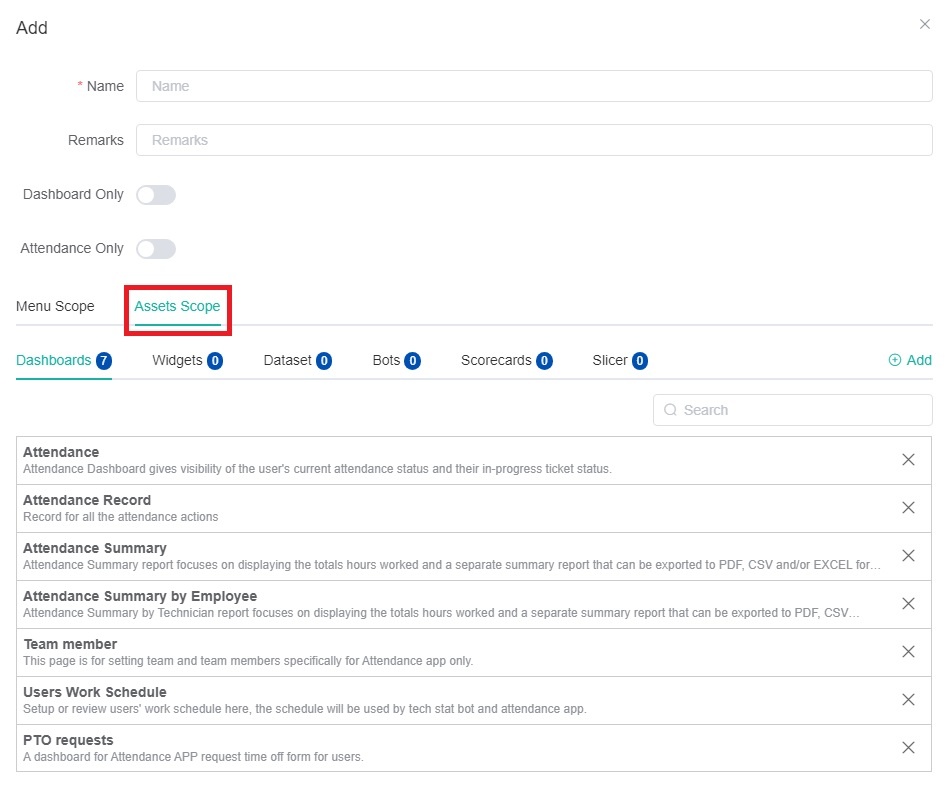
For example, select Widgets to add it to the assets that will be available for the role. To add more assets to the widgets list,- Click
 . This will open the Assets Permission window.
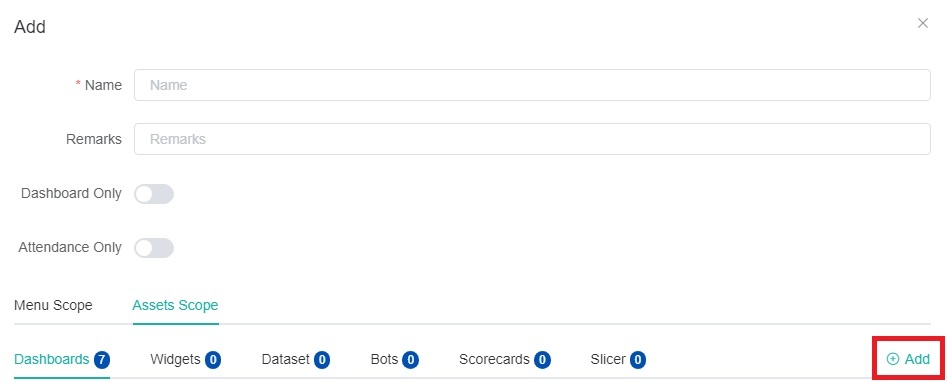
- In the Assets Permission window, select the additional assets that the role can access.

- Click Add Selected.

Repeat to add more items to other assets like Datasets and Scorecards.- You can add assets including all custom and template assets of the tenant.
- Adding a dashboard automatically adds all of the widgets and datasets included in the board. You do not need to set up these widgets or datasets again, and you will be able to access them directly.
- Adding a widget automatically adds the datasets included in it. You do not need to set the datasets again, and you will also be able to access them directly.
- Click
- Click the Confirm button to save the changes.

What other actions are available in Role Management?
You can also edit, delete, or view roles in the Role Management section of the MSPbots app. Search for a role in the search bar and click Edit, Delete, or View under the Action column. 
Role Types in Role Management
There are two role types in Role Management, which are Tenant-level and Platform-level roles.
- Tenant-level roles are those that allow viewing, editing, and deletion.

- Platform-level roles only allow viewing operations, such as the admin role.

How to give accounts access to your data
- On the Role Management screen, click the toggle switch for Grant Access located on the upper right corner of the screen.

The Grant Access switch is disabled by default. Keeping it disabled will allow MSPbots to access your account without restrictions.
- Click the Grant Access switch. This will open the Grant Access pop-up window.
- Select an option from the I want to give dropdown list.
- All MSPbots - Select this if you want to give access to all accounts of MSPbots.
- Single Users - Select this if you want to give access to one or multiple accounts.

- Set a limit to the user's access by selecting an access duration from the access of my data for next dropdown list.
- Select a number from 3, 5, 7, 10, 20, 30, 90.
- Select Days or Hours.
- Select an option from the I want to give dropdown list.
- Click Grant to apply your settings.
Related Topics:
Overview
Content Tools
N O T I C E
MSPbots WIKI is moving to a new home at support.mspbots.ai![]() to give you the best experience in browsing our Knowledge Base resources and addressing your concerns. Click here
to give you the best experience in browsing our Knowledge Base resources and addressing your concerns. Click here![]() for more info!
for more info!