 N O T I C E
MSPbots WIKI is moving to a new home at support.mspbots.ai![]() to give you the best experience in browsing our Knowledge Base resources and addressing your concerns. Click here
to give you the best experience in browsing our Knowledge Base resources and addressing your concerns. Click here![]() for more info!
for more info!
N O T I C E
MSPbots WIKI is moving to a new home at support.mspbots.ai![]() to give you the best experience in browsing our Knowledge Base resources and addressing your concerns. Click here
to give you the best experience in browsing our Knowledge Base resources and addressing your concerns. Click here![]() for more info!
for more info!
Do the following steps to establish your Halo connection to MSPbots.
What's in this article:
Secure the required information for your Halo account.
Get the following information:
- Auth URL
- Resource URL
- Tenant
- Client ID
- Client Secret
Refer to the HaloPSA Guides for the instructions on setting up the API permission.
Enter the required information in the MSPbots app.
- Log in to the MSPbots app and navigate to Integrations on the menu.
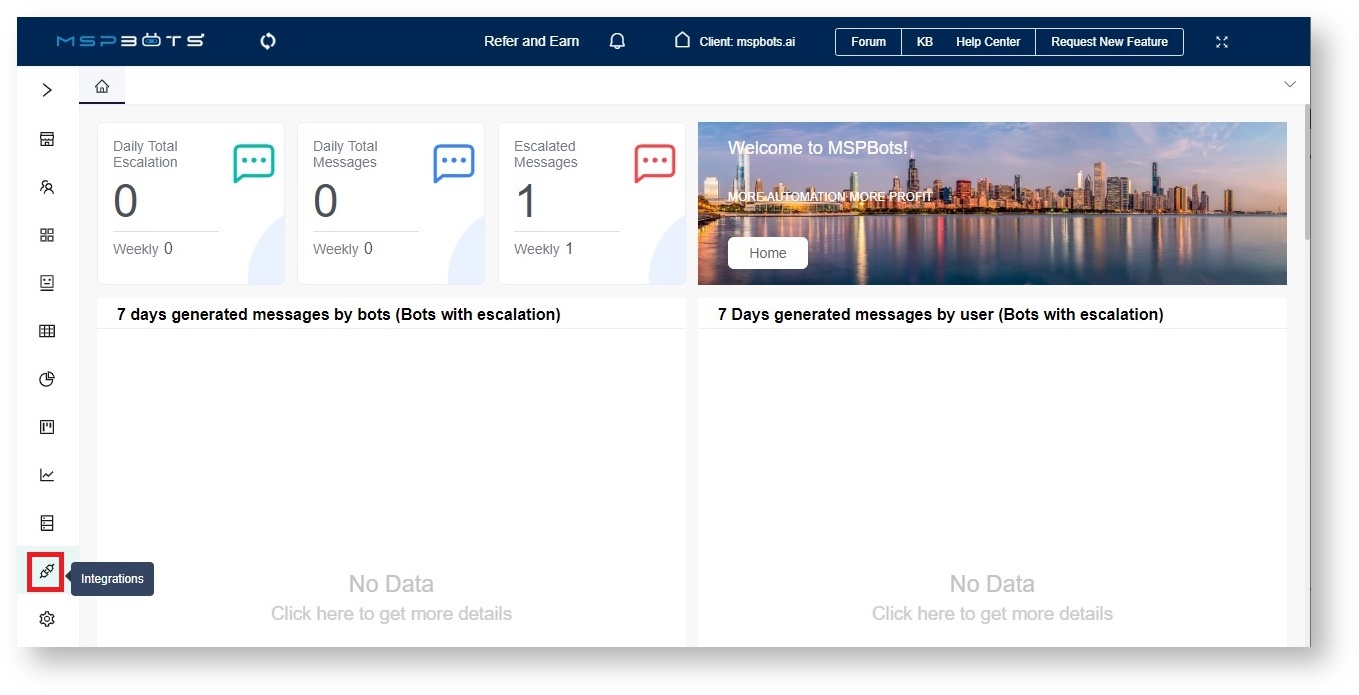
Search for Halo PSA and click it to open the connection settings.
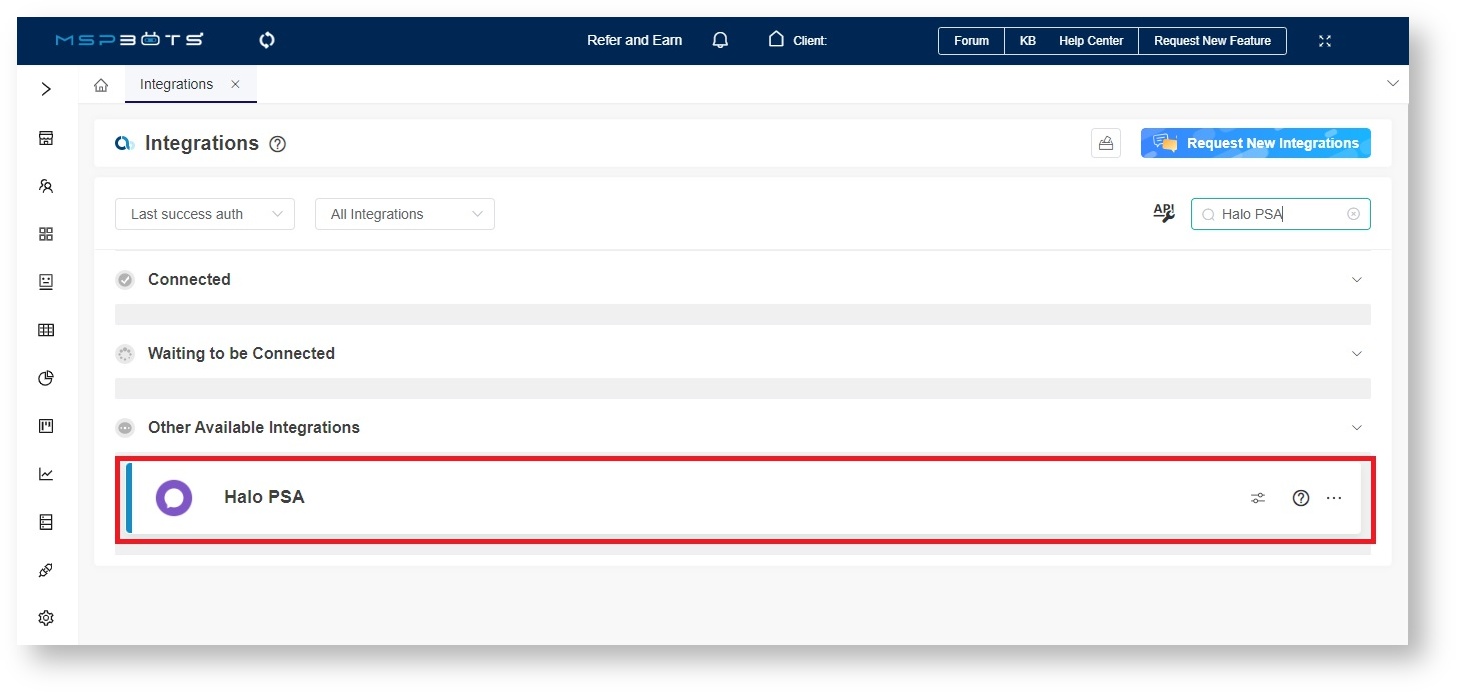
When the Halo PSA configuration settings appear, fill in all of the following required fields:
Auth URL
Resource URL
Tenant
Client ID
Client Secret
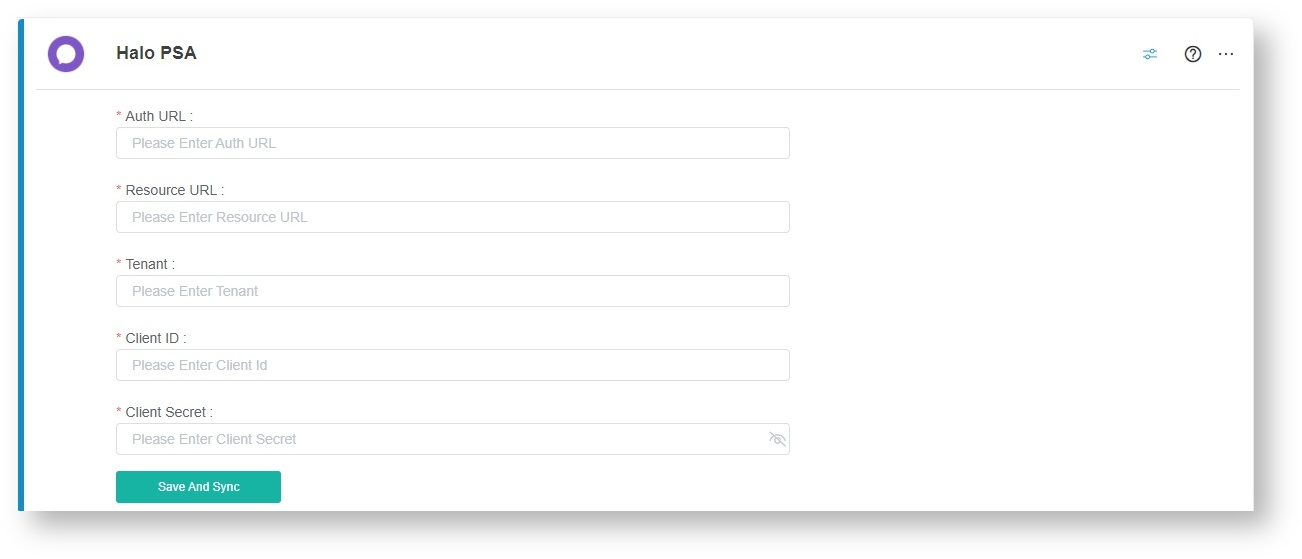
- Click Save And Sync when done.
- You will know that Halo PSA's connection is successful when the webhook callback URL field appears on the configuration box. Copy the the value of webhook callback URL to your desktop.

- Log in to the MSPbots app and navigate to Integrations on the menu.
Configure Halo Webhooks.
Please configure the Halo Webhooks according to the following steps. If you fail to configure the Webhook correctly, it may affect the normal data synchronization and trigger the rate limit of Halo (450 requests within 5 minutes). Configuring Webhook requests ensures that the system does not initiate duplicate synchronizations, thereby reducing the possibility of triggering the rate limit.
- When the field for webhook callback URL is visible, log in to the Halo PSA app.
Navigate to Configuration > Integrations > Webhooks.

Next, click New.
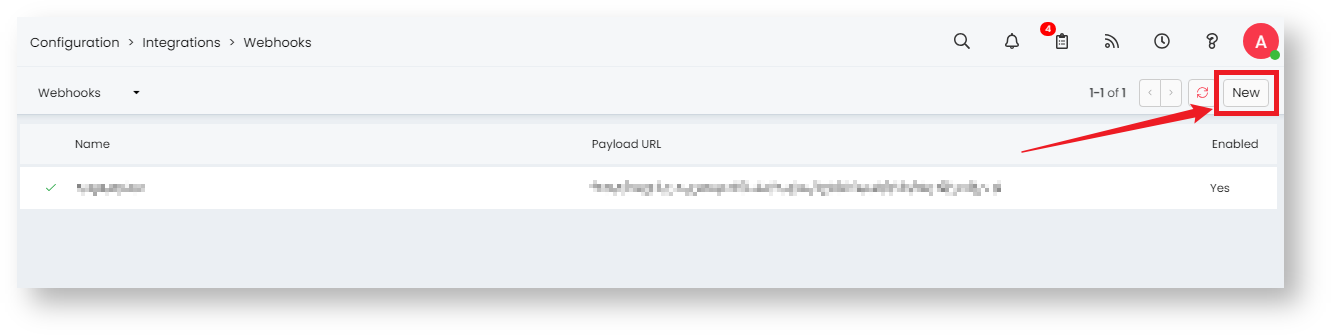
Fill in the fields for Webhook Name and Payload URL. You can leave the other fields with their default values.
Webhook Name - Enter a unique webhook name.
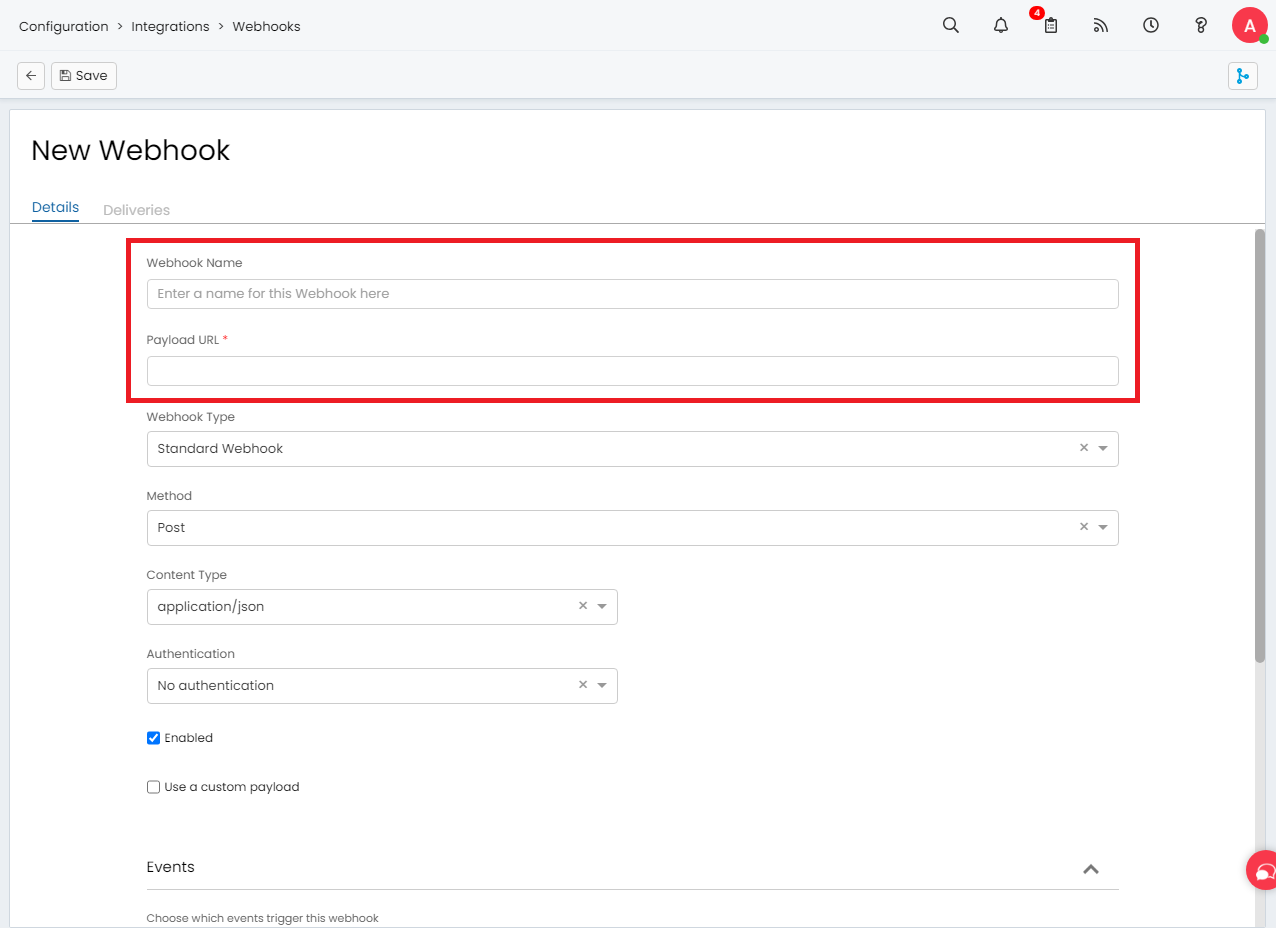
Payload URL - Enter the webhook callback URL from step 2.e in this field.
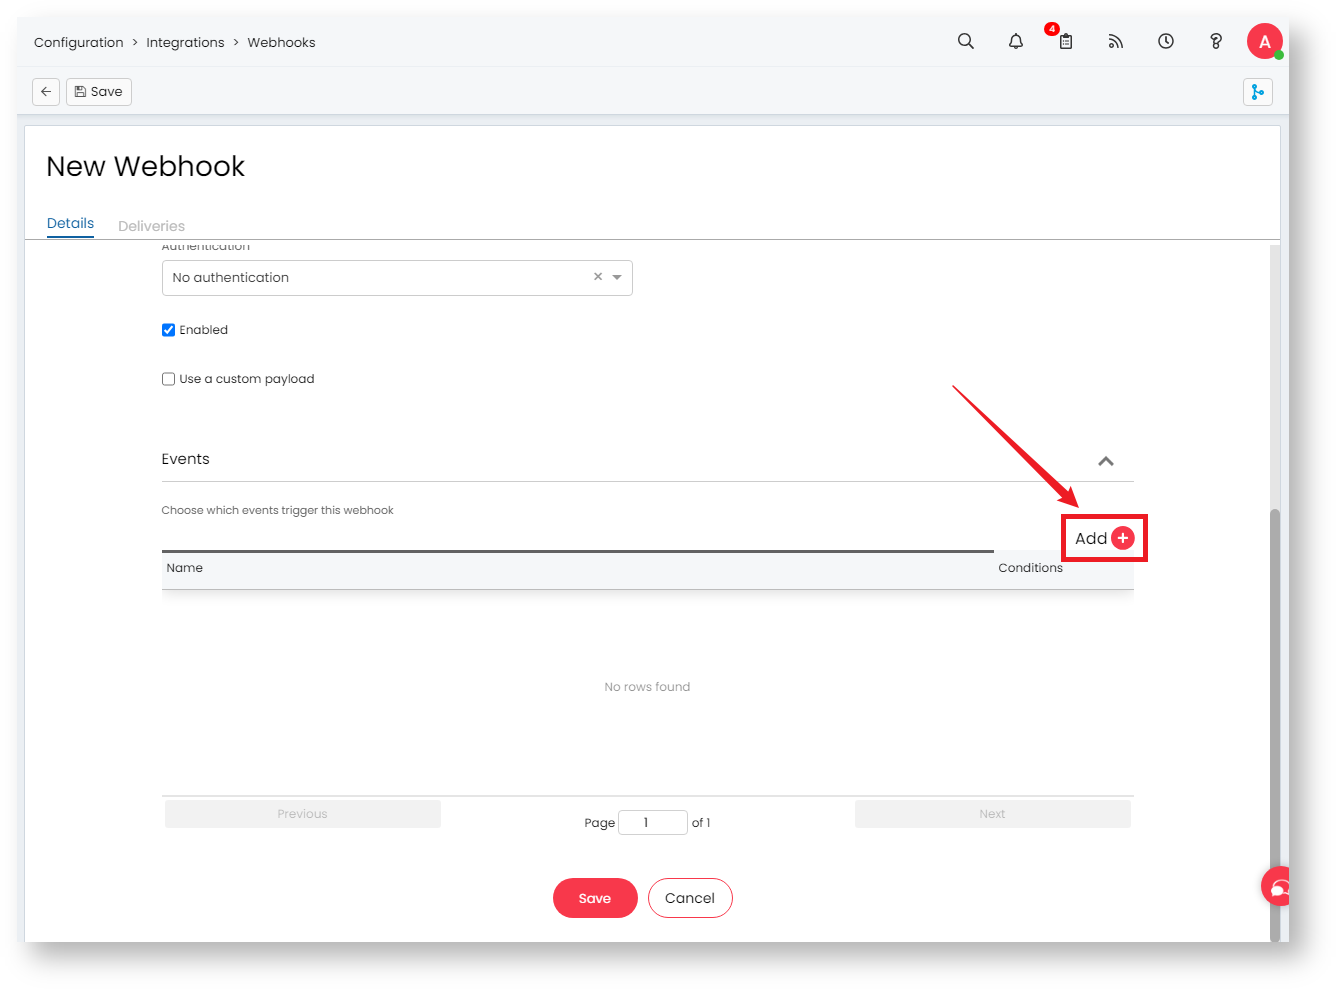
Next, click the Add button to add a new event.
On the New Event screen, select Ticket Changed from the Event dropdown menu.
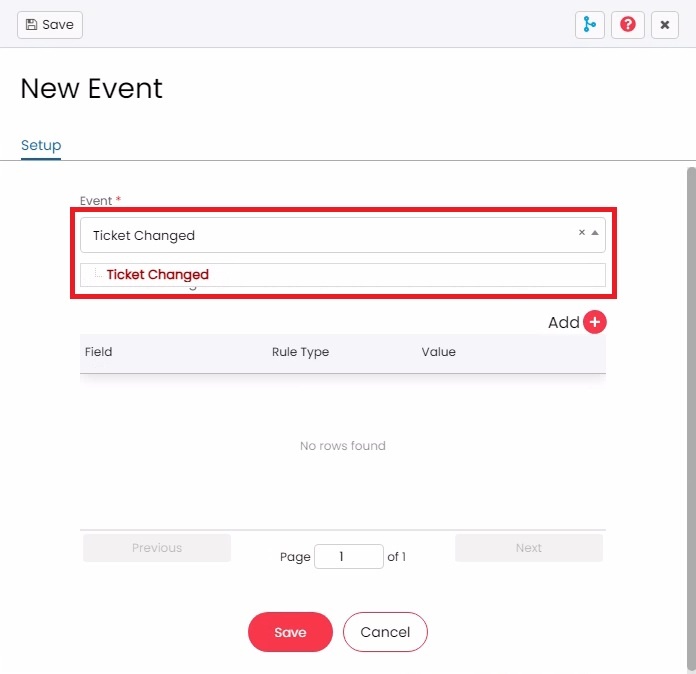
Click Save on the New Event screen.

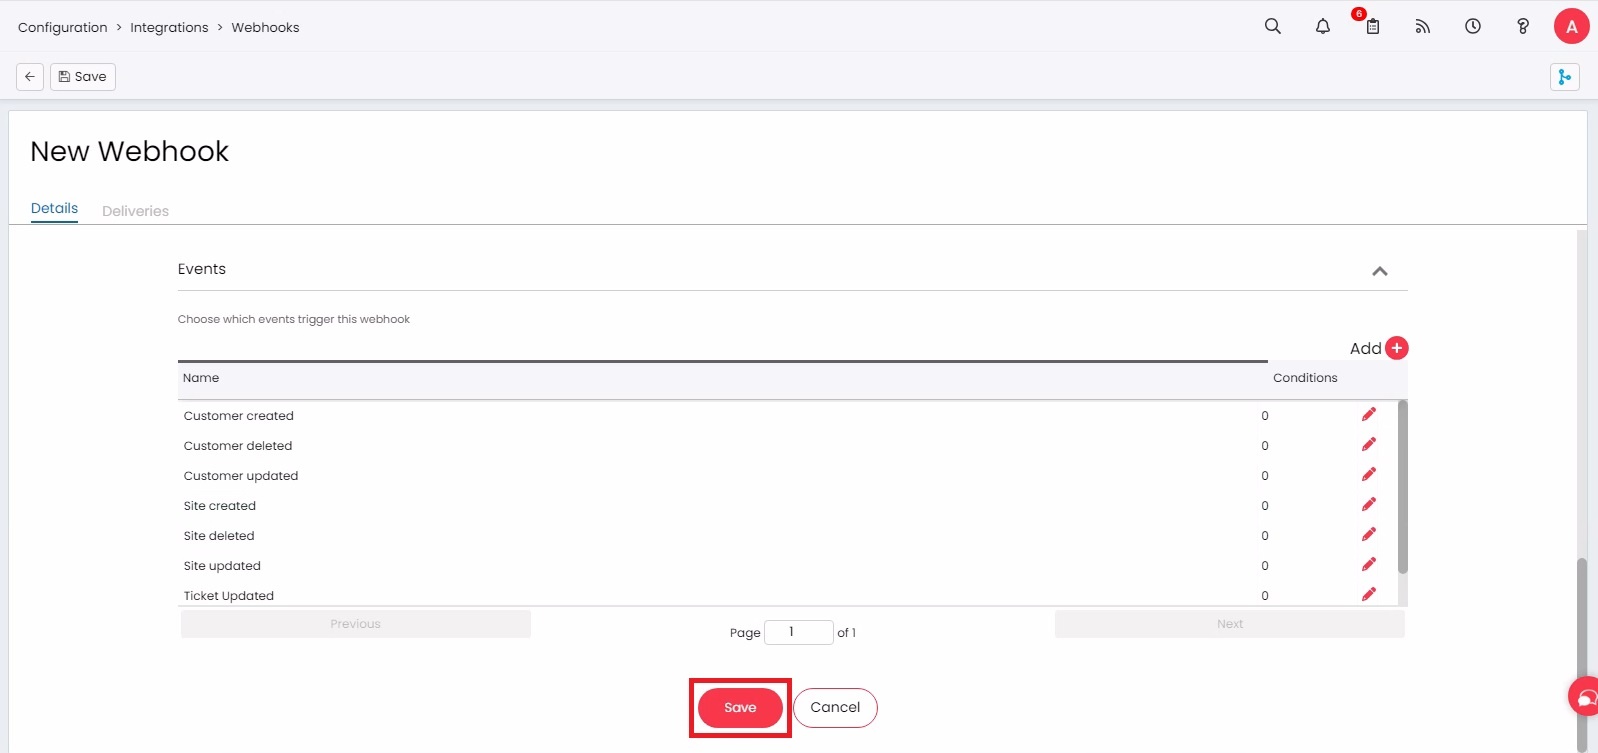
- Repeat steps 3.e, 3.f and 3.g until all the following events are added.
- Ticket Changed
- New Ticket Logged
- Site created
- Site updated
- Site deleted
- User created
- User updated
- User deleted
- Invoice created
- Invoice updated
- Invoice deleted
Then click Save on the New Webhook screen to keep the configuration.
Overview
Content Tools
N O T I C E
MSPbots WIKI is moving to a new home at support.mspbots.ai![]() to give you the best experience in browsing our Knowledge Base resources and addressing your concerns. Click here
to give you the best experience in browsing our Knowledge Base resources and addressing your concerns. Click here![]() for more info!
for more info!