 N O T I C E
MSPbots WIKI is moving to a new home at support.mspbots.ai![]() to give you the best experience in browsing our Knowledge Base resources and addressing your concerns. Click here
to give you the best experience in browsing our Knowledge Base resources and addressing your concerns. Click here![]() for more info!
for more info!
N O T I C E
MSPbots WIKI is moving to a new home at support.mspbots.ai![]() to give you the best experience in browsing our Knowledge Base resources and addressing your concerns. Click here
to give you the best experience in browsing our Knowledge Base resources and addressing your concerns. Click here![]() for more info!
for more info!
This article introduces how to configure the Advanced Rule function of NextTicket Manager, including operations such as adding rules and cloning conditions.
What's on this page:
Background Information
The Advanced Rule feature enables the creation of custom rules when the pre-set priority rules do not meet business requirements. Use this feature when want to create and add a new priority rule on your own.
Prerequisites
This feature is available to NextTicket Manager for integrations with ConnectWise Manage, Autotask, or Halo integration. Only users with the admin role can create advanced rules.
How to Add an Advanced Rule
- Go to Priority Rules by clicking the priority rules link on the NextTicket screen.
- Click the Advanced Rule button to open the Advanced Rule pop-up window.

- Fill in the following fields for adding an advanced rule:
- You can use the toggle in front of the rule to enable or disable the added advanced rules.
- Rule Name - Enter a unique rule name.
- Rule Description - Enter a description for the rule. (Optional)
- Rule - Create conditions for the advanced rule. Add more groups or conditions if you need to.
Condition fields for Advanced Rules in NextTicket Manager for ConnectWise Manage app:
When configuring advanced rules, you can select Company Type as a condition. Using the Company Type condition allows you to adjust ticket prioritization by adding or subtracting corresponding points to tickets based on different company types.

- To provide you with greater flexibility when configuring advanced rules, you can also select pre-configured custom fields in the ConnectWise app's User-Defined Fields (UDFs) feature. Any changes you make to these custom fields in the ConnectWise app's company custom fields feature will be synchronized in real-time to MSPbots every hour and automatically reflected in the condition field list of the advanced rules.

- Condition fields for Advanced Rules in NextTicket Manager for AutoTask app:
- To meet your various personalized needs when configuring advanced rules, you can select pre-configured custom fields in the AutoTask app's User-Defined Fields (UDFs) feature. For example, custom fields from the contact modules. Any additions or deletions you make to custom fields in the AutoTask UDF feature will be synchronized in real-time to MSPbots every 5 hours and automatically reflected in the condition field list of the advanced rules.

- To meet your various personalized needs when configuring advanced rules, you can select pre-configured custom fields in the AutoTask app's User-Defined Fields (UDFs) feature. For example, custom fields from the contact modules. Any additions or deletions you make to custom fields in the AutoTask UDF feature will be synchronized in real-time to MSPbots every 5 hours and automatically reflected in the condition field list of the advanced rules.
- You can also do the following actions in this section:
If you want to duplicate a specific condition within this advanced rule, click the Clone
 button. This will copy the condition and its associated score, placing it as a new condition under the existing rule. You can then modify the value and score of this new condition as needed. This simplifies the process of setting up similar conditions.
If you want to add an empty condition, click the Add
 icon and then configure the condition as needed.
- Click the Delete
 icon to delete the condition.
- The Advanced Rule feature supports positive and negative points.

- If you want to ensure prompt handling of tickets that meet advanced priority rules, you can activate the For every switch that allows you to assign points based on time intervals. This helps improve the efficiency of ticket processing and prevents tickets from aging without being handled due to attribute reasons. You can configure the conditions for scoring based on time intervals to ensure that tickets are prioritized appropriately.

- For tickets that meet the advanced rule, points will be added starting from the following date conditions, and incrementally based on each Minute, Hour, Day, or Business Day, to elevate their priority.
- NextTicket for ConnectWise Manage
- required_date - The date when the ticket is required
- estimated_start_date - The estimated start date for the ticket
- last_updated - The date when the ticket was last updated
- date_entered - The date when the ticket was entered
- NextTicket for Autotask
- completedDate - The date when the ticket was completed
- createDate - The date when the ticket was created
- dueDateTime - The deadline for the ticket
- firstResponseDateTime - The date and time of the first response to the ticket
- firstResponseDueDateTime - The deadline for the first response to the ticket
- lastActivityDate - The date of the last activity on the ticket
- lastCustomerNotificationDateTime - The date and time of the last notification sent to the customer
- lastCustomerVisibleActivityDateTime - The date and time of the last customer-visible activity
- lastTrackedModificationDateTime - The date and time of the last tracked modification
- resolutionPlanDateTime - The date and time of the resolution plan was created
- resolutionPlanDueDateTime - The deadline for the resolution plan
- resolvedDateTime - The date and time when the ticket was resolved
- resolvedDueDateTime - The deadline for resolving the ticket
- NextTicket for Halo
date_assigned - The date when the ticket was assigned
date_occurred - The date when the ticket occurred
deadline_date - The deadline date for the ticket.
fix_by_date - The date when the ticket is fixed.
last_action_date - The date of the last action on the ticket.
last_incoming_email - The date of the last incoming email related to the ticket.
respondby_date - The date when the ticket was responded to
start_date - The date when the ticket starts
target_date - The target date for the ticket
The condition defaults to closed, with the unit as Day, and the since parameter is blank.
- NextTicket for ConnectWise Manage
- For tickets that meet the advanced rule, points will be added starting from the following date conditions, and incrementally based on each Minute, Hour, Day, or Business Day, to elevate their priority.
- Click Save to keep the settings.
How to Configure an Existing Advanced Rule
Follow this guide if you want to configure an existing advanced rule:
- Click the Edit
 icon to change the name and description of the rule.
- Click
 icon to save the priority rule and test the values of the rule. Below is an example of the Test Result window.
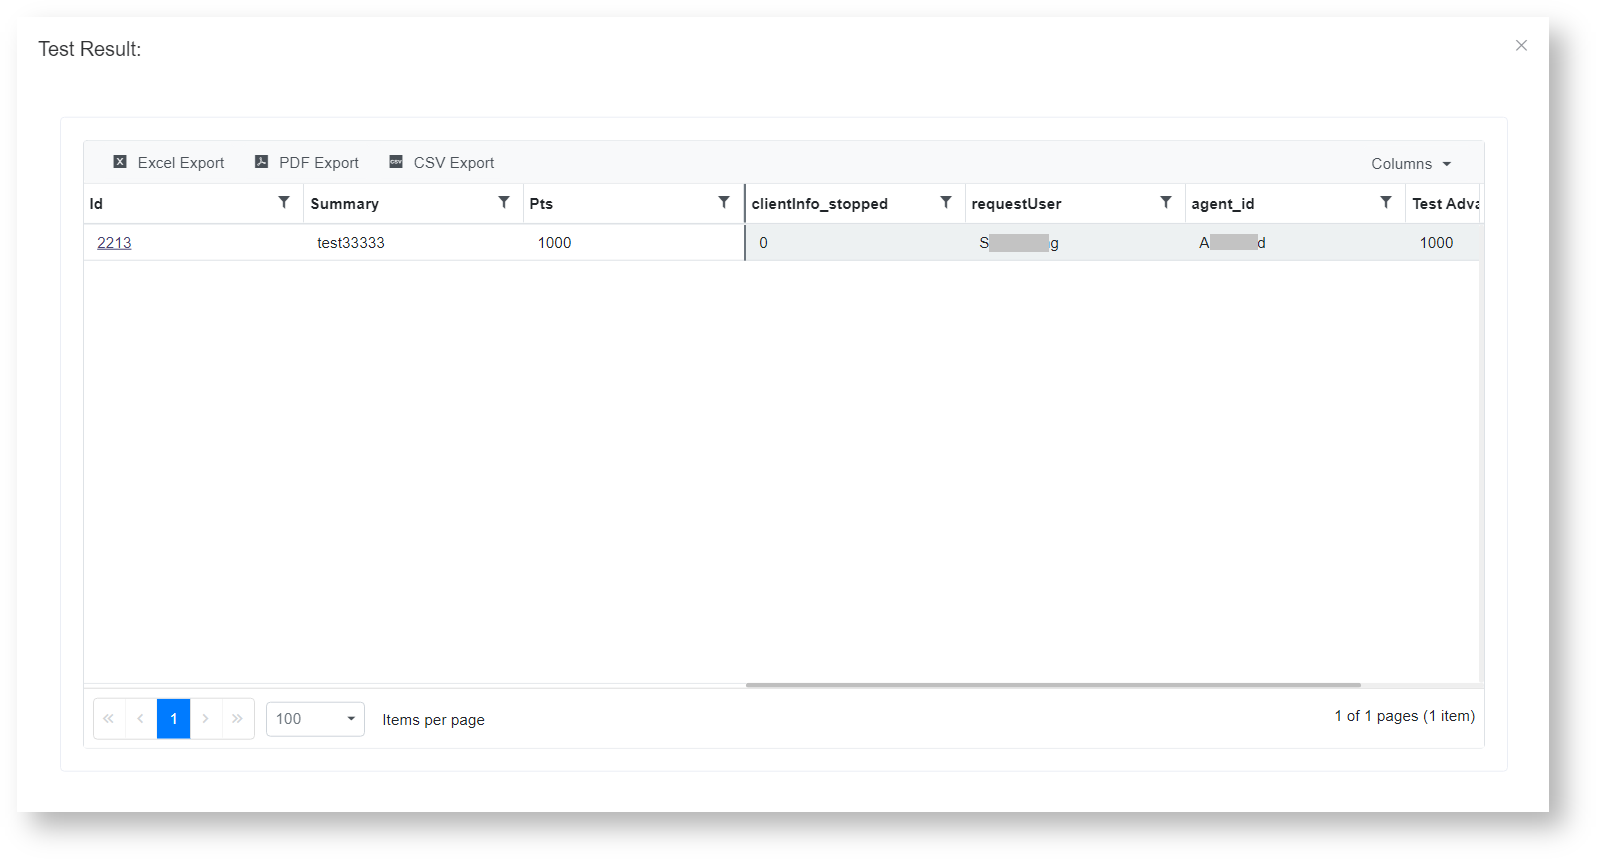
- If you want to delete the advanced rule, click the Delete
 icon.
icon. - Don't forget to click the Save
 icon to save your configuration.
If using this feature does not meet your new rule requirement, file a new feature request or email support@mspbots.ai for assistance.
Related Topics
Overview
Content Tools
N O T I C E
MSPbots WIKI is moving to a new home at support.mspbots.ai![]() to give you the best experience in browsing our Knowledge Base resources and addressing your concerns. Click here
to give you the best experience in browsing our Knowledge Base resources and addressing your concerns. Click here![]() for more info!
for more info!