 N O T I C E
MSPbots WIKI is moving to a new home at support.mspbots.ai![]() to give you the best experience in browsing our Knowledge Base resources and addressing your concerns. Click here
to give you the best experience in browsing our Knowledge Base resources and addressing your concerns. Click here![]() for more info!
for more info!
Page History
...
- Log in to the MSPbots app using your Office 365 account and go to Bots.
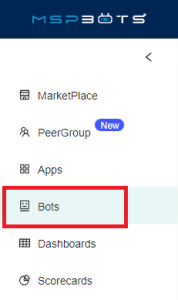
- Click New Bot.
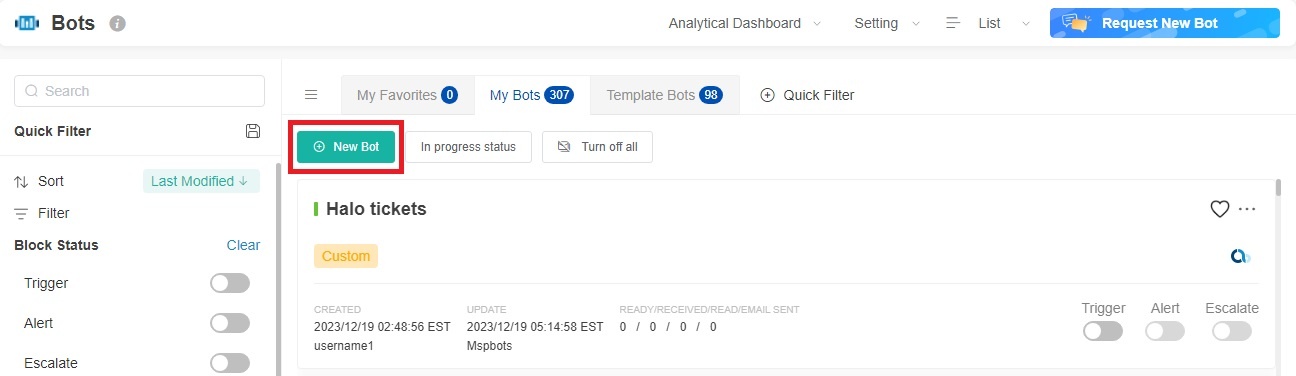
- In the Start From Blank tab, select Trigger.
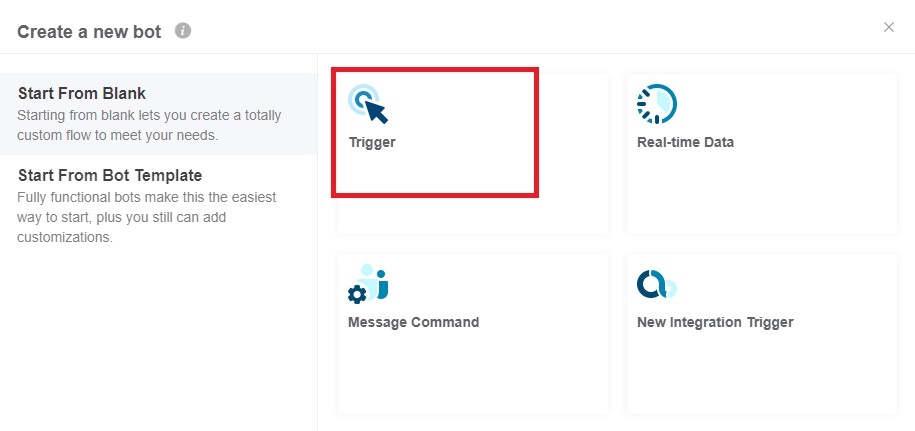
- In the Create a new bot popup, fill in the following fields:
- Bot Name
- Role
- Tag
- Description
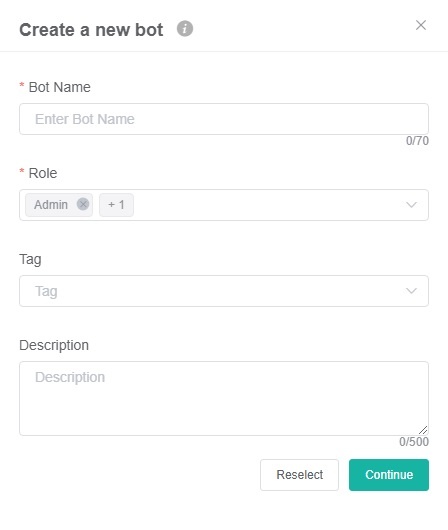
- Click Continue.
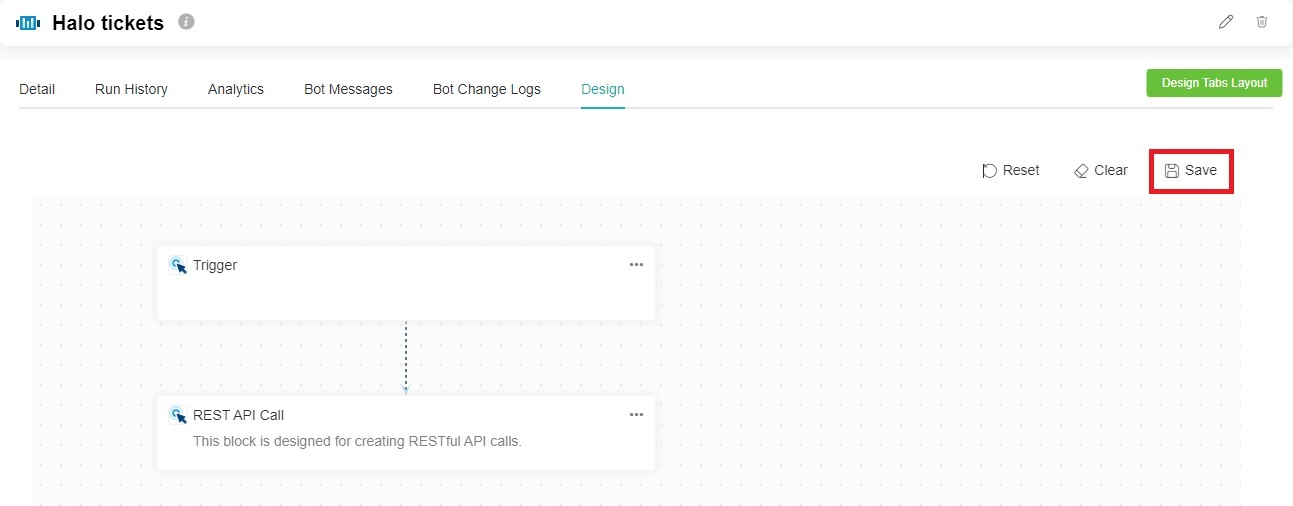
- On the bot page, click Design.
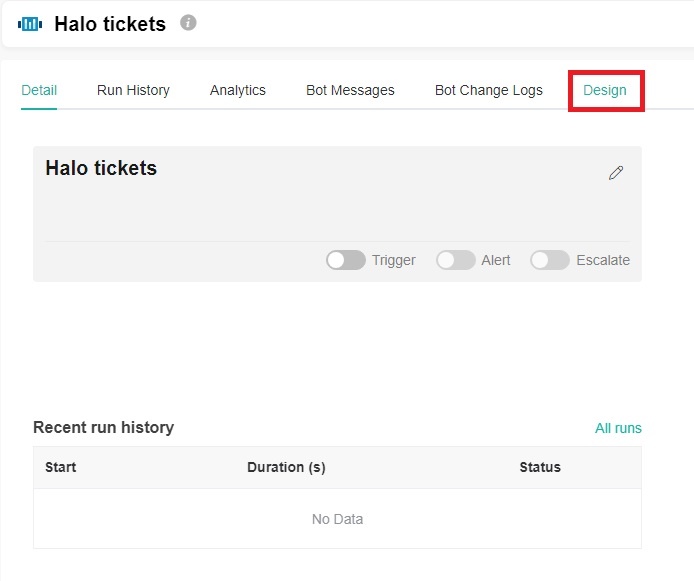
- Configure the Trigger block, please refer to 2. Set up the bot trigger.
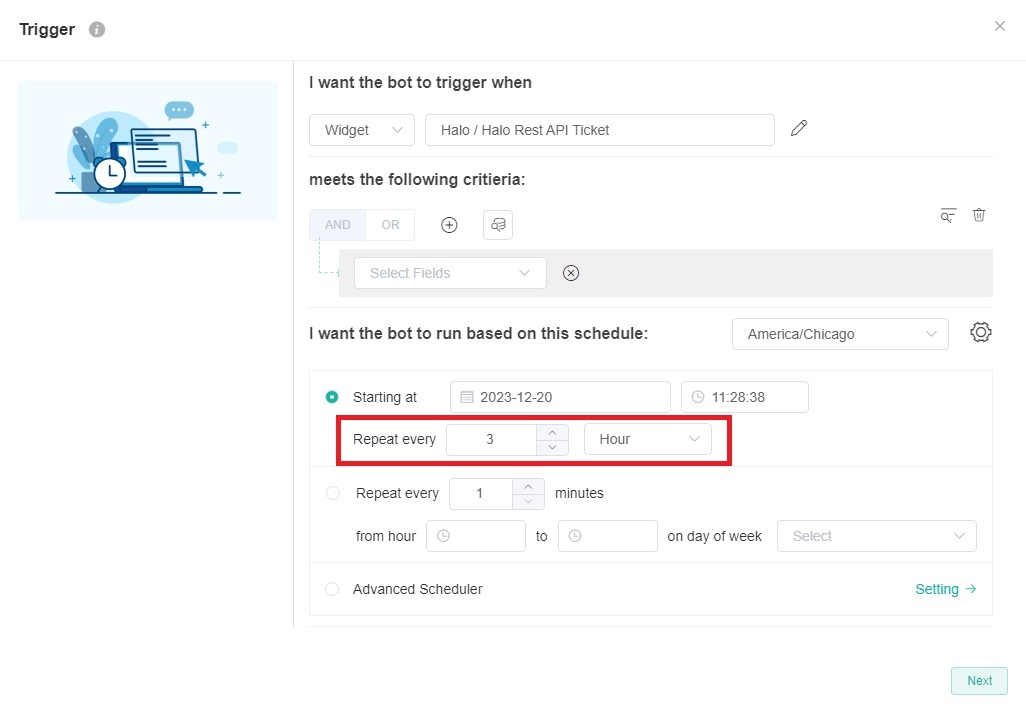
For I want the bot to trigger when, add the widget you have created as the data source.
- For meets the following critieria: , if you want to further filter the data, you can configure the filtering criteria here.
For I want the bot to run based on this schedule: , set to repeat every 3 hours.
Tip Due to the rate limit imposed by the Halo app, the ticket synchronization frequency is as follows:
If you have configured the WebHook ,
During working hours, all tickets are synchronized through WebHook , and MSPbots do not actively synchronize them.
During non-working hours, the synchronization occurs once every 2 hours.
- If you have not configured the WebHook ,
- During working hours, the synchronization occurs every 5 minutes.
- During non-working hours, the synchronization occurs once every 2 hours.
Therefore, in order to avoid duplicate API calls, please set the triggering frequency to every 3 hours.
- Add REST API Call block - Click Trigger block, click
 the plus button, click Add a block, click Add a block, search for REST API Call in the search bar, and click that block to add it.
- Click
 the ellipsis button, select Edit to enter the REST API Call block page.
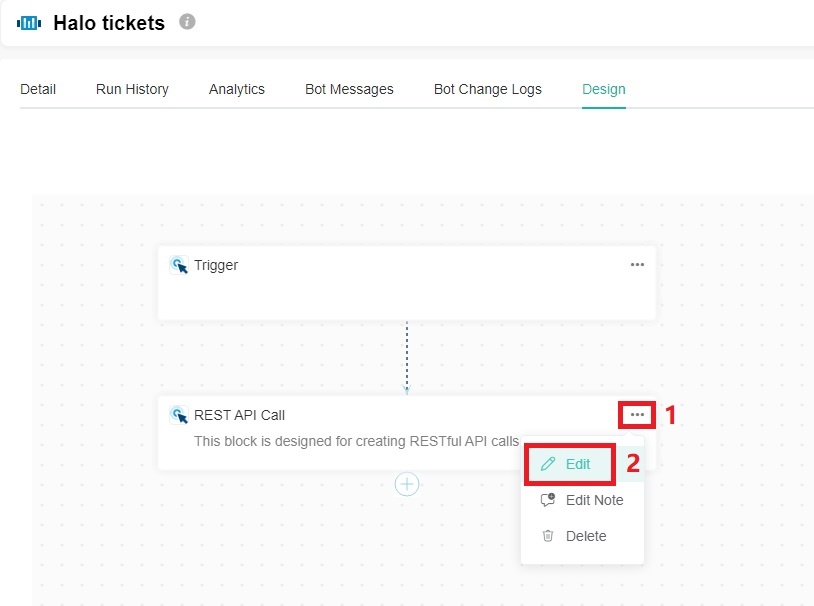
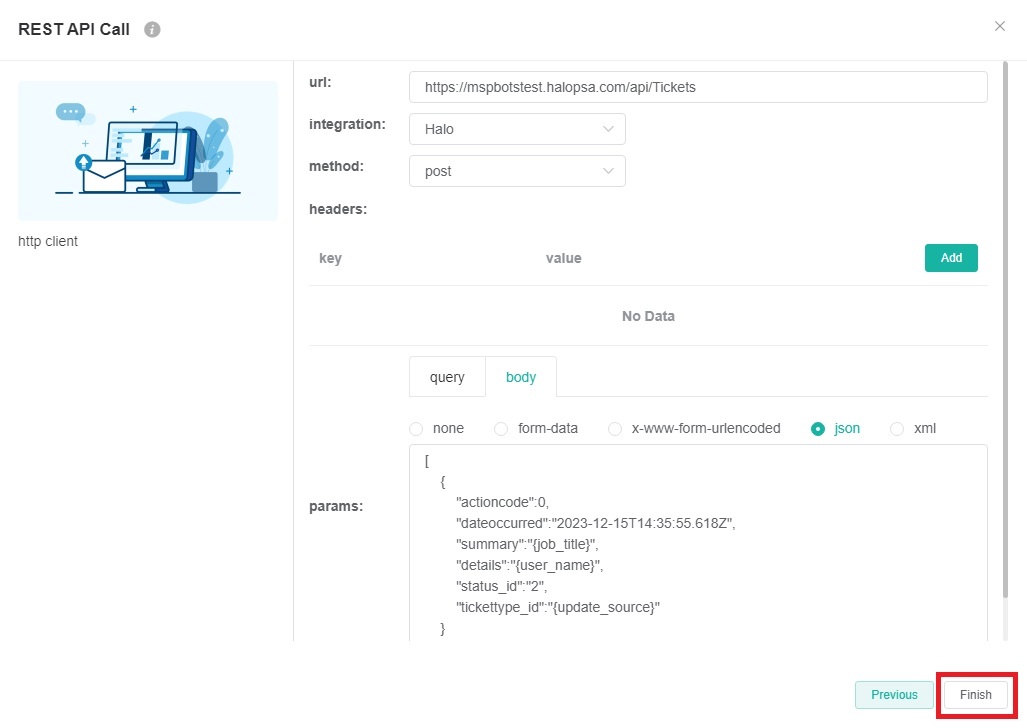
- On the REST API Call block page, fill in the following fields:
url - Fill in the interface address for creating or modifying tickets in Halo: https://{host}/api/Tickets, for example: https://mspbotstest.halopsa.com/api/Tickets.
- integration - Select Halo from the dropdown menu. The program has already been authorized for Halo automatically, so no additional action is required.
- method - Select POST from the dropdown menu. For specific details, please refer to the API documentation. The POST method is used for creating and updating tickets.
- headers - Can be left empty.
- params
- Click body.
- Select json.
- Input parameter fields in the JSON body, using the following columns as an example.
Code Block [ { "actioncode":0, "dateoccurred":"2023-12-15T14:35:55.618Z", "summary":"{job_title}", "details":"{user_name}", "status_id":"2", "tickettype_id":"{update_source}" } ]Tip - About the example:
The "actioncode", "dateoccurred", "summary", "details", "status_id", "tickettype_id" are from https://halo.haloservicedesk.com/apidoc/resources/tickets.
- The {job_title}, {user_name}, {update_source} are from the data you added in the widget or dataset in the Trigger block. Please note that the format of the field must be {Field}.
- To view the field parameters:
- Locate the meets the following criteria in the Trigger block and click
 .
.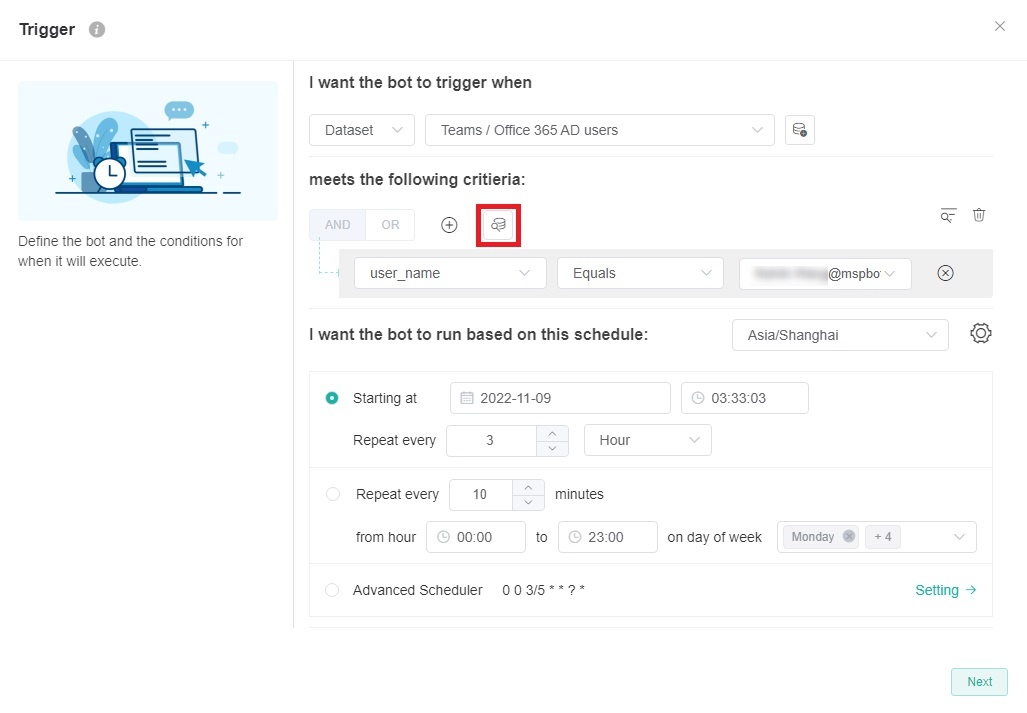
- View the fields in the Row Data.
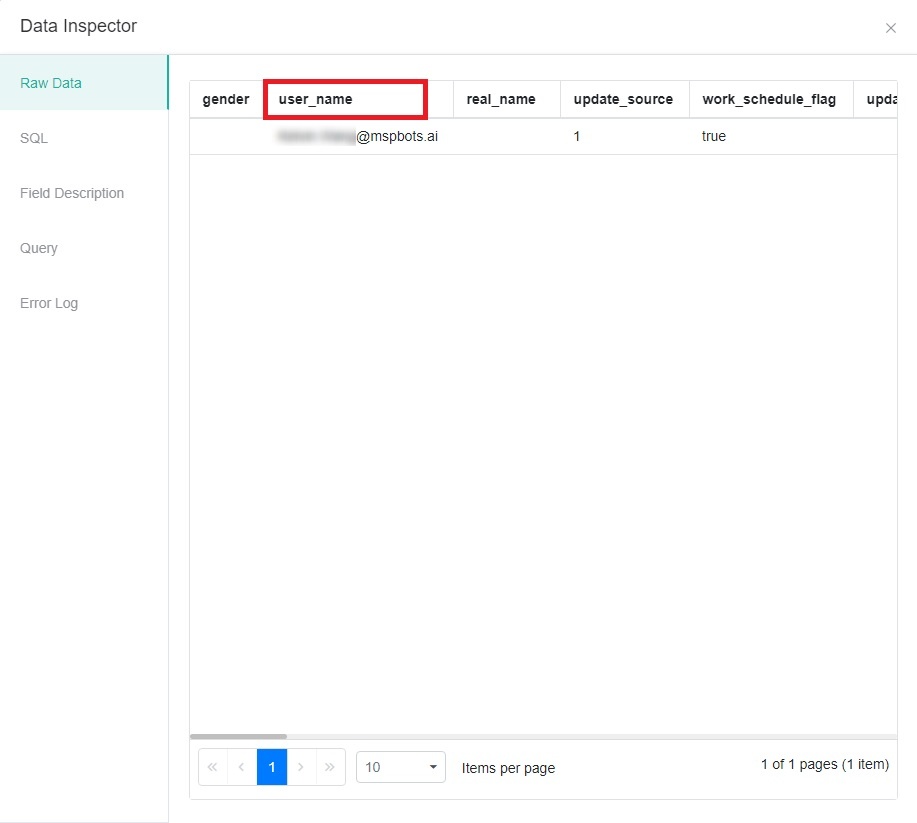
- Locate the meets the following criteria in the Trigger block and click
- To view the field parameters:
- Every data filtered by widgets will trigger one bot execution.
- The field values enclosed in {} in the JSON body will be dynamically replaced with the values of the queried data.
- Please refer to the input parameter fields here: https://halo.haloservicedesk.com/apidoc/resources/tickets.
Here are some commonly used attribute field explanations.Field Description id
The ID of the ticket. dateoccurred
The creation time of the ticket. summary
A brief overview of the ticket. details
Further information regarding the ticket. status_id
The ID number corresponding to the status of the ticket. For example, 1 for New, 2 for In Progress. If you want to know the ID for each status, please refer to How to view the ID for ticket status or ticket type. tickettype_id
The ID number corresponding to the ticket type. For example, 1 for Incident, 21 for Alert. If you want to know the ID for each ticket type, please refer to How to view the ID for ticket status or ticket type.
- About the example:
- Click Finish to complete the configuration of the block.
- After configuring, click the Save button to save the Bot.
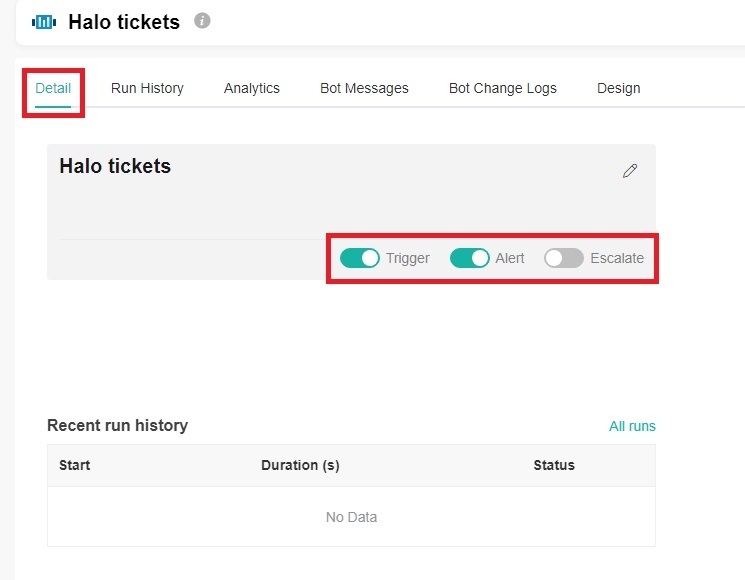
- Click Detail,open the Bot's runtime switch and wait for the scheduled task to trigger. After the Bot is running, it will create new tickets or modify existing tickets based on your configuration.
...
Overview
Content Tools