 N O T I C E
MSPbots WIKI is moving to a new home at support.mspbots.ai![]() to give you the best experience in browsing our Knowledge Base resources and addressing your concerns. Click here
to give you the best experience in browsing our Knowledge Base resources and addressing your concerns. Click here![]() for more info!
for more info!
Page History
The MSPbots Dashboards has dashboards have a share function that allows clients to present multiple dashboards in a loop on a single screen. Called the Rotating Dashboard view, this function presents dashboards one after the other at specific intervals. When displayed shown on a screen, the rotating view is offers a way to present display dashboards without user intervention. The presentation can be stopped and resumed when the user clicks the Stop and Play button.
Users can create a number of multiple rotating dashboard views, which can be stored for future access or deleted when no longer needed. This article shows how:
What's on this page:
| Table of Contents | ||||
|---|---|---|---|---|
|
Prerequisites
...
All MSPbots users can create Rotating Dashboard views as long as if they have access to the desired dashboards they want to present. This procedure also applies when want to display displaying reports on an external TV TVs with web browser capabilitybrowsers.
...
Creating and
...
presenting dashboards using the Rotating Dashboard view
...
- Log in to the MSPBots MSPbots app and navigate to Dashboards.
- Select Go to the My Dashboards tab and select a dashboard from the Dashboard List.
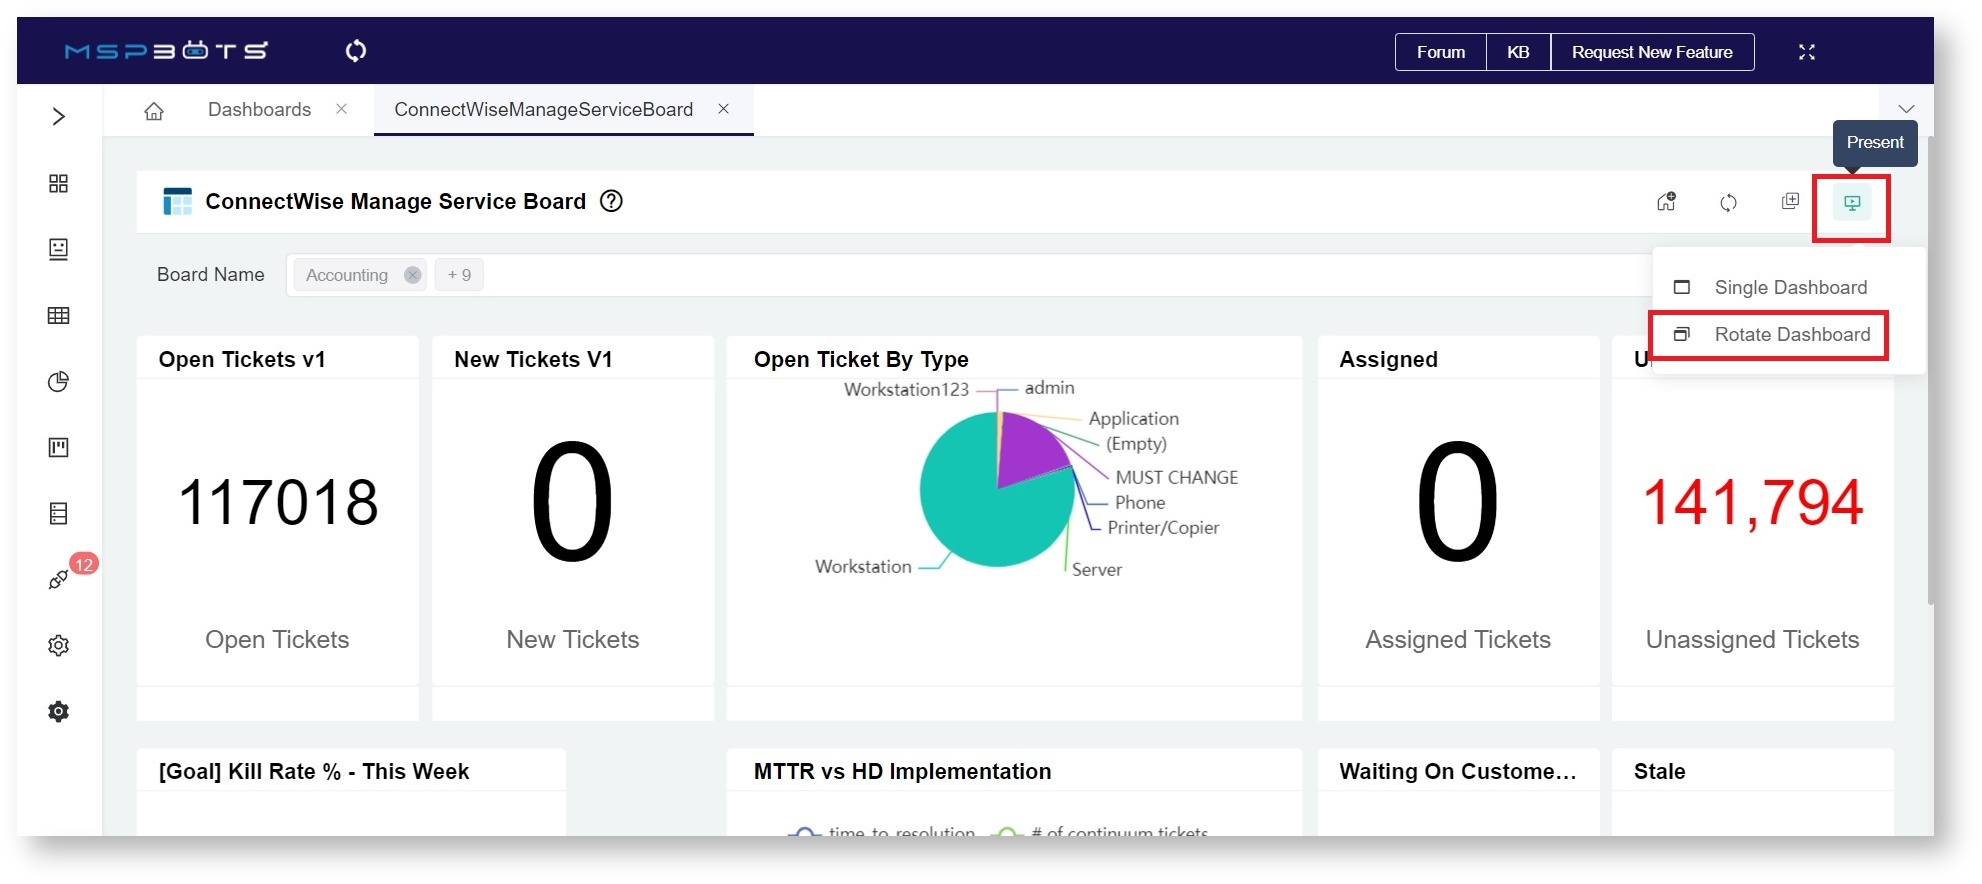
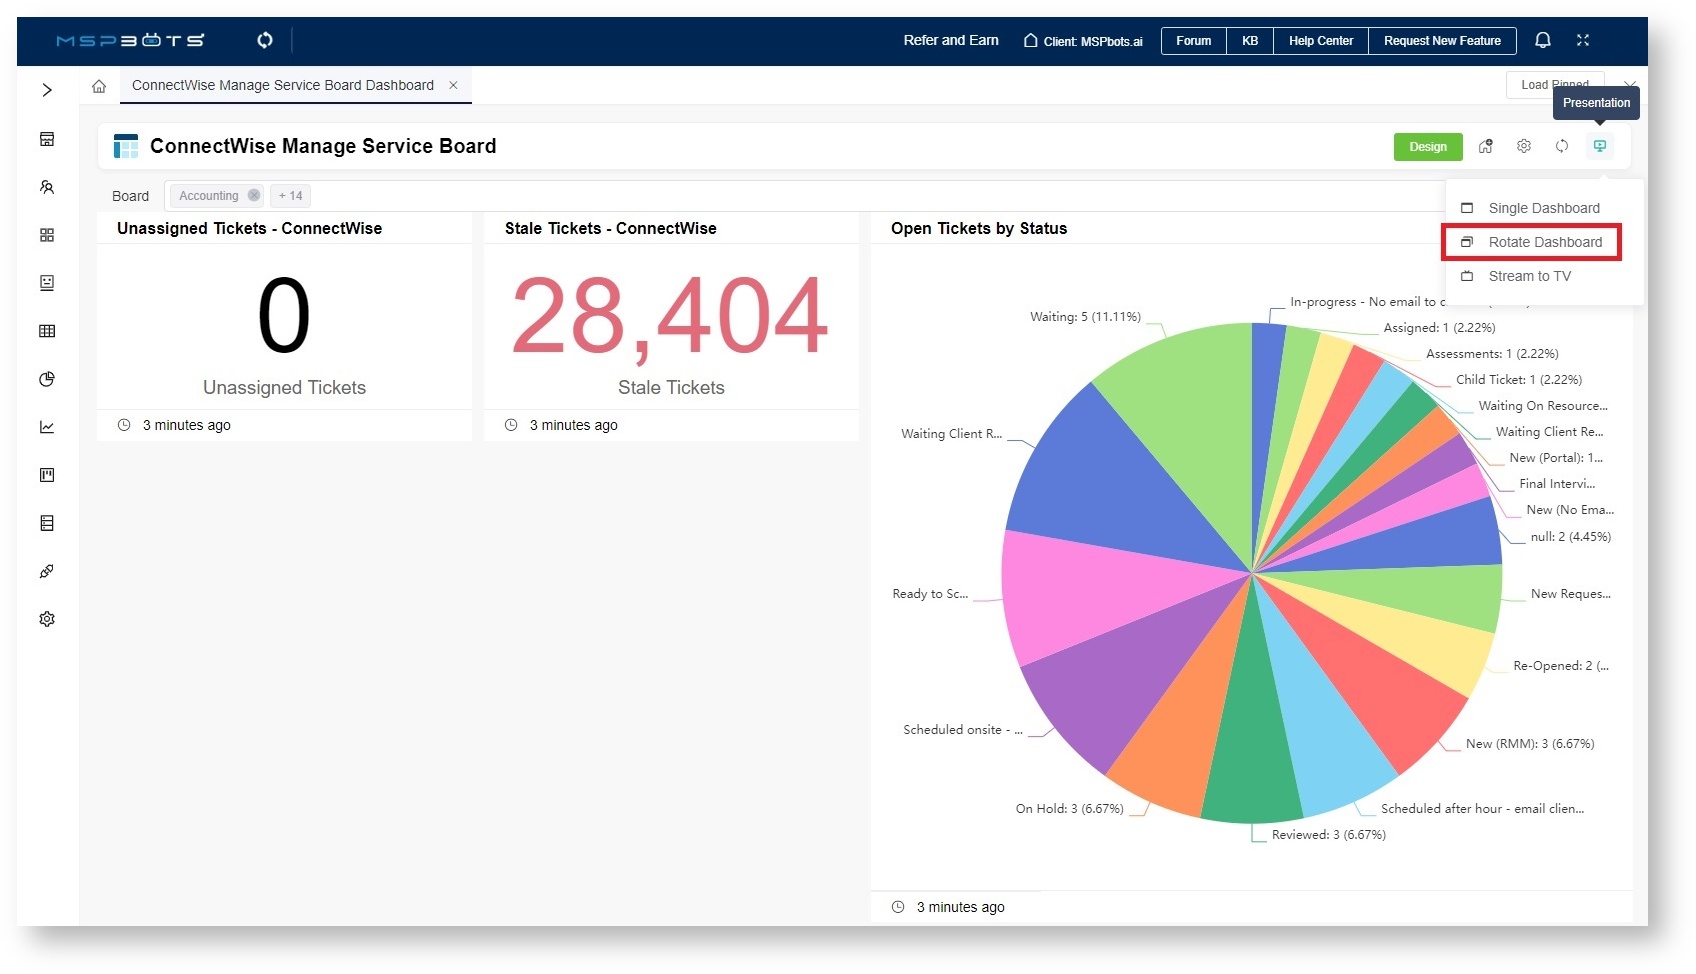
- When the selected dashboard opens, click the Present Presentation icon on the right and select Rotate Dashboard.
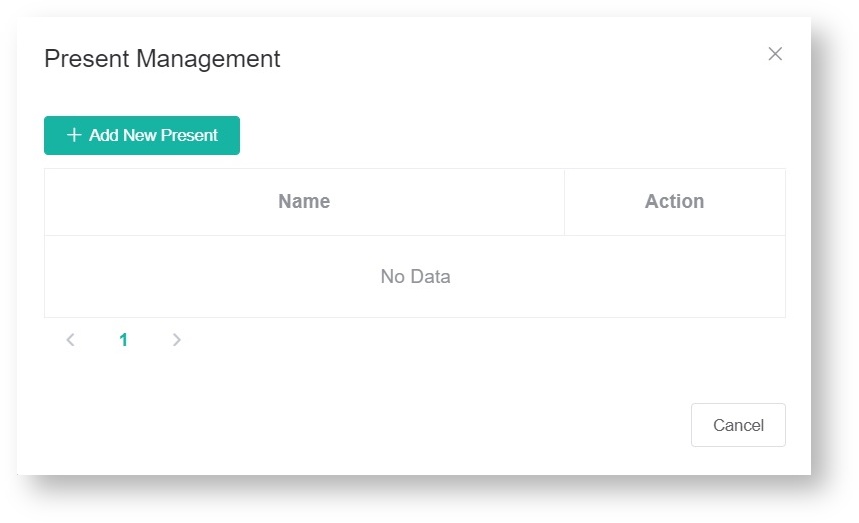
- On the Present Management screen that appears, click the the Add New Present button to create a presentation.
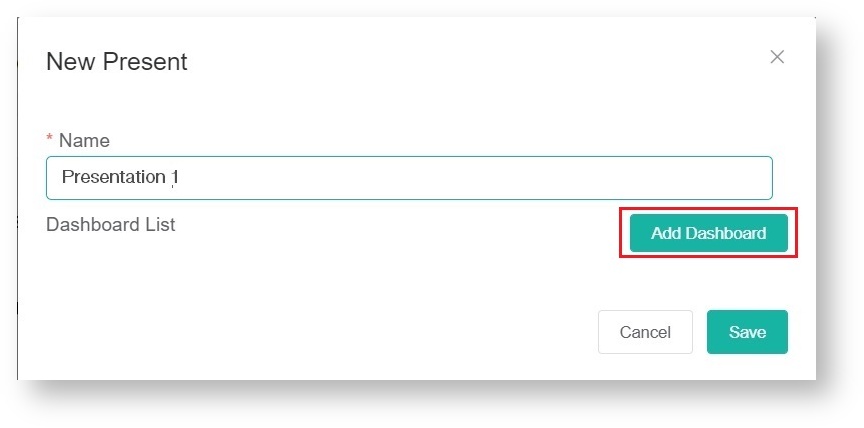
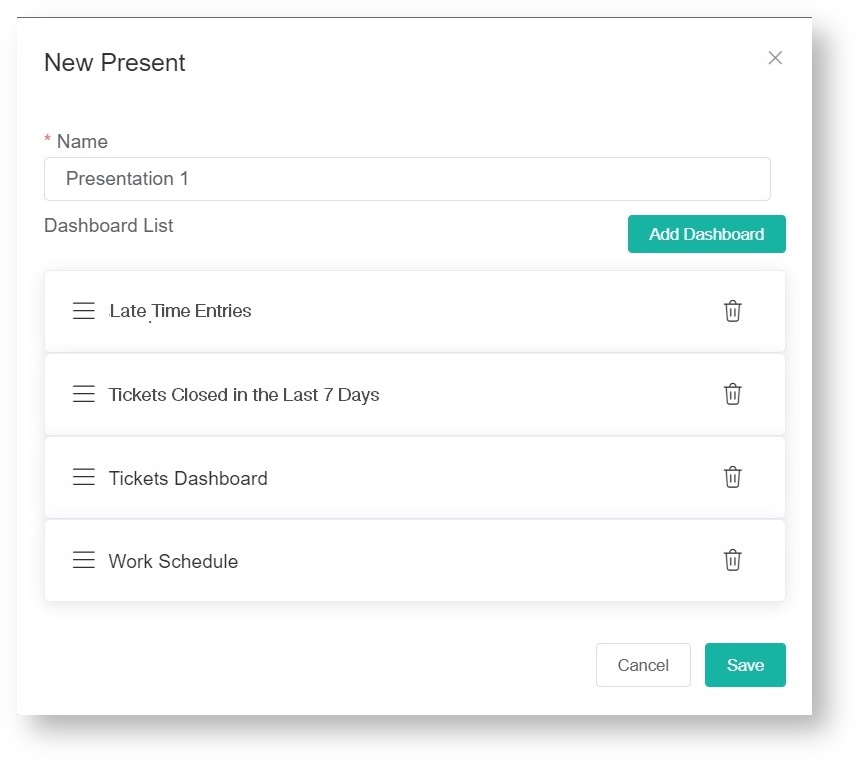
- When the New Present window appearsopens, type a the name for your presentation on the Name field, then click the Add Dashboard button.
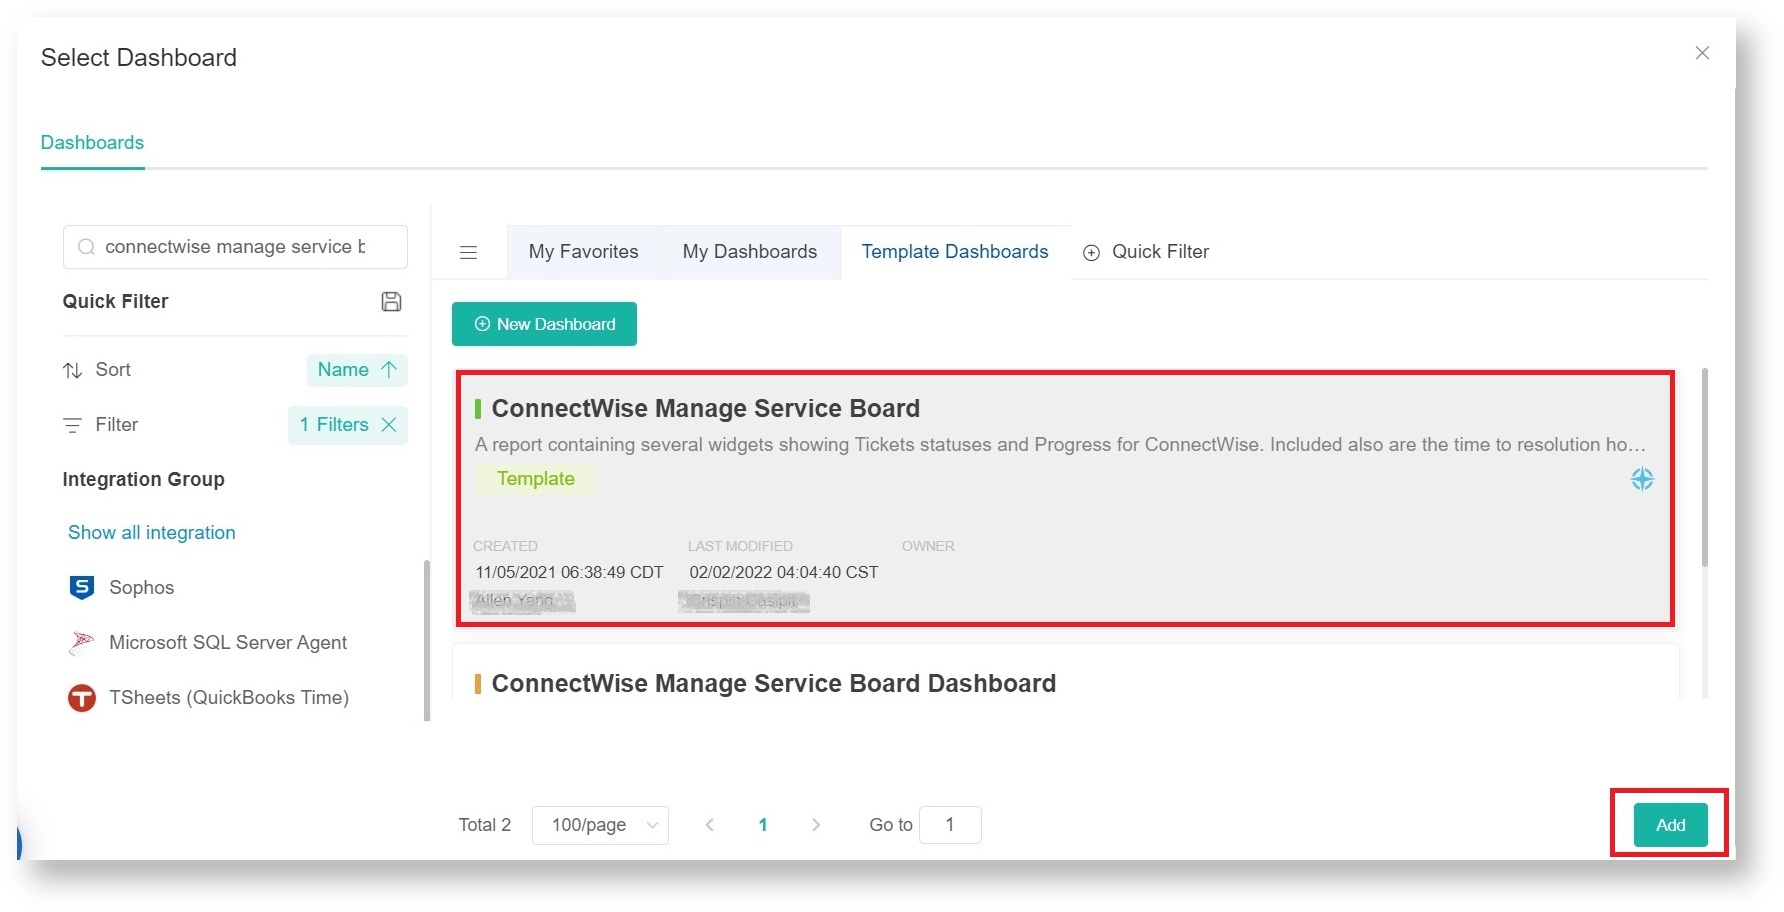
- When the Select Dashboard screen appearsopens, select all the dashboards that you want to view in the rotating sequence and click click Add.
- Verify the list that you selected your selection in the Dashboard List section. Click the Delete icon if you need to remove a dashboard or click Add Dashboard to add more. Once you have verified, click Save.
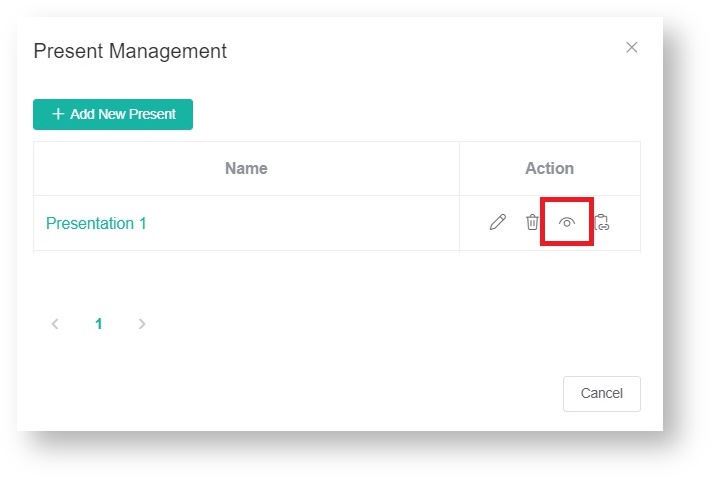
- Once saved, you will be back to the Present Management screen where you will find the rotating dashboards that you have created. To view your rotating dashboard, click the eye icon under Action.
...
Editing or
...
deleting a Rotating Dashboard
...
- Open any of your dashboards. Click the Present icon Presentation > Rotating Rotate Dashboards.
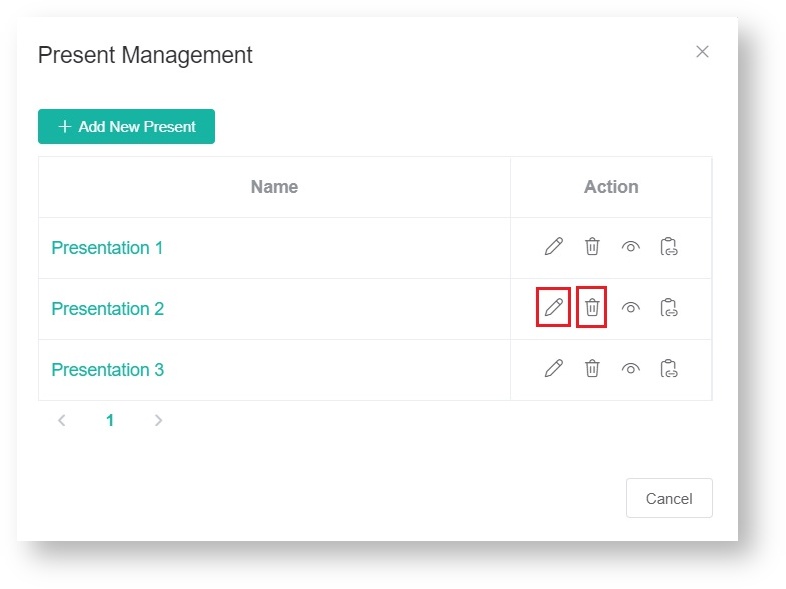
- Click the Edit icon to edit or the Delete icon to delete existing rotating dashboards.
How to use the rotating dashboard view
...
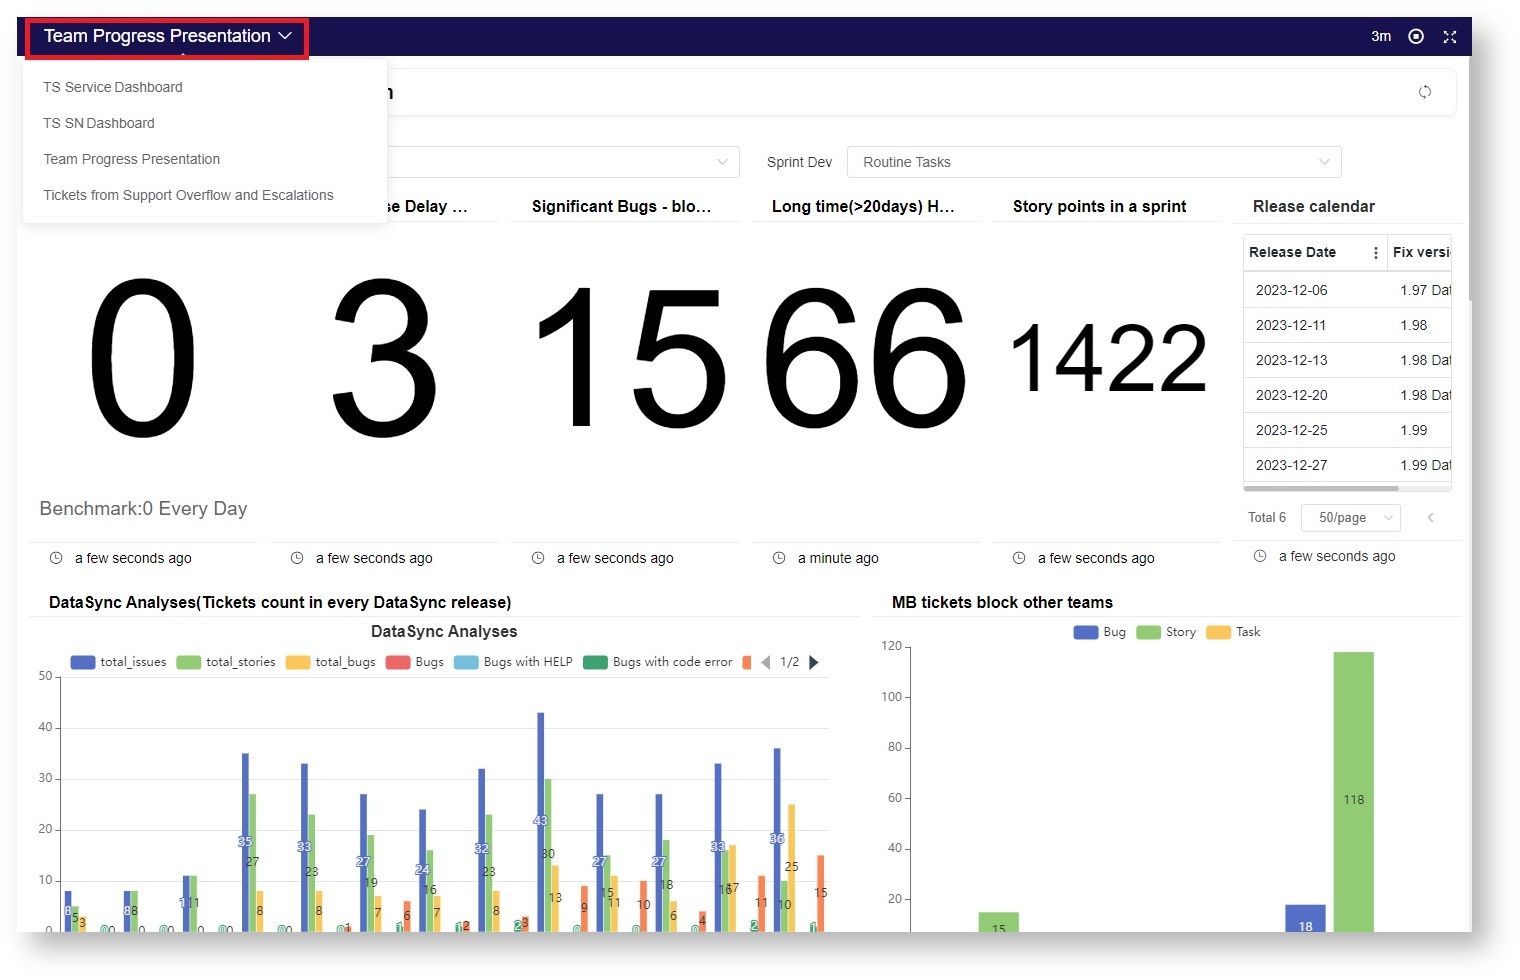
You can do the following actions on the rotating dashboard view:
- Switch dashboards
To switch view to the next dashboards or switch back to the previous ones in the loop, click the dashboards dropdown list and select the dashboard to display. - Change the display interval
The display interval of the dashboards are modified on the upper right section of the screen. Click on the number and select 3m, 5m, 10m, and 15m from the dropdown list. The options are in minutes. - Stop the rotation
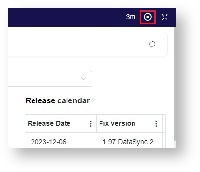
You can opt to stop the dashboard rotation to display only one dashboard. Do this by clicking the stop button on the upper right corner pf the screen. - View the presentation in full screen mode
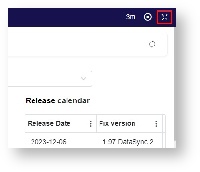
Click the full screen icon to view the dashboards in full screen.
Watch the video tutorial
...
| Content by Label | ||||||||||||
|---|---|---|---|---|---|---|---|---|---|---|---|---|
|
