 N O T I C E
MSPbots WIKI is moving to a new home at support.mspbots.ai![]() to give you the best experience in browsing our Knowledge Base resources and addressing your concerns. Click here
to give you the best experience in browsing our Knowledge Base resources and addressing your concerns. Click here![]() for more info!
for more info!
Page History
This article discusses the following topics about the MSPbots Paywall and Billing setup:
| Table of Contents |
|---|
...
|
What are the MSPbots paywall notifications?
...
A client's access to MSPbots assets depends on the company's subscription plan. When the features in the plan have been fully consumed or when a client tries When your MSPbots plan has expired, or when you try to access an asset not part of the that is not included in your current plan, the paywall will restrict the client from accessing MSPbots assets not included in the subscription. The Trigger button will be disabled and a pop-up message like the one below will show.

you will receive paywall notifications. These notifications indicate that your access to MSPbots assets has been restricted, and you will receive guidance on how to proceed.
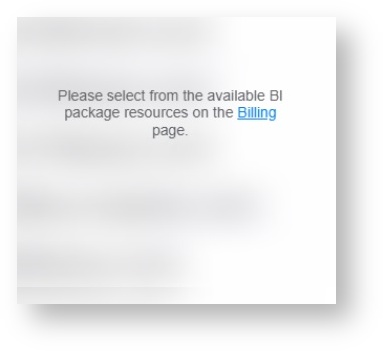
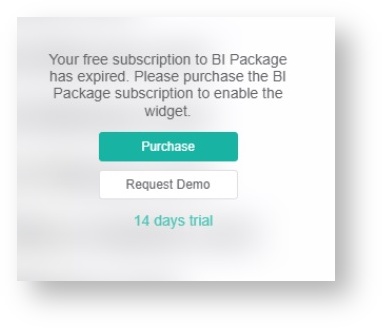
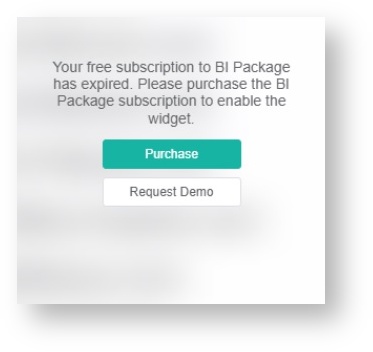
These are examples of paywall notifications that users may encounter.
Dashboards and Widgets Paywall Notifications
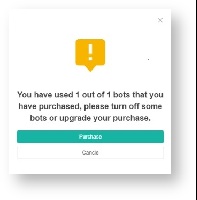
Bot Usage Paywall Notification
By default, MSPbots clients are subscribed to the Free Bundle setup by default. This bundle has limited features and user access, and which has a time-based free trial on system integrations . In order to and includes limited features and user access. To fully maximize the benefits of the MSPbots features on your business, we recommend recommend upgrading your bundle or subscribing to new assets and plans. The upgrade steps are available in the sections below.
...
| Info |
|---|
What are the roles and fees assigned to new users?
|
Setting up your billing account
...
Get your account ready for future transactions and set up billing with these steps:
- Open the MSPBots app then go toLog in MSPbots app and navigate to Settings > Billing.

- On the Billing tab, go navigate to the Pay Method section and clickthe + Add new payment method ADD NEW button.

- Select Add Credit Card or Add Bank Account.

- If you selected Add Credit Card, fill in the following information on the Create Card tab:
- First Name
- Last Name
- Card Number
- Exp. Month
- Exp. Year
- Security Code

- If you selected Add Bank Account, fill in the following information on the ACH tab:
- Name as per Account
- Account Number
- Routing Number

- If you selected Add Credit Card, fill in the following information on the Create Card tab:
- Click Save to add the new billing account. The card number or bank account number will be button.
 Input your (credit) card details on the Create Card window and click Save.
You have just created your primary card number, which is now saved in the Pay Method section. This Use this information will be used for your future transactions. If you need to modify your card details, click the Edit button to modify and Save.
...

Verifying your ACH account
...
You need to verify your ACH account if you added a bank account to your payment method. To do this,
- Go to the Pay Method section on the Billing screen.
- Click the Verify link beside your bank account.

- On the Verify window, enter two Verification Amounts and click Confirm.

- The authentication process is successful once your ACH account no longer shows Pending Verification.

Upgrading your plan or bundle
| Anchor | ||||
|---|---|---|---|---|
|
...
Boost the benefits of MSPbots on your business by upgrading your plan or bundle. Once you've set up your billing account, you can follow these steps to upgrade:
- On the Billing tab, navigate to the Your Bundles section and click Upgrade. You will be redirected to the Marketplace.
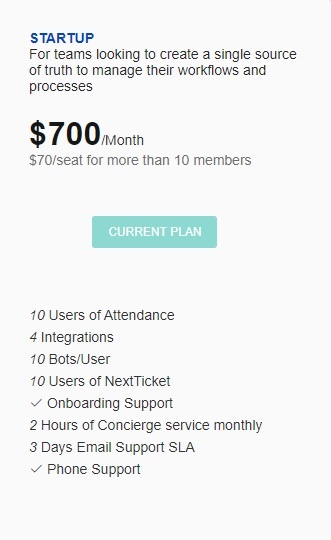
- On the Marketplace, select a plan or bundle, then click the Upgrade button. The available Plan/Bundles are Startup and Professional. Read the details on the MSPBots Pricing List.

- Change.

- When the Customize your plan window opens, select your preferred Bundle Type and Billing Frequency.
- Next, select a BI package, the number of users, and the apps you want to include in the plan. The system automatically calculates the total cost as you make your selection.
Example:
Selected bundle - Startup Bundle
Number of users - 14
The Startup Bundle gives access to up to 10 users. Because the users are more than 10, you must purchase four slots for additional users.
Calculation:
Total Cost = Startup Bundle ($700) + Extra number of Users x cost per user (4 x $70 = $280)
= $700 + $280
= $980
Also included in the Startup is your selection of up to four BI packages. You can change this selection later.
- Click Next when done selecting. Next, customize your plan by selecting Pay Monthly or Pay Annually. Your selection will prompt the system to automatically calculate your plan's updated cost based on the number of users integrated into your PSA multiplied by the actual cost of the selected plan. Example: ForStartup bundles, you can add the four (4) BI packagesentitled to the plan by clicking +Add and selecting the BI packages. You can adjust and edit this list later.
 Next, clickthe Purchase button.
 - When the Your Order window appears, review the details of your order and click the Proceed To Checkout button.

- NextLastly, click the Pay & subscribe button review the details of your account, and click Pay (amount) & Subscribe to complete your order and click Close when prompted.

- Verify To verify your upgrade by going , go back to to Marketplace> Bundleswhere your upgrade should now be reflected. For example, if you chose to upgrade to . If you upgraded to Startup, you should see the Current Plan button in this section.

To
viewconfirm billing updates, go back
toto Settings > Billing. Check for the following:
- The Your Bundles section shows your current plan.
- When clicked, the Bundles Usage tab shows the list ofAssets, Quantity, and the Next Billing date.

...
How to purchase or subscribe to new assets (A
...
la Carte Usage)
...
- Go to the MSPbots Marketplace and click the asset that interests you. Select BI Packages, Bots, Apps, or Featured apps. If
- For example, if you need Bots for your company, you could click the the Bots tab and choose Bot Usagefor a specific number of bots.
 .
.
- Next, click the Purchase button on in the Bot Usage window.


- Then choose Choose to pay monthlyor annually and select a number for the Max number of bots., then select the BI package and specify the additional bot users that should be included in the package. The cost will be calculated automatically according to your selection. Click Purchase when done with your selection.

- Click Next and follow the prompts.
- Review your order and click the Proceed To Checkout button if the list is correct.

- Lastly, click the Pay & Subscribe button to complete your order and click Close when prompted.
 .
. - Validate your purchase on Billing > A la Carte Usage and check if the new asset is on the Assets list.

...
How to view your
...
billing history and get an
...
invoice copy
...
To view the details of your billing history, go to Billing and scroll down to the Billing History section. This section shows the Transaction ID, Transaction Time, Card Number, Amount, and a link to the downloadable Invoiceinvoice.

To download a copy of the invoice, click the download icon under the Action Invoice column.
Below is a sample invoice.


...
How to cancel an A la Carte Usage
...
subscription
...
- Go
...
- to the Billing page and click
...
- the A la Carte Usage tab.
...
...
- Select the specific package to cancel and go to the Action column.

...

- Click the Cancel icon then click Cancel Now when prompted.
...


...
-


- A pop-up message that says "Successfully reactivated your subscription" will appear to confirm the cancellation.

Adding a Billing Email Address
...
Follow these steps to change or add the billing email address that will receive invoices from Chargebee:
- Log in to the MSPbots app and navigate to
...
- Settings > Billing.
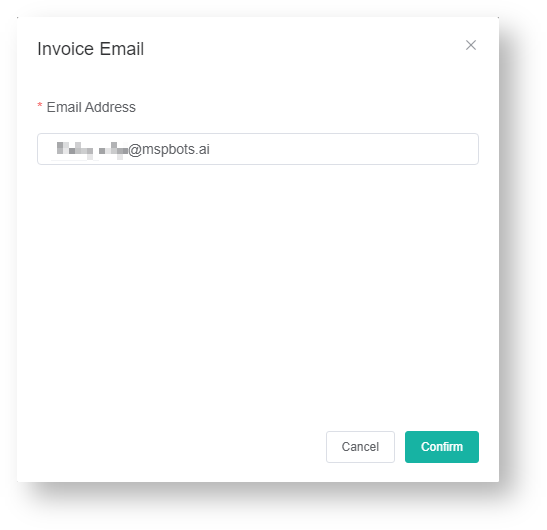
- On the Billing tab, go to the Invoice Email section and clickthe + ADD NEW button.

- In the Invoice Email pop-up window, enter your Email Address.

- Click Confirm to add the billing email address and save it in the Invoice Email section. Chargebee will start sending invoices to this email.

Changing Your Billing Email Address
...
- Navigate to Settings > Billing in the MSPbots app.
- On the Billing tab, go to the Invoice Email section and click on
 the ellipsis button to select Edit.
- In the Invoice Email pop-up window, modify the billing Email Address.
- Click Confirm to keep the configuration.
Related Topics
...
| Content by Label | ||||||||||||
|---|---|---|---|---|---|---|---|---|---|---|---|---|
|
Overview
Content Tools