 N O T I C E
MSPbots WIKI is moving to a new home at support.mspbots.ai![]() to give you the best experience in browsing our Knowledge Base resources and addressing your concerns. Click here
to give you the best experience in browsing our Knowledge Base resources and addressing your concerns. Click here![]() for more info!
for more info!
N O T I C E
MSPbots WIKI is moving to a new home at support.mspbots.ai![]() to give you the best experience in browsing our Knowledge Base resources and addressing your concerns. Click here
to give you the best experience in browsing our Knowledge Base resources and addressing your concerns. Click here![]() for more info!
for more info!
This process is the easiest way to create a bot from any report | widget containing the data you want the bot to monitor and report to you. Consider the following tips before continuing;
- email field included in the data or drill through, whether you want the bot send alert messages thru email or teams chat and/or channel it is needed
- alert message constructed before starting the bot creation process
- escalation message if required
Steps in creating bot from widget
1. Open the report and/or widget you want to use for the bot you want to create. Locate the Bot icon: ![]() to initiate the bot creation. Always click this icon on any widget in MSPBots app if you want to create a bot using the data in the widget.
to initiate the bot creation. Always click this icon on any widget in MSPBots app if you want to create a bot using the data in the widget.

2. Provide a descriptive name for the Bot and Roles for each type of user allowed to access the bot. A nice description for the bot is also suggested. Click the Confirm button once ready to move to the next step.

3. On the Bot creation screen, click Design

4. Set up the Trigger script:
- The widget name will be automatically provided, this is the name of the widget where you started the bot creation.
- Set additional filter when required.
- Click the Data Inspector icon if you want to preview the data available.
- Set the Schedule run for the bot.
- Click the Next button to continue with the next step.

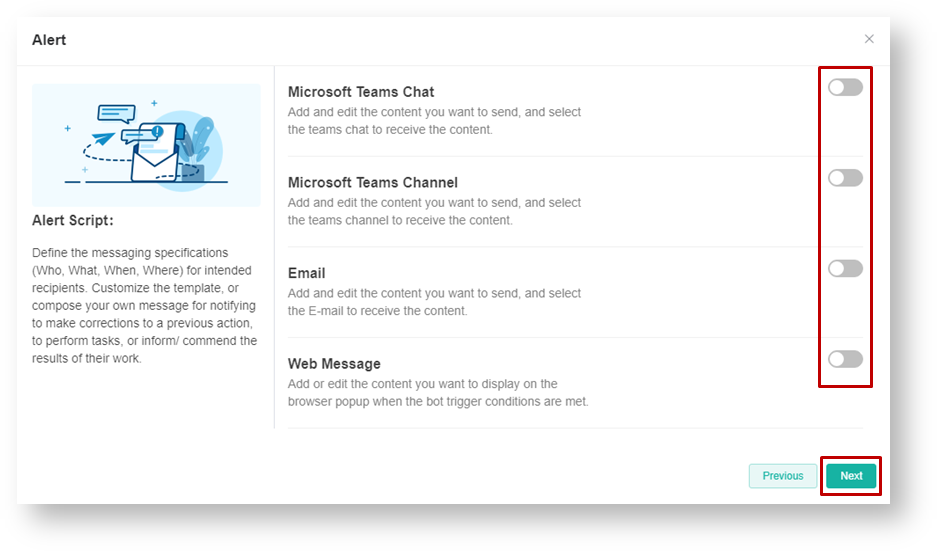
5. Select where you want the Bot to send the Alert message.
6. Set up the Alert message.

Overview
Content Tools
N O T I C E
MSPbots WIKI is moving to a new home at support.mspbots.ai![]() to give you the best experience in browsing our Knowledge Base resources and addressing your concerns. Click here
to give you the best experience in browsing our Knowledge Base resources and addressing your concerns. Click here![]() for more info!
for more info!