 N O T I C E
MSPbots WIKI is moving to a new home at support.mspbots.ai![]() to give you the best experience in browsing our Knowledge Base resources and addressing your concerns. Click here
to give you the best experience in browsing our Knowledge Base resources and addressing your concerns. Click here![]() for more info!
for more info!
 N O T I C E
MSPbots WIKI is moving to a new home at support.mspbots.ai![]() to give you the best experience in browsing our Knowledge Base resources and addressing your concerns. Click here
to give you the best experience in browsing our Knowledge Base resources and addressing your concerns. Click here![]() for more info!
for more info!
An AAD Application-level Authorization is needed to:
- Sync users' profile information from AAD to MSPbots' User Management settings. This information includes:
- User's full name
- Email address
- Position and department
- Reporting manager
- Eliminate the need to add and modify existing users manually using the Sync Teams User function available in the User Management section.
- Display the user's avatar in the Attendance dashboard and makes it easier for the team to know each member's attendance status.
To give AAD Application Authorization:
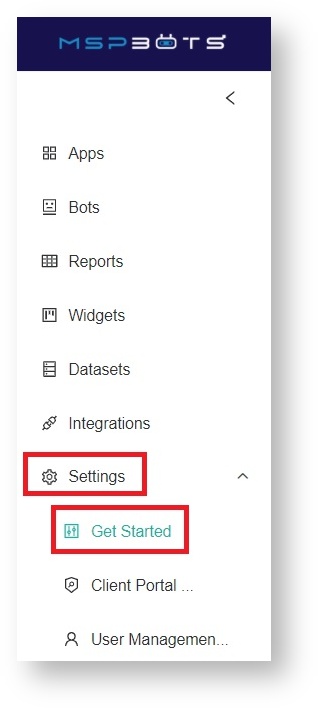
- On the MSPbots app menu, navigate to Settings.
- Click the Get Started button.
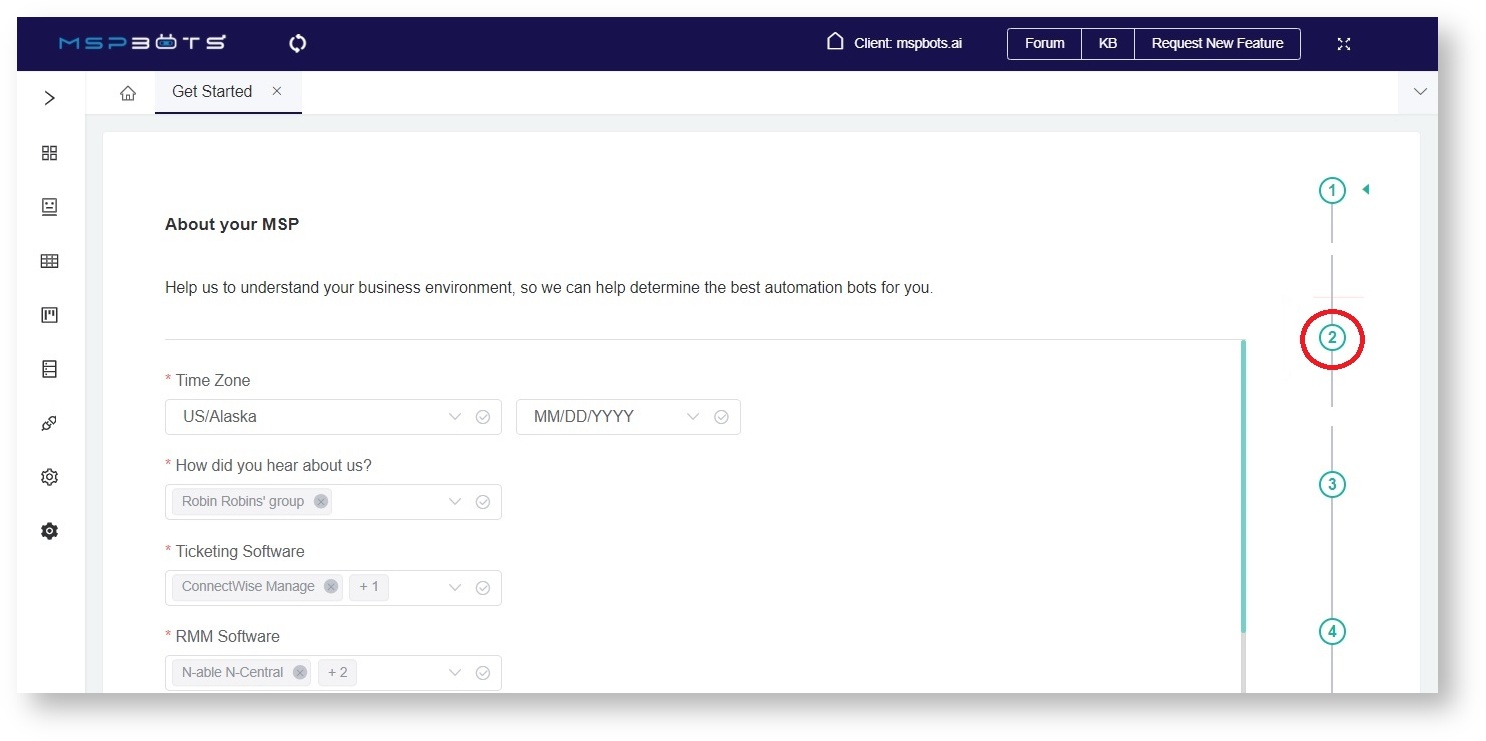
- The Get Started tab appears. Click number 2 on the progress line on the right.
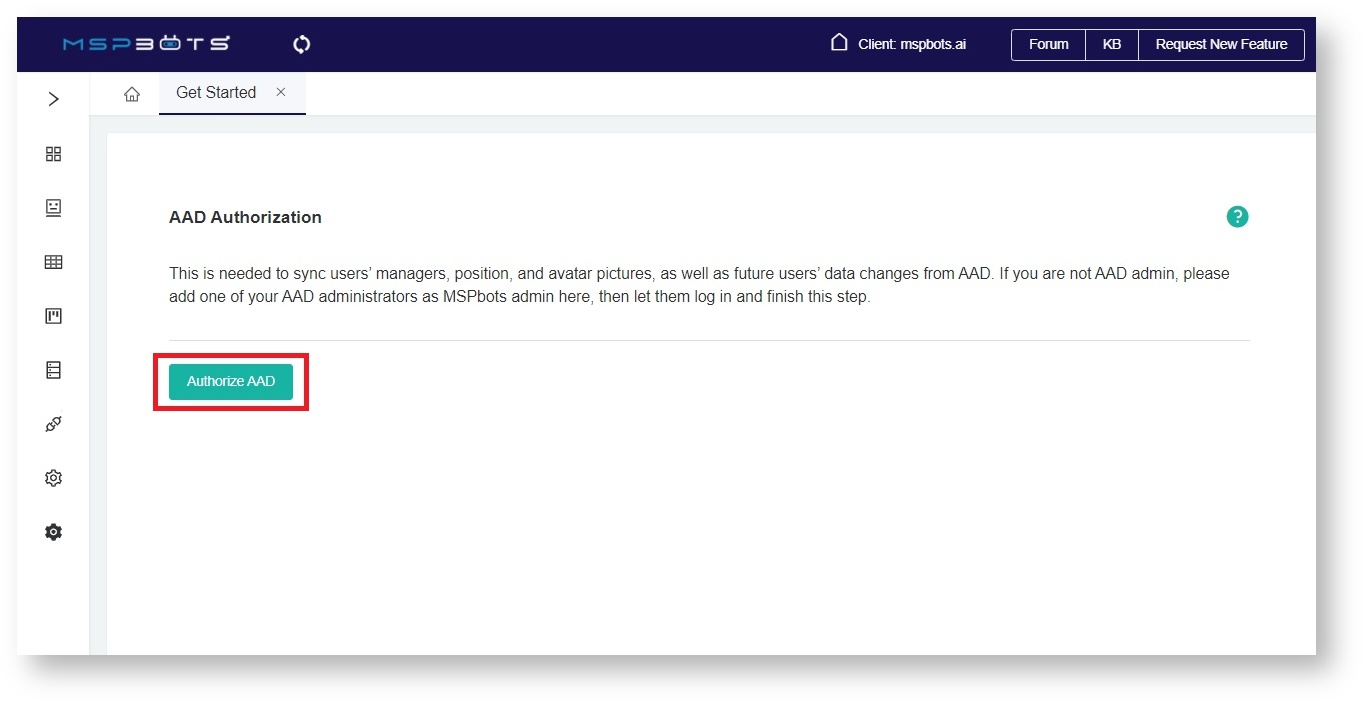
- When the Authorize AAD section appears, click the Authorize AAD button. This will open the Windows login window.
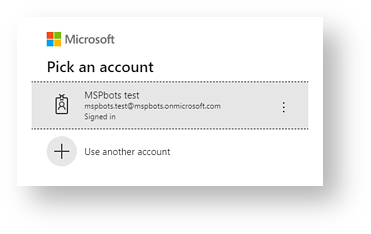
- Choose the AAD account which you want to use and sign in with the correct details. If you are not an AAD admin, let your admin use their account to finish this step.
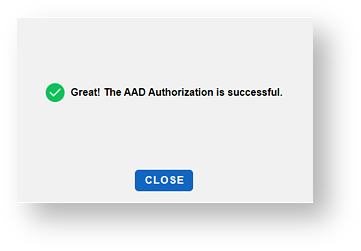
- The following message appears if the authorization is successful.
If the authorization failed or if you are having problems with this procedure, reach out to support@mspbots.ai.
Overview
Content Tools
