 N O T I C E
MSPbots WIKI is moving to a new home at support.mspbots.ai![]() to give you the best experience in browsing our Knowledge Base resources and addressing your concerns. Click here
to give you the best experience in browsing our Knowledge Base resources and addressing your concerns. Click here![]() for more info!
for more info!
N O T I C E
MSPbots WIKI is moving to a new home at support.mspbots.ai![]() to give you the best experience in browsing our Knowledge Base resources and addressing your concerns. Click here
to give you the best experience in browsing our Knowledge Base resources and addressing your concerns. Click here![]() for more info!
for more info!
The User Management section in the MSPbots app is where you can perform actions like adding new users, configuring user settings, and exporting user information, to name a few.
What's in this article
1. How to add a new user
- Open the MSPbots app and go to Settings.

- Select User Management under Settings.
- In the User Management screen, click the New User button.

- When the Add window opens, enter the following information for the new user:

- User Name
- First Name
- Last Name
- Display Name
- Password - The initial password cannot be modified. If you need to change the user's password, add the new user first then reset the password using the instructions for resetting the password.
- Mobile
- Business Phones
- JOB INFORMATION
- Manager - For information on setting up the Manager role, refer to the article How to Set Up Manager and Job Title Info for Employees.
- Department
- ACCOUNT INFORMATION
- Role Config - Select the role that will be assigned to the user by selecting an option from the dropdown list.
- Status - Disabling the Status switch will suspend the user's account. The user cannot log in to the MSPbots app anymore.
- Message - Disabling the Message switch will stop the messages sent to MS Teams. The user will no longer receive messages from MSPbots.
- Home Channel
- Home Page
- THIRD-PARTY PLATFORM MAPPING
- CW User Mapping
- Teams User Mapping
- TSheets User Mapping
- Time Doctor User Mapping
- Kaseya BMS User Mapping
- Jira User Mapping
- Halo User Mapping
- Click Confirm when done.
2. How to modify individual user settings
2.1. Edit user configuration
- In the User Management window, click the Edit icon in the row where the user is located.

- Update or modify the user's information in the Edit window and click Confirm.
- In the User Management window, click the Edit icon in the row where the user is located.
2.2. Delete individual users
- Click the Delete icon in the row where the user is located.

- Click Confirm.

- Click the Delete icon in the row where the user is located.
2.3. Reset the password for the user
- Click the Reset Password icon in the row where the user is located.

- Enter the New password and type it again in the Confirm password field.

- Click Confirm.
- Click the Reset Password icon in the row where the user is located.
2.4. Stop receiving MSPbots messages
Configure MSPbots to stop sending messages to the user by disabling the Message Switch. The user will no longer receive messages from MSPbots once this switch is turned OFF.2.5. Manually Sync MS Teams users or automatically map users
To manually sync MS Teams users or automatically map users, hover over beside the the New User button and select Sync Teams User or Auto Map Users.
3. How to configure multiple users
3.1. Disable users
- In the User Management window, select the users.
- Click Disable.

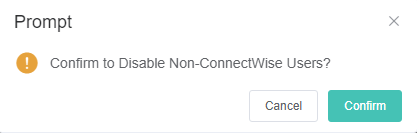
- Click Confirm.

- Disable Non-ConnectWise Users/Disable Non-Autotask Users
- Select the users who do not have ConnectWise or Autotask accounts.
- Click
 beside the Disable button.
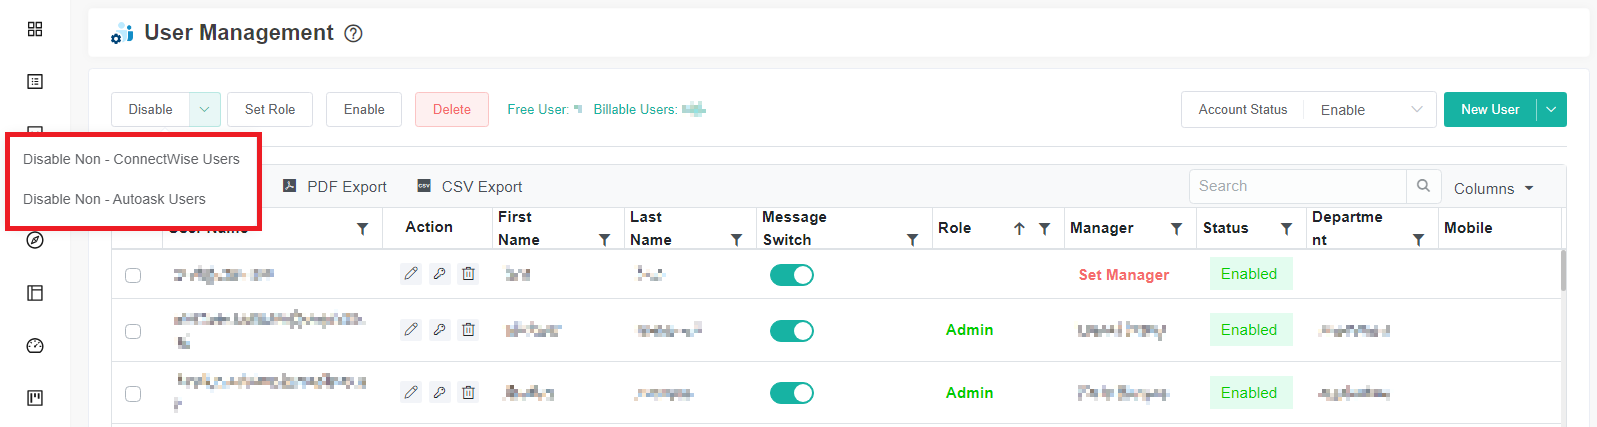
- Select Disable Non-ConnectWise Users or Disable Non-Autotask Users.
- Click Confirm.
3.2. Set a role for users
- Select the users.
- Click Set Role.
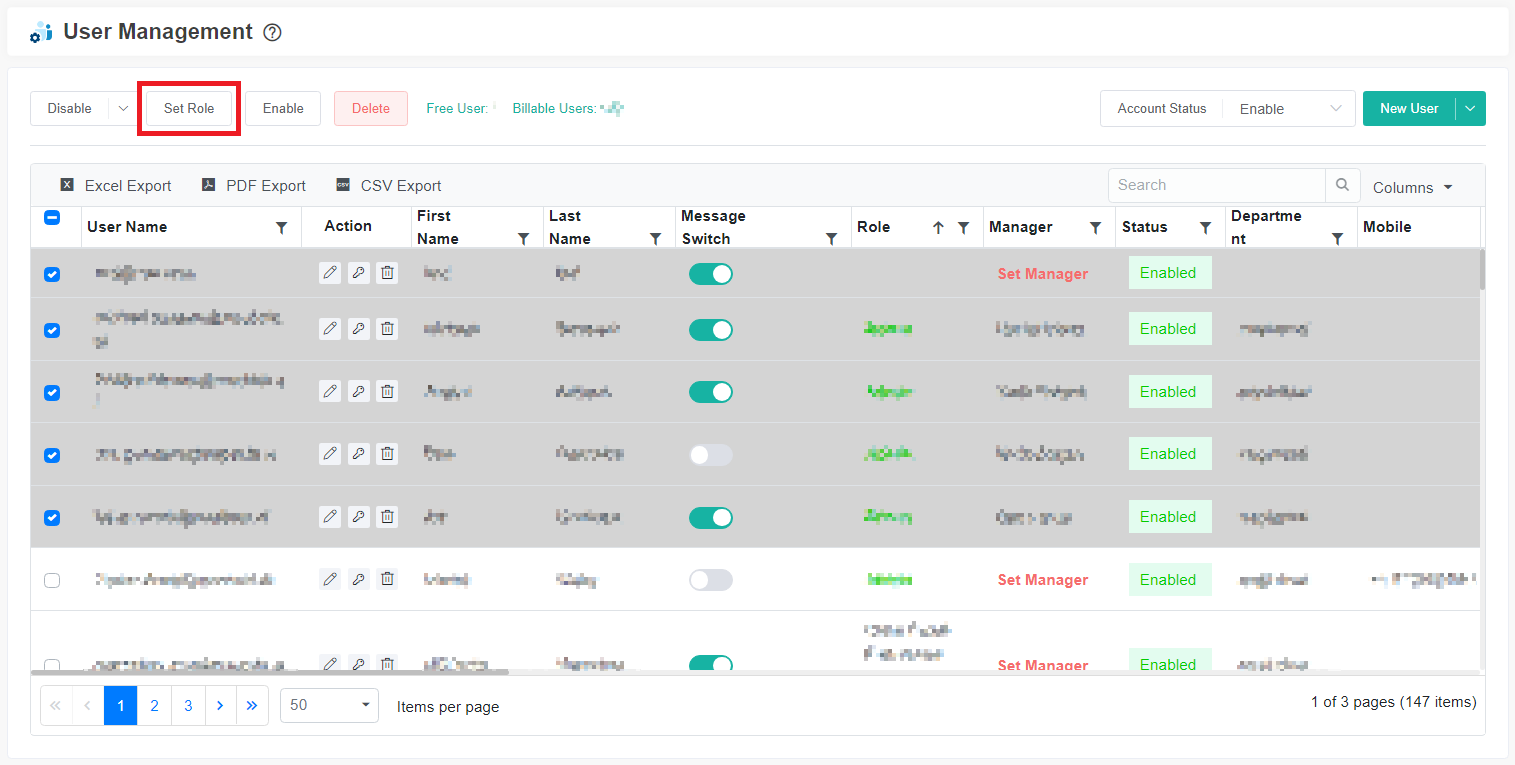
- Click the Role dropdown field and select one or more roles from the menu.

If you have previously configured roles for certain users, modifying their roles using this feature will overwrite their current roles.
- Click OK.
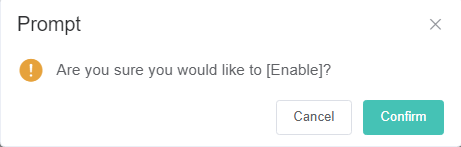
3.3. Enable users
- Select the users.
- Click Enable.
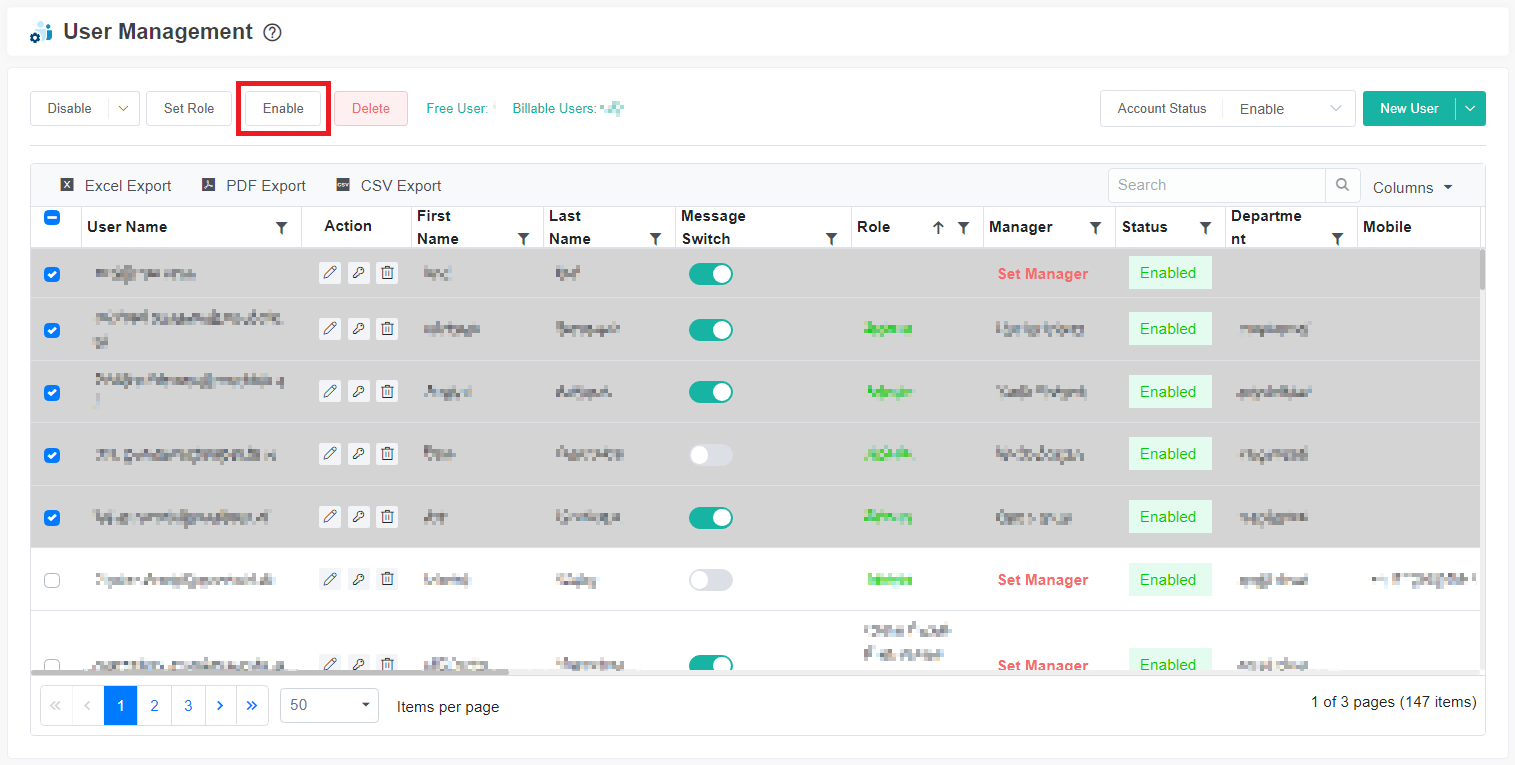
- Click Confirm.
- Delete users
- Select the users.
- Click Delete.

- Click Confirm.
- Removing a user in MS Teams will automatically set the user's status to disabled. To delete the user in the MSPbots app, delete the user manually in the User Management window.
- Disabling a user in MS Teams does not change the status in the MSPbots app. To disable the user in MSPbots, disable the user manually in the User Management window.
4. How to export user information
- In User Management, go to Account Status and select the status you want to include in the report.

- Click the format for exporting the user information. You can export using Excel, PDF, or CSV format.

Overview
Content Tools
N O T I C E
MSPbots WIKI is moving to a new home at support.mspbots.ai![]() to give you the best experience in browsing our Knowledge Base resources and addressing your concerns. Click here
to give you the best experience in browsing our Knowledge Base resources and addressing your concerns. Click here![]() for more info!
for more info!