 N O T I C E
MSPbots WIKI is moving to a new home at support.mspbots.ai![]() to give you the best experience in browsing our Knowledge Base resources and addressing your concerns. Click here
to give you the best experience in browsing our Knowledge Base resources and addressing your concerns. Click here![]() for more info!
for more info!
Page History
To connect MSPbots to Slack, sign in to Slack using your workspace name and permit MSPbots to access your workspace.
What's in this article:
| Table of Contents |
|---|
| Note | ||
|---|---|---|
| ||
|
How to get my workspace name
| Anchor | ||||
|---|---|---|---|---|
|
...
Follow these steps to get your Slack workspace name:
- Log in
...
- to Slack.
- Click your workspace on top of the sidebar and select your workspace profile from the dropdown. This will show your workspace details.

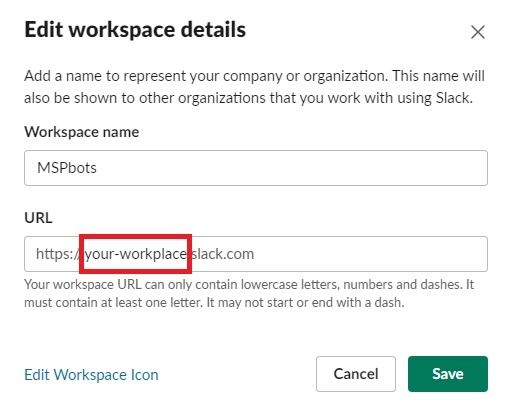
- When the Edit workspace details window opens, go to the URL field and copy your workspace name from the given URL. For example, if the URL is https://your-workplace.slack.com, copy your-workplace and use it for logging in to Slack.
How to set up
...
my integration with Slack
...
Do the following steps to connect Slack to MSPbots:
- Navigate to Integrations on in the MSPbots app.

- Search for Slack and click it to open the connection settings.


- ClickSync.


- Enter your Slack workspace name in Slack and click Continue. For instructions on how to get your Slack workspace name, go to the section How to Get Your Workspace Nameget my Slack workspace name.

- Follow the prompts to log in to your Slack workspace. For example, use your email to sign in to your MSPbots workspace.

- Once promptedNext, enter check for the code sent to your email and enter it in the boxes.

- When asked for Click Allow when asked to give the MSPbots app permission to access the MSPbots Slack workspace, click Allow.

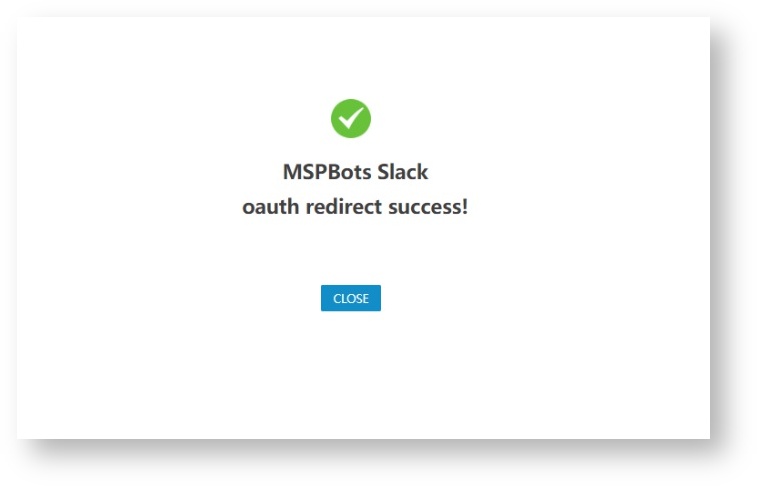
- A redirect success page is displayed indicating window opens and shows that MSPbots has successfully connected to the MSPbots Slack workspace you wanted to connect to.
Tip When successfully connected to Slack, the The MSPbots app
will beis automatically installed in Slack
's Apps.- Log in to Slack.
Navigatewhen a successful connection is established. To verify the installation, log in to Slack and navigate to More > Apps
in Slack.


You
'llshould see
the MSPbots app already downloaded automatically.
- If your navigation bar includes an Apps option, you can easily locate the MSPbots app by navigating directly to the Apps section.


- When MSPbots App is automatically installed in Slack's Apps, you can directly send messages to Slack chats.
If you want to send messages to a Slack channel, you'll first need to add MSPbots App to the channel in Slack.
Please refer to the following steps:MSPbots on the list of downloaded apps.

You can also check the navigation links on the sidebar. MSPbots should appear under Apps.

How to send messages to Slack
...
You can send messages directly to Slack chats right after the MSPbots App is installed in Slack's Apps. To start sending messages, configure the Alert bot block and add MSPbots to the Slack channel to start sending messages to Slack.
Prerequisites
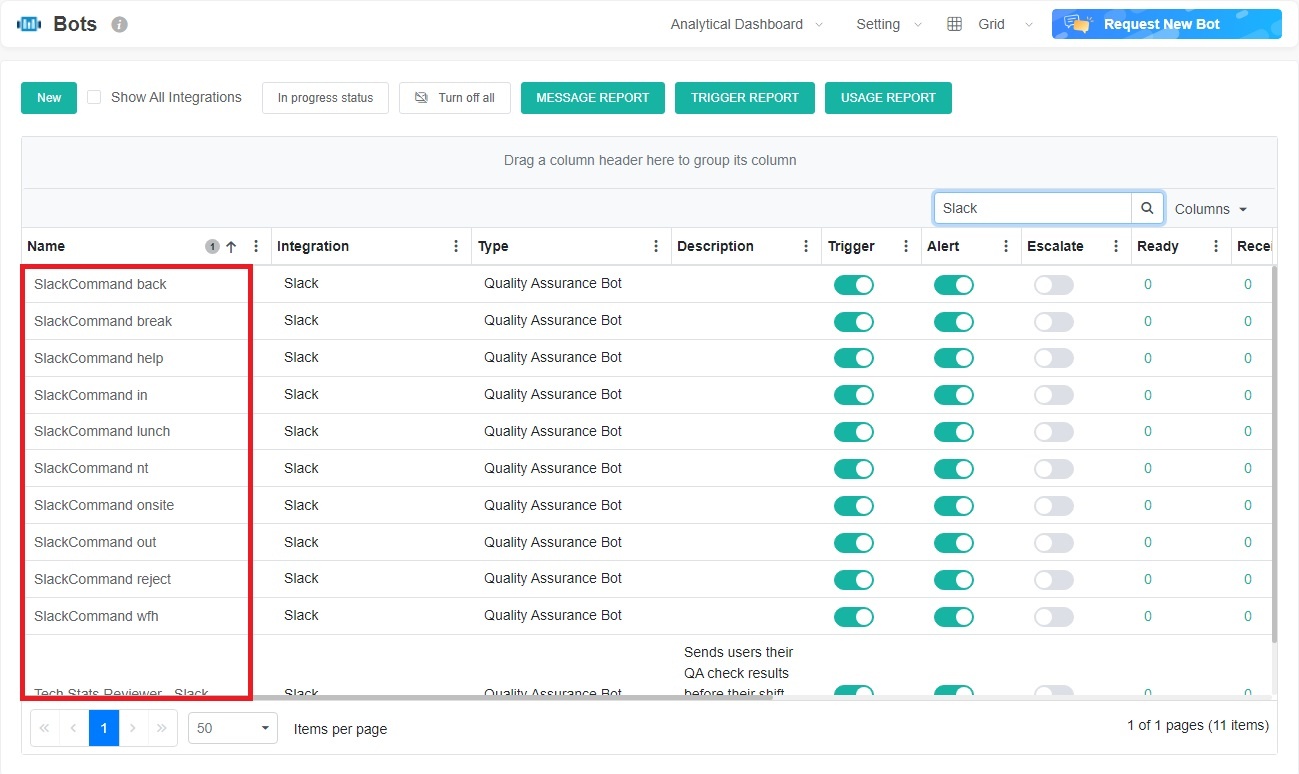
Before sending commands like in, out, etc. on Slack, you need to clone the bots related to Slack commands first. Go to Bots in MSPbots, search for Slack in the Template Bots tab, and clone each of the following 11 bots into My Bots. Please refer to How to clone a bot.
- Tech Stats Reviewer - Slack
- SlackCommand help
- SlackCommand break
- SlackCommand wfh
- SlackCommand lunch
- SlackCommand out
- SlackCommand in
- SlackCommand onsite
- SlackCommand back
- SlackCommand reject
- SlackCommand nt
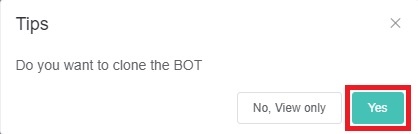
How to clone a bot:Anchor How to clone a bot How to clone a bot - Click on the bot you want to clone.
- When the Tips popup appears, click Yes.
- On the Clone page, configure the name, roles(The admin must be checked, and you can also select the roles that can see/access this bot based on your needs, such as user.), tags, description for the cloned bot.
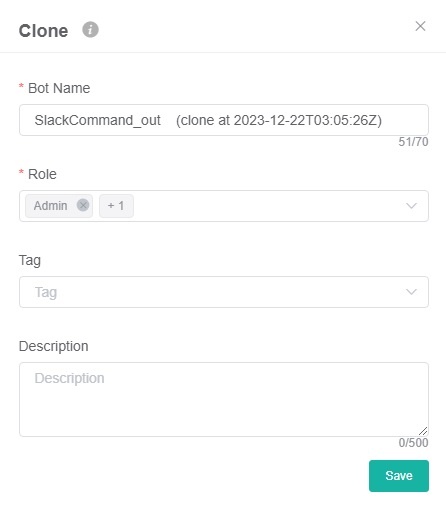
- Click Save. The cloned bot will inherit the original bot's switches, configuration conditions, etc. If there are no specific requirements, you do not need to make any additional configurations.
Do the following
- Configure theAlert bot block in MSPbots to send messages to Slack. For instructions on setting up the Alert bot block, refer to the section Define the Alert Script in the article How to Create a Bot.

- Next, add the MSPbots app to the channel in Slack.
- In the conversation bar of the channel where you want to send messages, type @
- and select MSPbots
- .


- When the prompt Want to add this person instead
- ? opens, click Add to Channel.
 Once the channel displays MSPbots joined, you can then send
- A message that says "MSPbots joined" means you can start sending messages to this channel in MSPbots.

...
Follow these steps to get the workspace name for logging in to Slack:

Currently, Attendance, help and nt commands are supported. Please note that when entering a command, you must prefix it with /. For example, /in, /help.
- Attendance commands
- /in - Updates your status to in and records the start time of your work in the database.
- /break - Updates your status to break and records the start time of your break.
- /lunch - Updates your status to lunch and records the start time of your lunch break.
- /onsite - Updates your status to onsite and records the time you are working at the client's location.
- /back - Updates your status to in and records the time when you switch back from the break or lunch status to working status.
- /out - Updates your status to out and records the end time of your work.
- /wfh - Updates your status to wfh and records the start time of your remote work at a location such as your home.
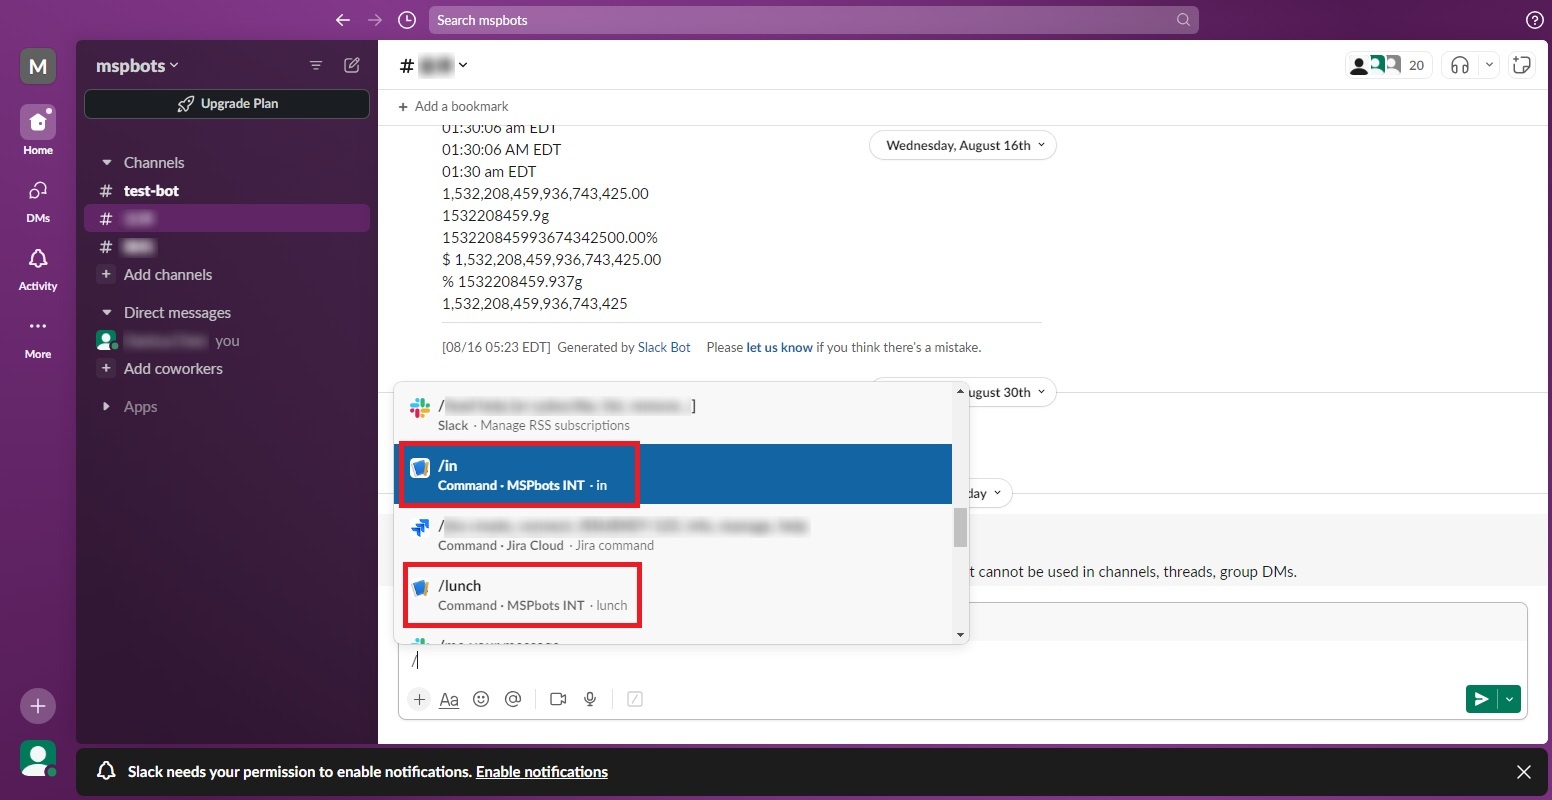
- Other commands
- /help - Entering the command /help gets the ticket's description and company details. This can help you quickly understand the content of the work order, reduce the time required to resolve issues, and improve work efficiency. It will return a message like the following:
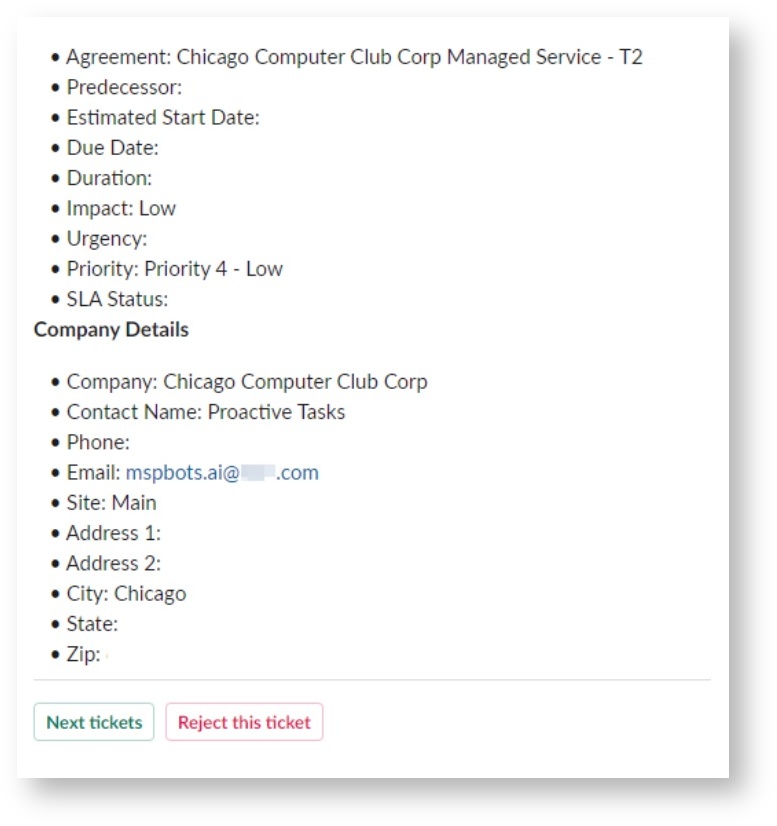
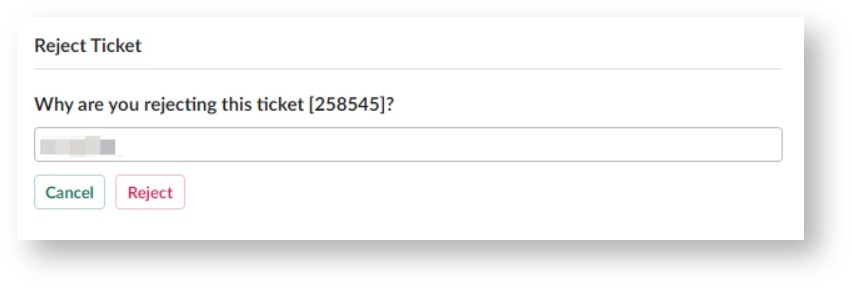
- Clicking the Next tickets button on this message returns the next ticket information, while clicking the Reject this ticket button brings up the Reject Ticket pop-up window where you must provide the reason for rejection.
- Clicking the Next tickets button on this message returns the next ticket information, while clicking the Reject this ticket button brings up the Reject Ticket pop-up window where you must provide the reason for rejection.
- /nt - Entering the /nt command returns the next ticket in your PSA that is in the highest priority and its details.
Info If commands are not displayed in the conversation list when you entering / before the command, or if you see the following message, please follow the instructions below:
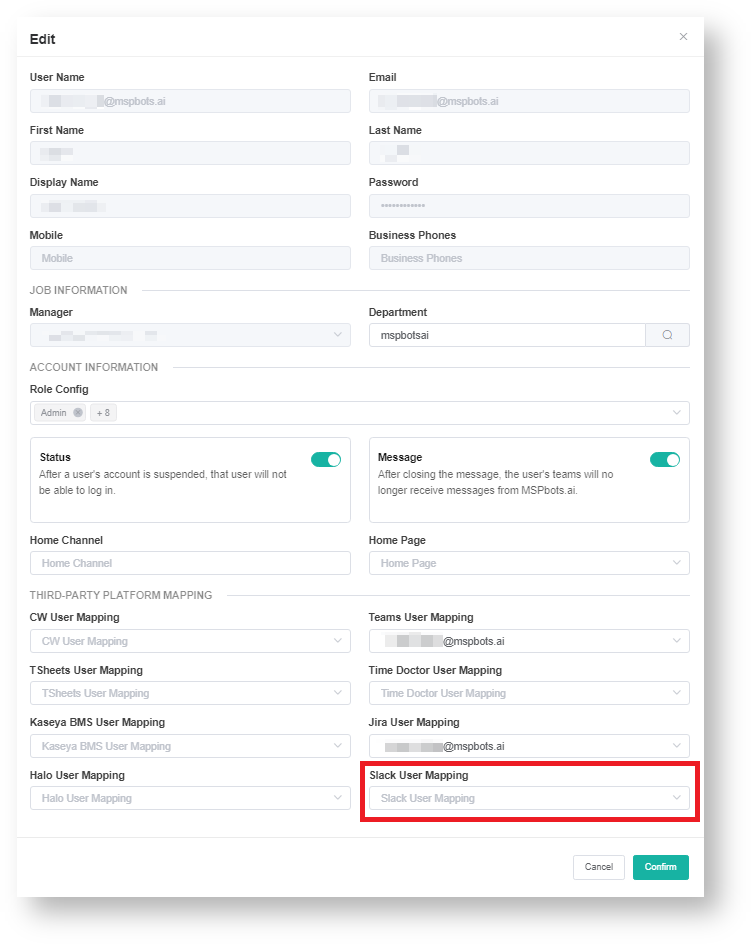
- Go to Settings > User Management on the MSPbots navigation bar.
- Find the user on the User Management list and click the corresponding Edit button under the Action column.
- In the Edit window, scroll down to the THIRD-PARTY PLATFORM MAPPING section and check if the user's name is selected under Slack User Mapping. If it is not selected, select it and click Confirm. If it is already selected, wait for the data synchronization to complete. This may take around ten minutes. after which you can start using commands in the Slack chat dialog.
- /help - Entering the command /help gets the ticket's description and company details. This can help you quickly understand the content of the work order, reduce the time required to resolve issues, and improve work efficiency. It will return a message like the following:
- Attendance commands
- Log in to Slack.
- Click your workspace on top of the sidebar and select your workspace profile from the dropdown to show your workspace details.
- When the Edit workspace details window opens, go to the URL field and copy your workspace name from the given URL. For example, if the URL is https://your-workplace.slack.com, copy your-workplace and use it for logging in to Slack.

We respect and protect your data. Read ourData Security and Privacy Policy to find out know how we use your information.
Related Topic
...
| Content by Label | ||||||||||
|---|---|---|---|---|---|---|---|---|---|---|
|
Overview
Content Tools