 N O T I C E
MSPbots WIKI is moving to a new home at support.mspbots.ai![]() to give you the best experience in browsing our Knowledge Base resources and addressing your concerns. Click here
to give you the best experience in browsing our Knowledge Base resources and addressing your concerns. Click here![]() for more info!
for more info!
Page History
You can configure reports to send according to a predefined schedule. This guide shows how to do this in the Schedule Report window.
What's on this page:
Table of Contents maxLevel 10 minLevel 2
...
You can set up dashboards and reports for all MSPbots apps, BI packages, and applicable integrations. Only users with admin permissions can create dashboards and reports. If you don't have enough permissions, contact your administrator for help.
How to set up a scheduled report
...
Follow these steps:
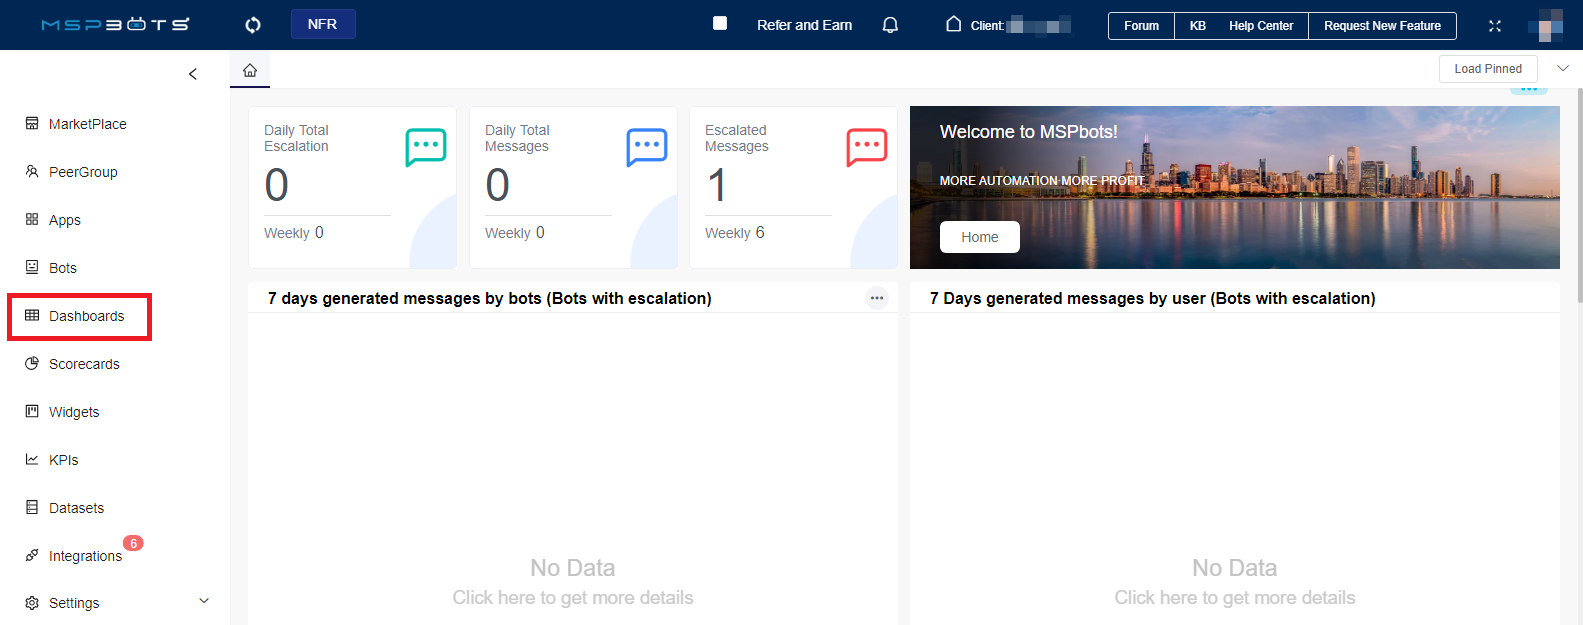
- Open the MSPbots app as administrator.
Navigate to Dashboards on the menu and open the dashboard or report that needs to be configured for a new schedule.
Click
 the Schedule Report icon to access the Schedule Report page.
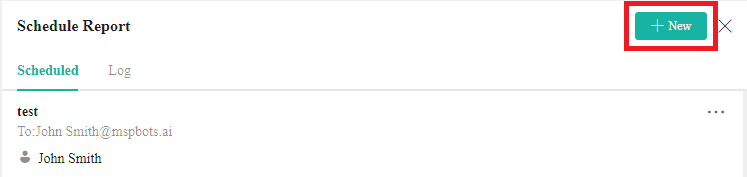
Next, click the +New button or the Create a New Schedule button. Both actions will open the New Schedule window.

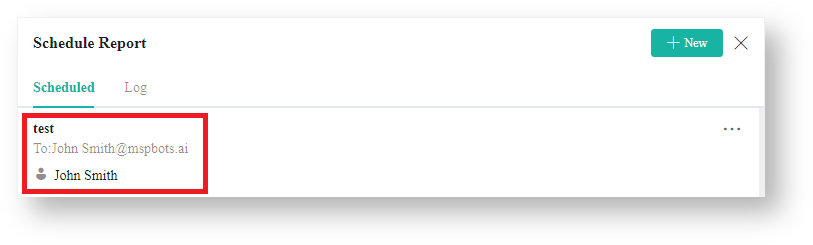
Info Existing scheduled reports are found in the Scheduled tab like the example in the image below.
- Enter a unique Schedule Name in the New Schedule window. The recipient's name is used as the default Schedule Name when the field is left blank.

Info The default delivery option is to send via email. There is no support for other options or customization at this time.
Go to the Email recipient(s) dropdown menu and select the emails of the recipients. You can select multiple email addresses.Anchor Send filtered dashboard Send filtered dashboard Send carbon copies or blind carbon copies of your report by clicking the CC or BCC links. You can also select multiple email addresses from these dropdown lists.
- Optional: Select the option Send filtered dashboard for the associated company of each recipient if you want to send scheduled reports with filters for the recipients' mapped company.
This option appears only when there is a slicer with QueryParams="Company" in the dashboard. If selected, you need to configure the PSA by selecting Autotask, ConnectWise, Kaseya, Syncro, or Halo.
For
more - the complete prerequisite information
, please refer to: Prerequisites for Using Company- for sending filtered dashboards, go to the section on prerequisites for using the company's PSA.
Optional: Enable Save Slicer to apply the selected slicers to the scheduled reports. This option only appears when your dashboard has slicers except the Company Slicer.

The Save Slicer option is enabled by default. When enabled, the current slicer list will be applied to scheduled reports.
The slicers on this list are those you added when you created your report and dashboard. If you need to modify the slicers, go to the dashboard and click Design > Add Widget to add or delete slicers.
Next, scroll down and set - Set the Frequency for sending the report.
- If needed, customize the time zone according to different locations and preferences worldwide.
- Select Advanced Scheduler > Setting to configure how often you want to send your report.

Include PDF Attachment - Select this option to send your report in PDF format. This is the default selection.
Include Shareable link - Select this option to automatically add the {{report_link}} token to attach your dashboard's link to the email. The placeholder {{report_link}} represents the actual dashboard link.- Next, select the sender's email from the From dropdown list.

- Then, type an appropriate subject in the Add a custom subject field, and click the
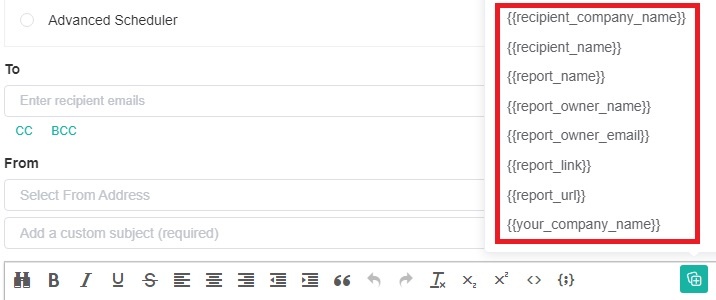
 add token icon. You can refer to the token descriptions below for guidance.
Info - {{recipient_company_name}} is for the recipient's company name.
- {{recipient_name}} is for the recipient's full name. Use first name and last name if the full name is not available.
- {{report_name}} is for the dashboard's name.
- {{report_owner_name}} is for the dashboard owner's name.
- {{report_owner_email}} is for the dashboard owner's email address.
- {{report_link}} is for the dashboard link. This link
. - in the email is ; when you click on it, you will be directly taken to the dashboard.
- {{report_url}} is for the dashboard's plain text URL. This URL in the email cannot be directly clicked to redirect to the dashboard. If you need to access it, you will need to copy the URL and open it in a browser.
- {{your_company_name}} is for the sender's company name. Select a token for the email subject from the list.
- Next, type the report body and click
 to add a token. Refer to the descriptions above as a guide.
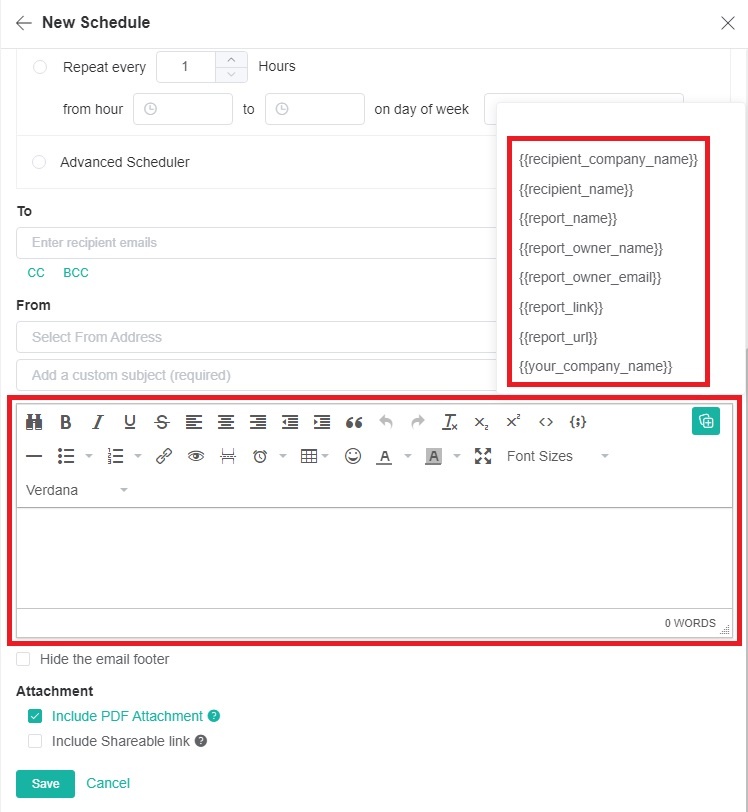
- Optional: Click on the Hide the email footer checkbox to hide the footer on the email.

- Move down to the Attachment section and select an option for your reporting requirement:
Include PDF Attachment - Select this option to send your report in PDF format. This is the default selection.
- Include Shareable link - Select this option to automatically add the {{report_link}} token to attach your dashboard's link to the email. The placeholder {{report_link}} represents the actual dashboard link.

- Click Save to keep the settings.
- The recipients will receive schedule report emails according to the frequency you have set.
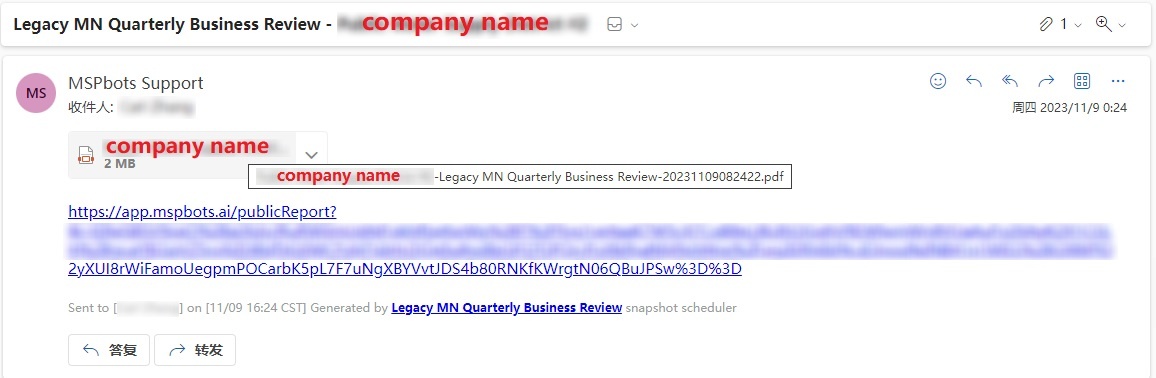
Info If the dashboard contains a slicer with QueryParams="Company", in order for the recipients to clearly identify the source of the scheduled reports regarding dashboards or reports sent via email, both the email subject and the PDF report file name include the company name obtained from the slicer with QueryParams="Company".
If the dashboard does not include a slicer with QueryParams="Company", the scheduled report received by recipients does not display the company name.
- After successful creation, the Scheduled tab displays the following information.
- Report Name
- Last Sent Timestamp
- Frequency
- Next Scheduled Time
- Recipients
- Saved Slicer(s)
- After successful creation, the Scheduled tab displays the following information.
- If you need to configure the report schedule, click the
 ellipsis button on the right to see the available actions.
- Edit - Clickthis option to modify the information of the scheduled report. When you're done, click Save.
- Send Now - Click this option to send the scheduled report email to the recipients.
- Send To Me - Click this option to send the scheduled report to your email. You can use this option to preview the report before it is sent to clients or teams.
- Delete - Click this option to delete the scheduled report. Confirm the deletion when prompted.
Move down to the Attachment section and select an option for your reporting requirement:


...

| Anchor | ||||
|---|---|---|---|---|
|
...
The PSA feature lets you share company-specific data using your company's PSA. To share a filtered dashboard:
- Follow the steps for How to set up a scheduled report.
- In Step 6, select the option Send filtered dashboard for the associated company of each recipient.
- Complete the steps as described and save.
The PSA
Prerequisites for Using Company's PSA
The PSA feature will only work if the following prerequisites are satisfied:
- The user
...
- utilizes Autotask, ConnectWise, Kaseya, Syncro, or Halo for ticket handling.
- The field for company_name, account_name, or nameis added to the columns display
...
- for the Dataset of the dashboard slicer.
...

...

- The client has a mapping relationship between the email and company or account name using the datasets below. MSPbots uses this mapping to sync the data from the client's PSA account.
- Dataset for Connectwise: ConnectWise Manage Contacts - API
- Dataset for Connectwise: ConnectWise Manage Contacts - API
...

- Dataset for Autotask: Autotask Contacts - API
...

- Dataset for Kaseya: Kaseya BMS Contacts Emails - API
...

- Dataset for Syncro: Syncromsp Contacts - API
...

- Dataset for Halo: Halo Users - API
...

The Scheduled Report feature will not send a report to the email addresses if the company is not mapped in the dataset.
- In the dashboard slicer's Widget Builder window, the user must input the word “Company”(case-sensitive)in the QueryParams field under the config tab.
...

Related Topics
...
Content by Label showLabels false max 7 showSpace false excludeCurrent true cql label in ("reports","share")
...
Overview
Content Tools