 N O T I C E
MSPbots WIKI is moving to a new home at support.mspbots.ai![]() to give you the best experience in browsing our Knowledge Base resources and addressing your concerns. Click here
to give you the best experience in browsing our Knowledge Base resources and addressing your concerns. Click here![]() for more info!
for more info!
N O T I C E
MSPbots WIKI is moving to a new home at support.mspbots.ai![]() to give you the best experience in browsing our Knowledge Base resources and addressing your concerns. Click here
to give you the best experience in browsing our Knowledge Base resources and addressing your concerns. Click here![]() for more info!
for more info!
MSPbots Widgets help you to quickly view key data and highlight action items at a glance. This article shows how you can create slicers on a widget which you can further customize according to your business needs.
Do these steps to create slicers:
- On the MSPbots menu, navigate to Settings.

2. On the Settings drop down menu, select the Slicer tab.

3. On the Slicer tab, click New Widget.

4. Choose the Dropdown List slicer type on the New Slicer window.

5. When the Widget Builder window opens, provide the following:
- Name - Give the widget a Name.
- Description - Provide a short Description.
- Role - Select User or Admin.
- Click the Apply button.

6. Check the dataset of the widget you wish to create the slicer and select accordingly.
7. Next, go to Dataset and click the + button. 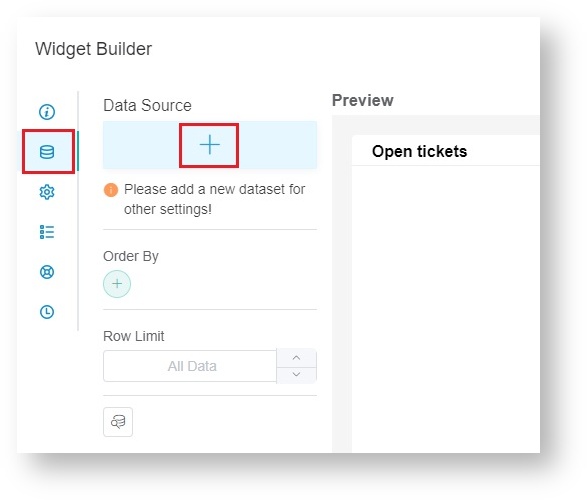
8. Select New Layer on the window that appears. This step opens the Dataset window.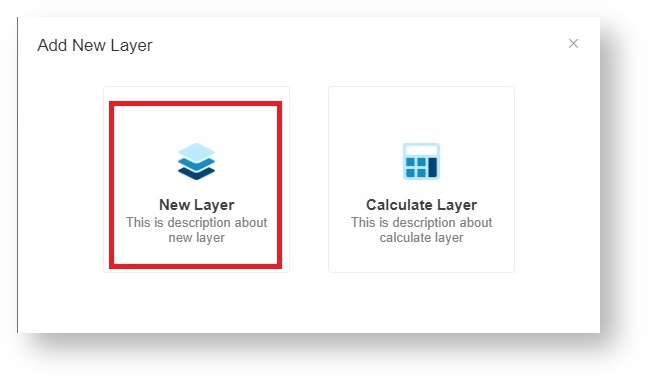
9. Do the following on the Dataset window:
- Select a dataset to use.
- Add columns by selecting an option from the Column Name dropdown list and assigning an Alias and Business Type for each. Click the + icon to add more rows.
- Add filters, measures, and dimensions.

8. Make sure to click the Remove Duplicate Data.
9. Click the Save button.
10. Click Apply. This will show a preview of the target card that you created.
11. Next, go to Config and provide data for the following fields:
- Text - Set the Alias of the column name in the text field.
- Value - Set the Alias of the column name in the text field.
- QueryParams - Set the Alias of the column name in the text field.
- Watermarks - Set the Alias of the column name in the text field. Ex. Select a Board.
- Filter Label - Input the filter label.
- Select - Select if you want to include ALL or Only First.

11. Click Apply. This will show a preview of the slicer you just created.

Overview
Content Tools
N O T I C E
MSPbots WIKI is moving to a new home at support.mspbots.ai![]() to give you the best experience in browsing our Knowledge Base resources and addressing your concerns. Click here
to give you the best experience in browsing our Knowledge Base resources and addressing your concerns. Click here![]() for more info!
for more info!