 N O T I C E
MSPbots WIKI is moving to a new home at support.mspbots.ai![]() to give you the best experience in browsing our Knowledge Base resources and addressing your concerns. Click here
to give you the best experience in browsing our Knowledge Base resources and addressing your concerns. Click here![]() for more info!
for more info!
N O T I C E
MSPbots WIKI is moving to a new home at support.mspbots.ai![]() to give you the best experience in browsing our Knowledge Base resources and addressing your concerns. Click here
to give you the best experience in browsing our Knowledge Base resources and addressing your concerns. Click here![]() for more info!
for more info!
This article is helping users who are using Mailjet as an SMTP server to configure outgoing mail.
To configure in Mailjet
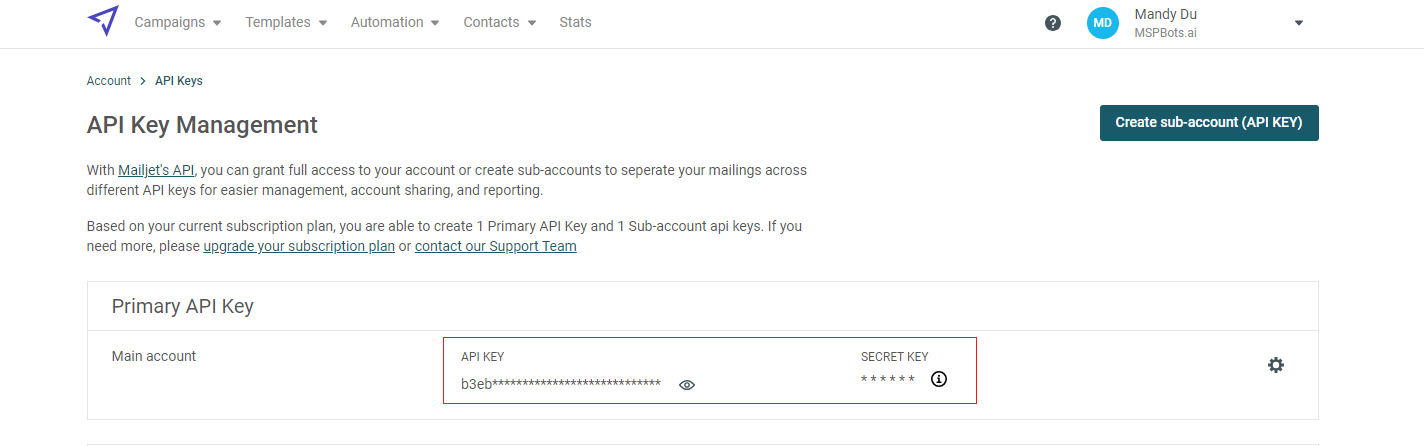
- Login Mailjet with your account and go to Account settings > REST API > API Key Management (Primary and Sub-account).
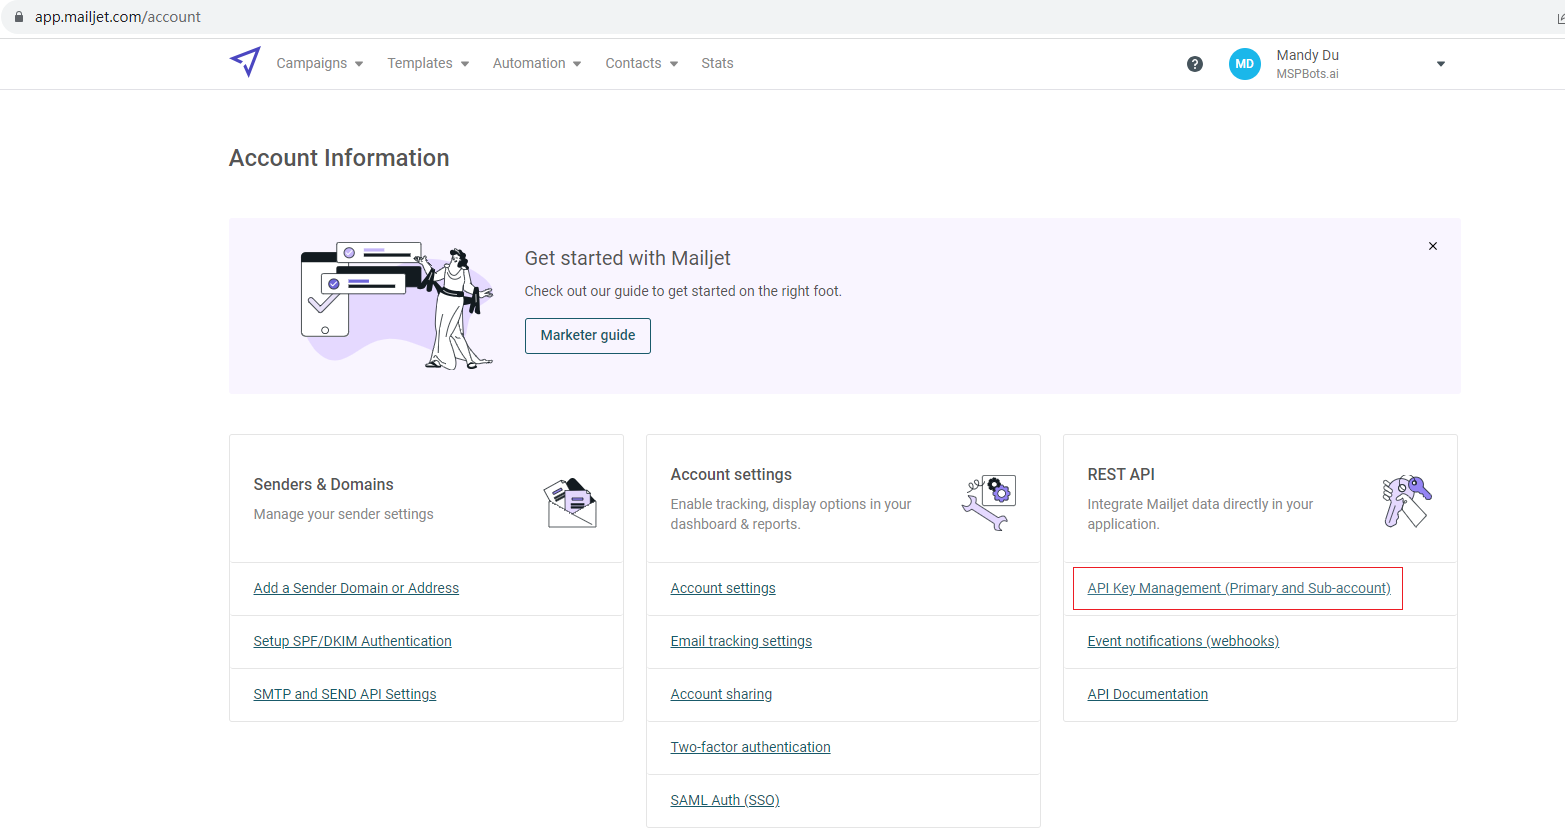
- Generate an API key and secret key.
To customize the sending address of outgoing emails
- Open the MSPbots app and go to Settings > System.
- Click Outgoing Mail in the upper right corner of the Settings tab.
- Click Add and fill out the form.
- Enable the Show From Address option and enter a valid email address in the From Address field, then check the verification email sent to the email address you provided.
- Please note that the From Address configured here needs to be the same as the email name used to log in to Mailjet.
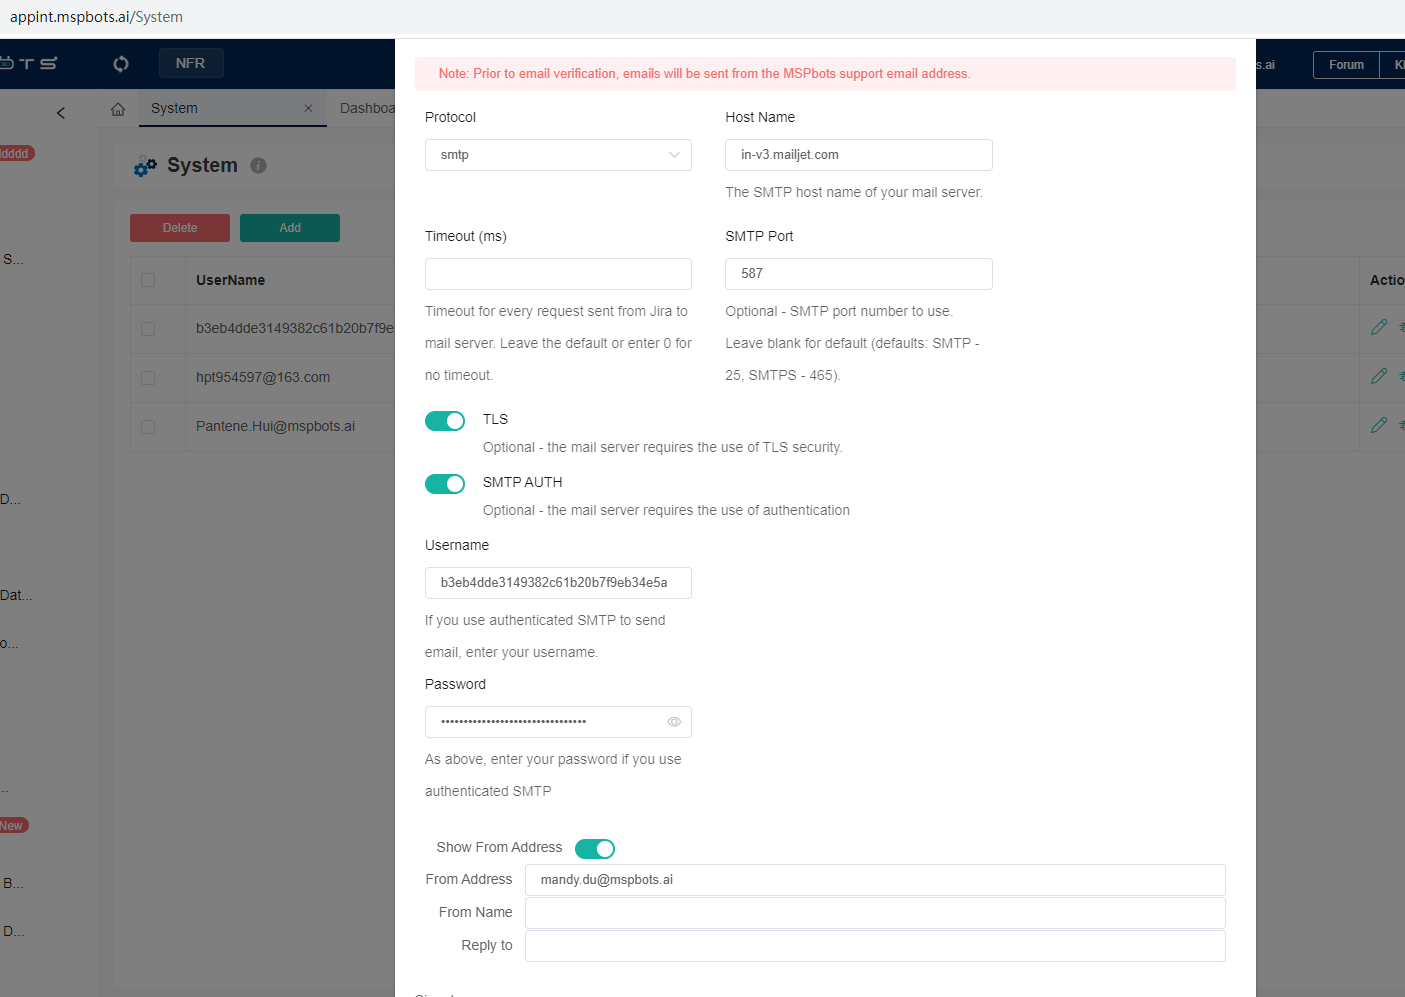
- Click Test Connection at the bottom of the form to verify if your connection is successful.
- Once you have verified your connection, click Confirm to save the settings.
This action will prompt you to verify your email access. - Open the verification email sent to the address you provided for configuration. Click the Verify link in the email.
- Your email address should now appear on the System tab. A Verified status signifies that the SMTP server configuration is complete.
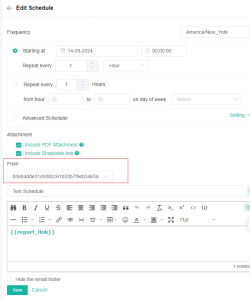
- Check if the email you added now appears on the From dropdown selection of the Share Dashboard function. If it does, you can start sending reports and bot messages using this custom email.
Refer to the following articles for more information on sending snapshots and bot messages: - When the snapshot is triggered, you can check the email delivery status on Mailjet.
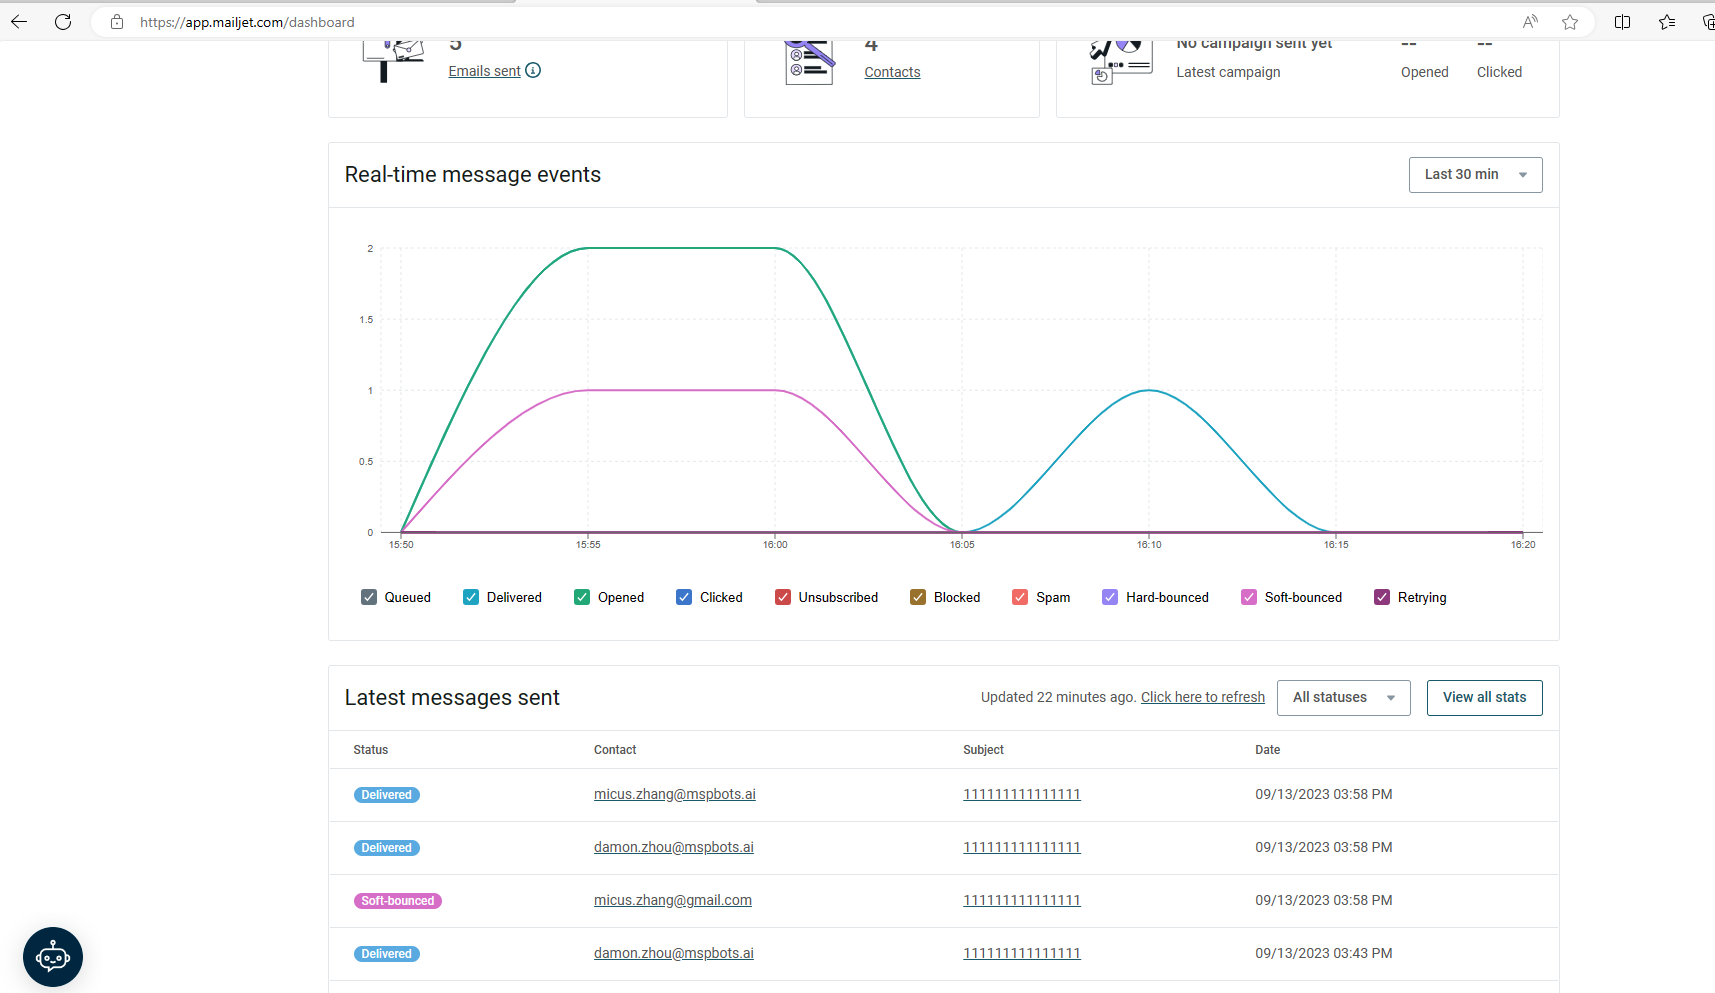
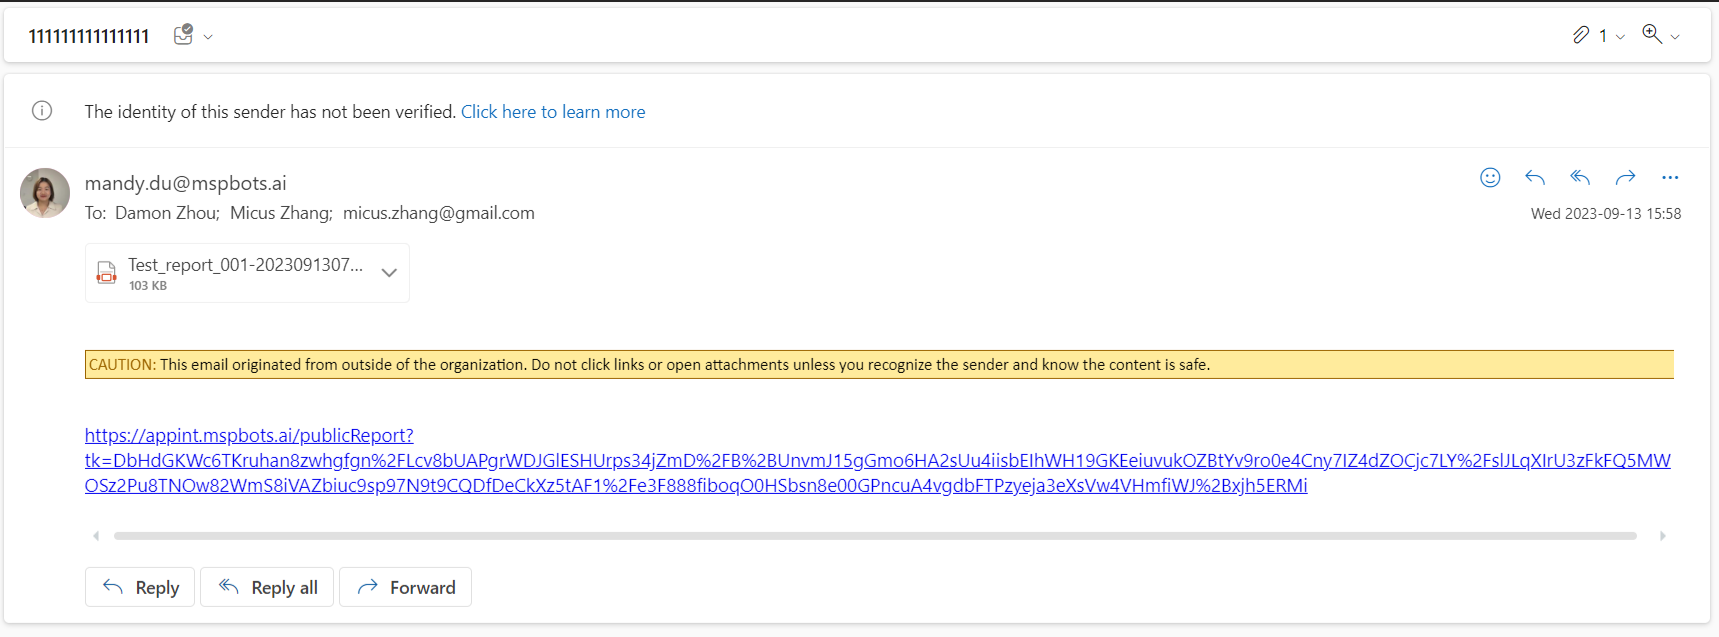
- When you see the status is Delivered, you can go to the inbox to check.
Overview
Content Tools
N O T I C E
MSPbots WIKI is moving to a new home at support.mspbots.ai![]() to give you the best experience in browsing our Knowledge Base resources and addressing your concerns. Click here
to give you the best experience in browsing our Knowledge Base resources and addressing your concerns. Click here![]() for more info!
for more info!