 N O T I C E
MSPbots WIKI is moving to a new home at support.mspbots.ai![]() to give you the best experience in browsing our Knowledge Base resources and addressing your concerns. Click here
to give you the best experience in browsing our Knowledge Base resources and addressing your concerns. Click here![]() for more info!
for more info!
 N O T I C E
MSPbots WIKI is moving to a new home at support.mspbots.ai![]() to give you the best experience in browsing our Knowledge Base resources and addressing your concerns. Click here
to give you the best experience in browsing our Knowledge Base resources and addressing your concerns. Click here![]() for more info!
for more info!
The comprehensive dashboards and smart Business Intelligence (BI) solutions that come with Xero's integration with MSPbots provide small businesses with more opportunities to grow and enhance business management. This article is your guide for setting up this integration so that you can start utilizing MSPbots automation with Xero to get books done faster and to track bills and payments, inventory, invoicing, purchase orders, and reporting more efficiently.
What's on this page:
Prerequisites
You must have the following to ensure a successful connection between MSPbots and Xero:
- A standard or advisor role to your account in the Xero app
- Admin role for modifying the settings in the MSPbots app
How to connect Xero to MSPbots
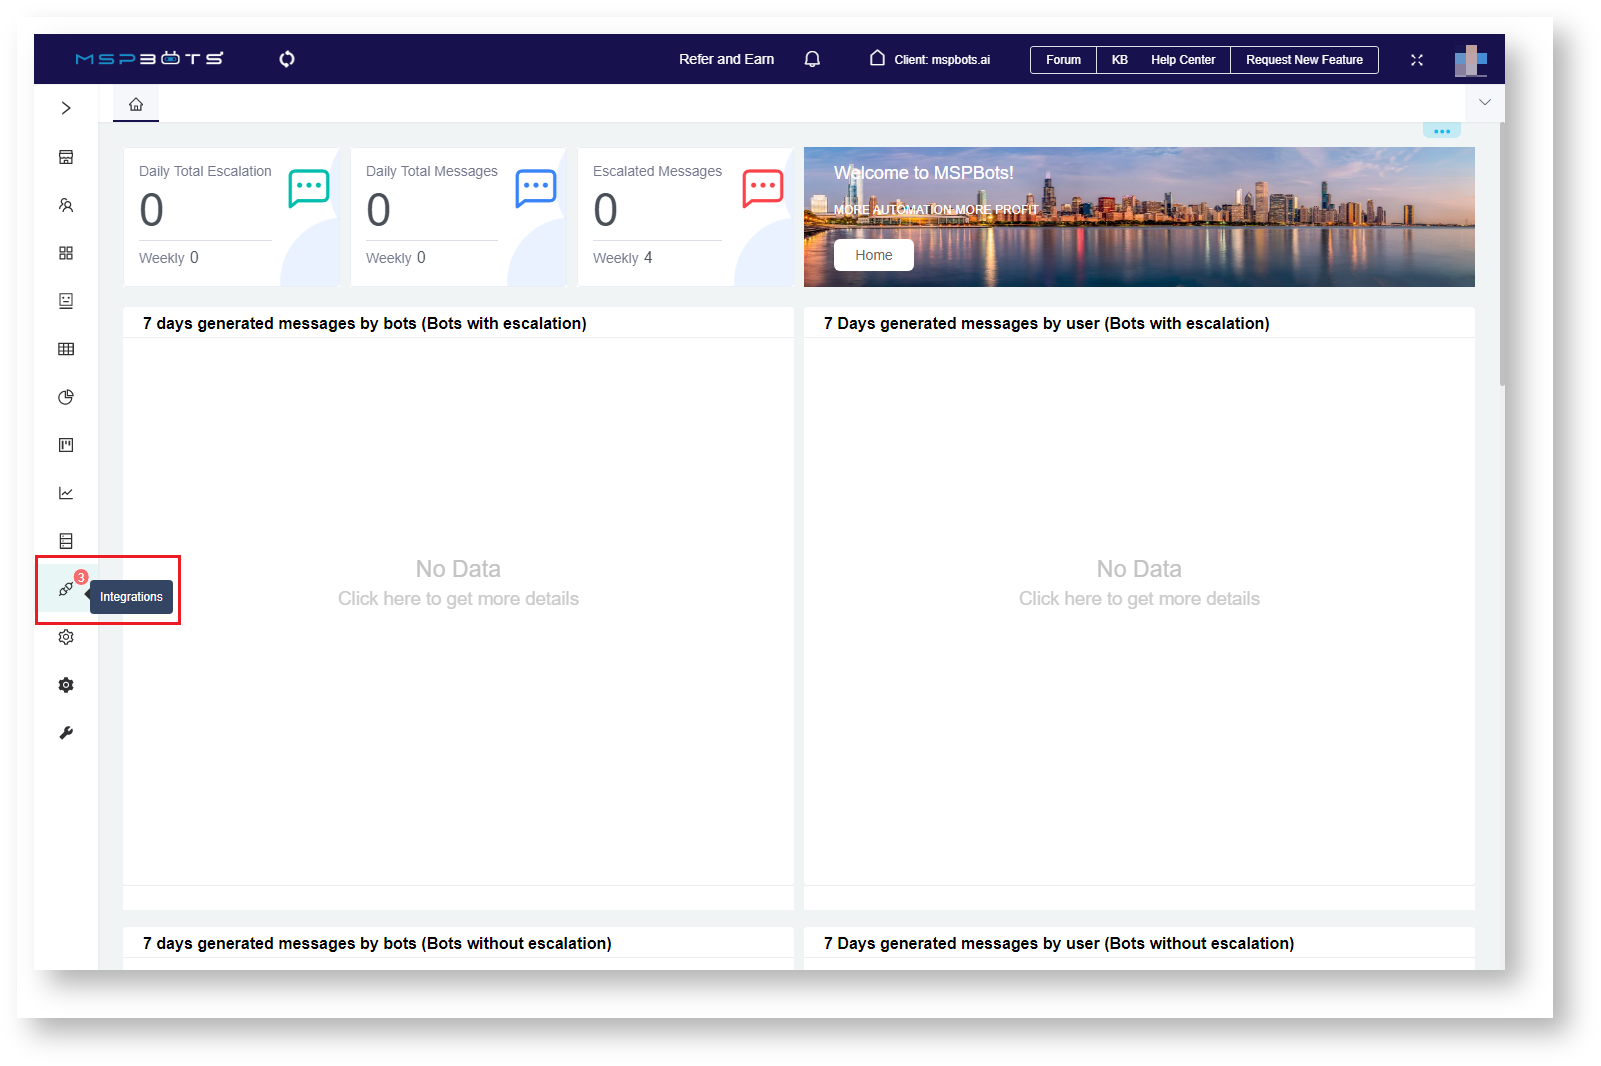
- Open the MSPbots app and go to Integrations.
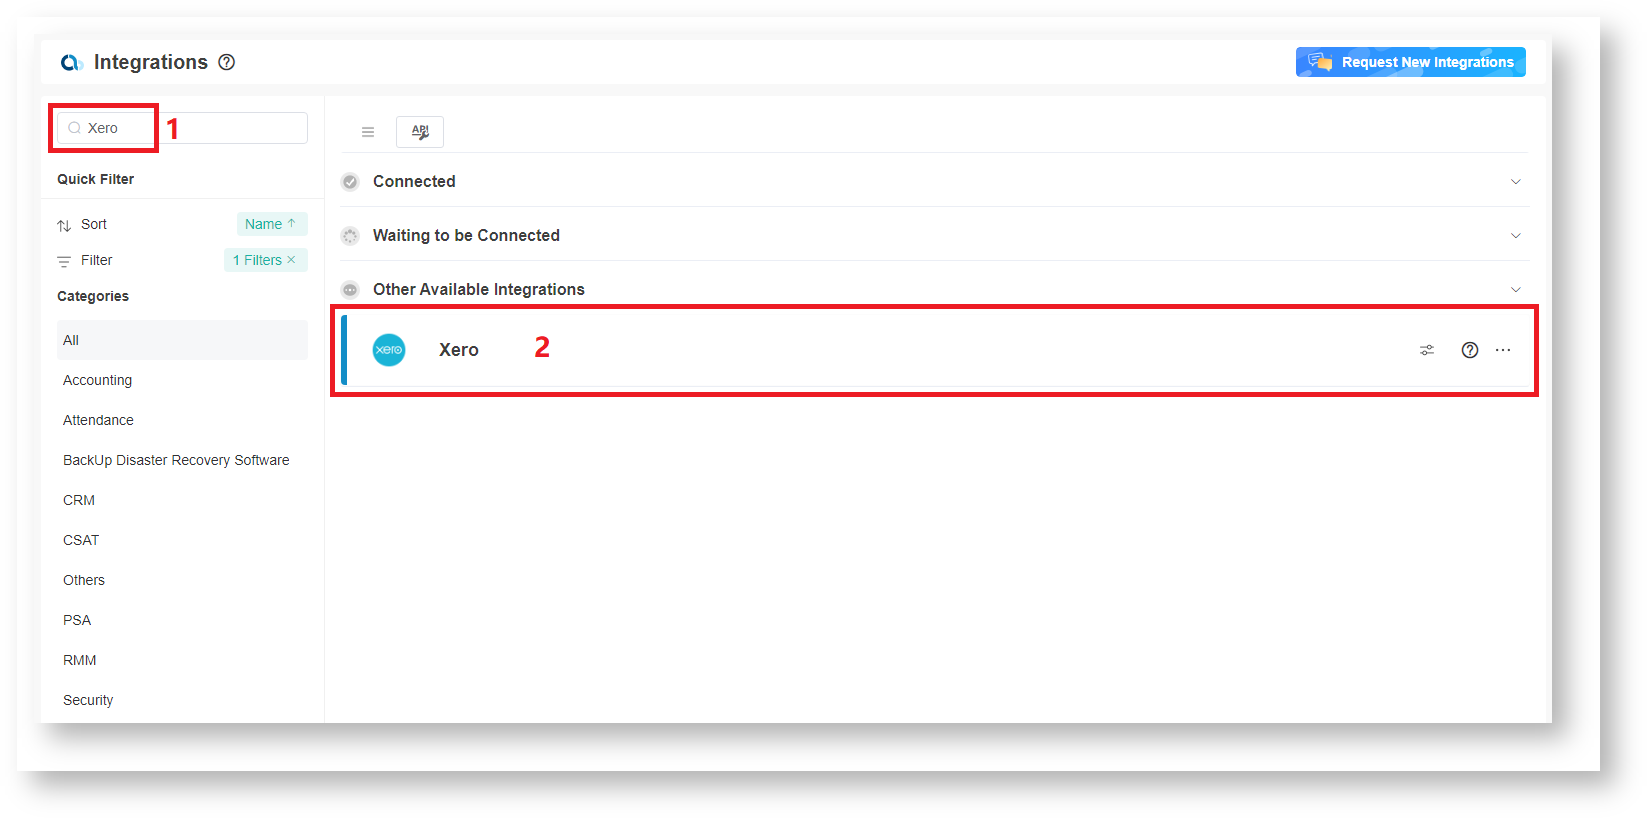
- In the Integrations window, search for Xero and click it to open the connection settings.
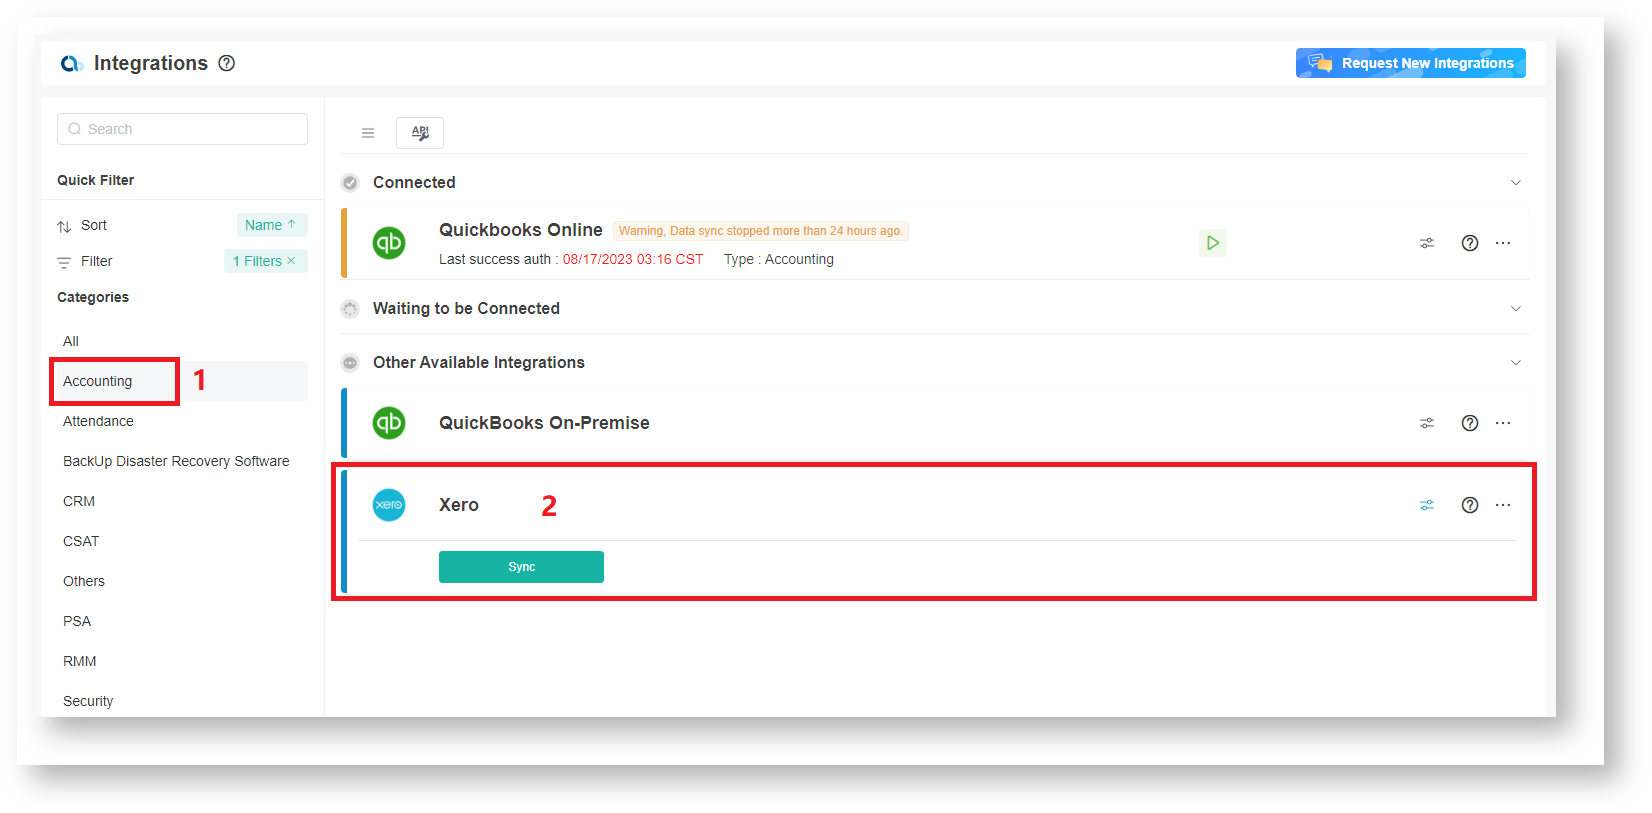
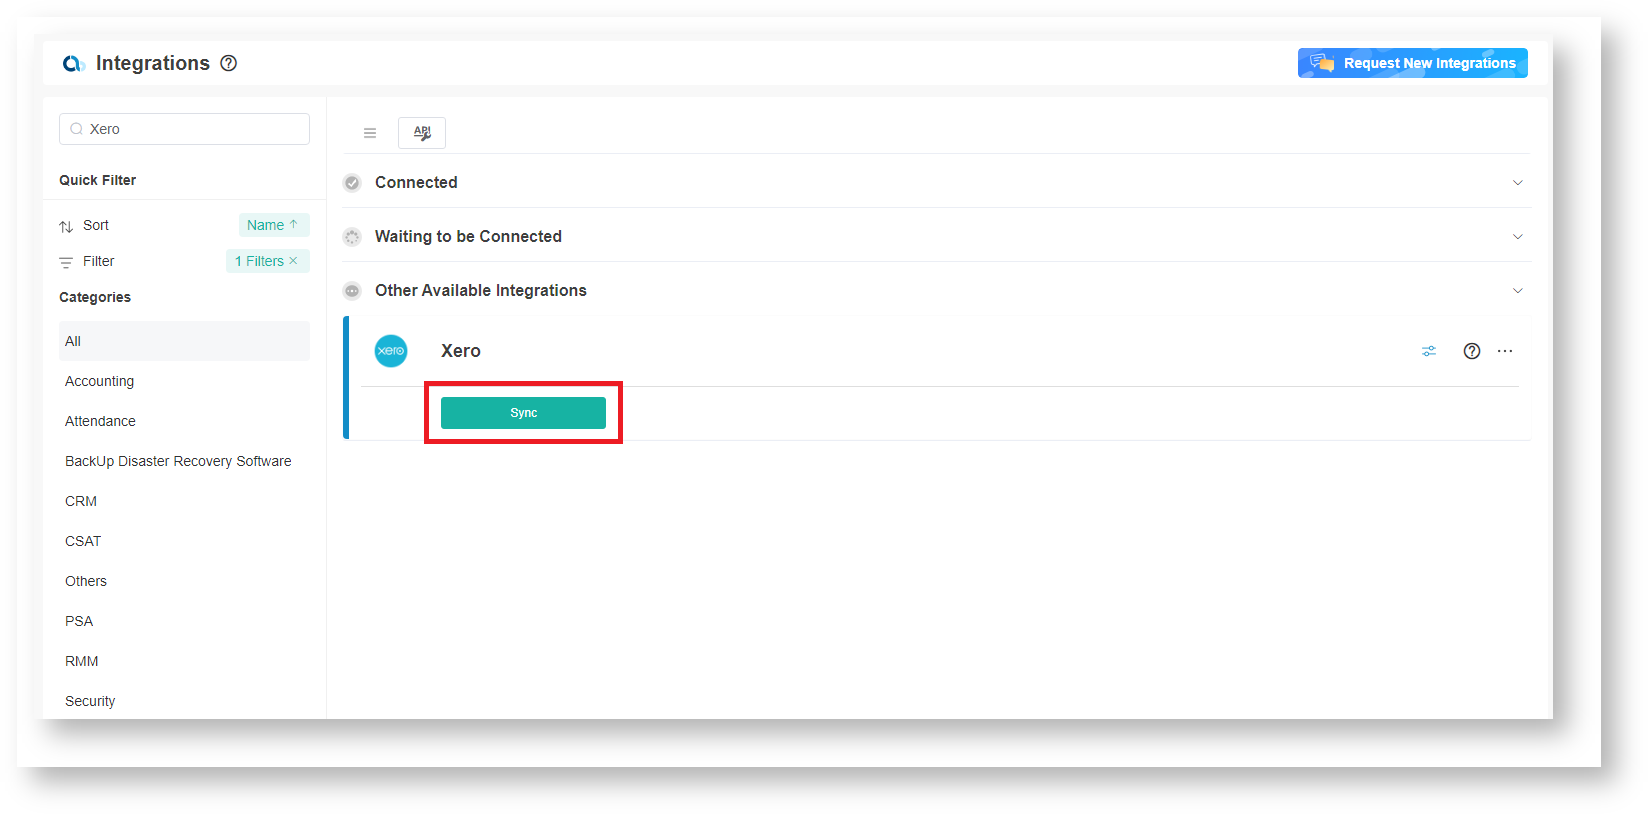
As an alternative, go to the Categories section on the side menu, select Accounting, and click Xero. - Next, click Sync to authorize MSPbots to connect to your Xero company files. This action will open the login page for Xero. If you are already logged in, you will be directed straight to the Xero application.
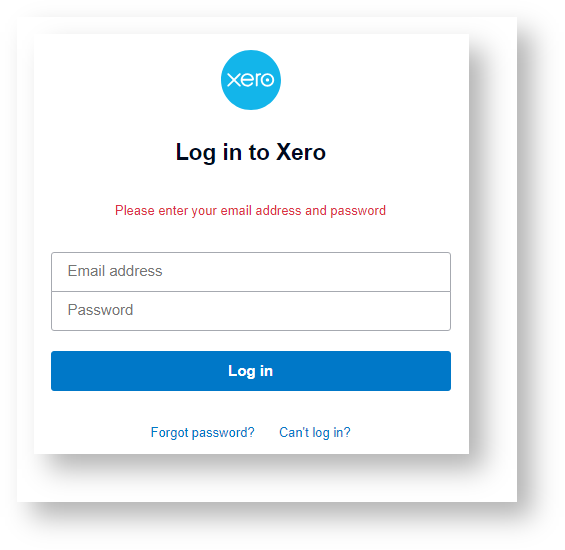
- When the Log in to Xero pop-up opens, enter your Xero Email address and Password and click Log in.
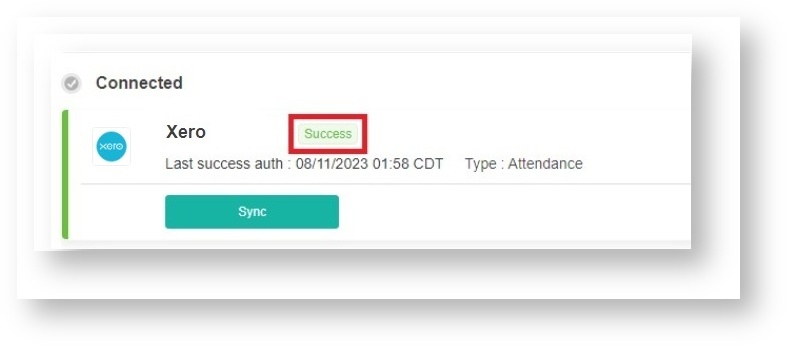
You have successfully connected MSPbots to Xero when the pop-up with the message "MSPbots oauth redirect success!" appears. - Go back to Integrations on the MSPbots app to verify your connection. The status "Success" should be displayed beside Xero.
The data sync should be completed within 20-30 minutes. Once the data source is saved, the dashboard, reports, datasets, and pointers will be added to your account.
