 N O T I C E
MSPbots WIKI is moving to a new home at support.mspbots.ai![]() to give you the best experience in browsing our Knowledge Base resources and addressing your concerns. Click here
to give you the best experience in browsing our Knowledge Base resources and addressing your concerns. Click here![]() for more info!
for more info!
Page History
...
- Gather the following information:
- ConnectWise Manage URL
- Company ID
- Create Security Role for MSPbots
- Log in to your ConnectWise Manage Console,
- Click System / Security Roles
- You can copy some roles if they have all read-only access already or you can create a new role
- Role ID: MSPbots
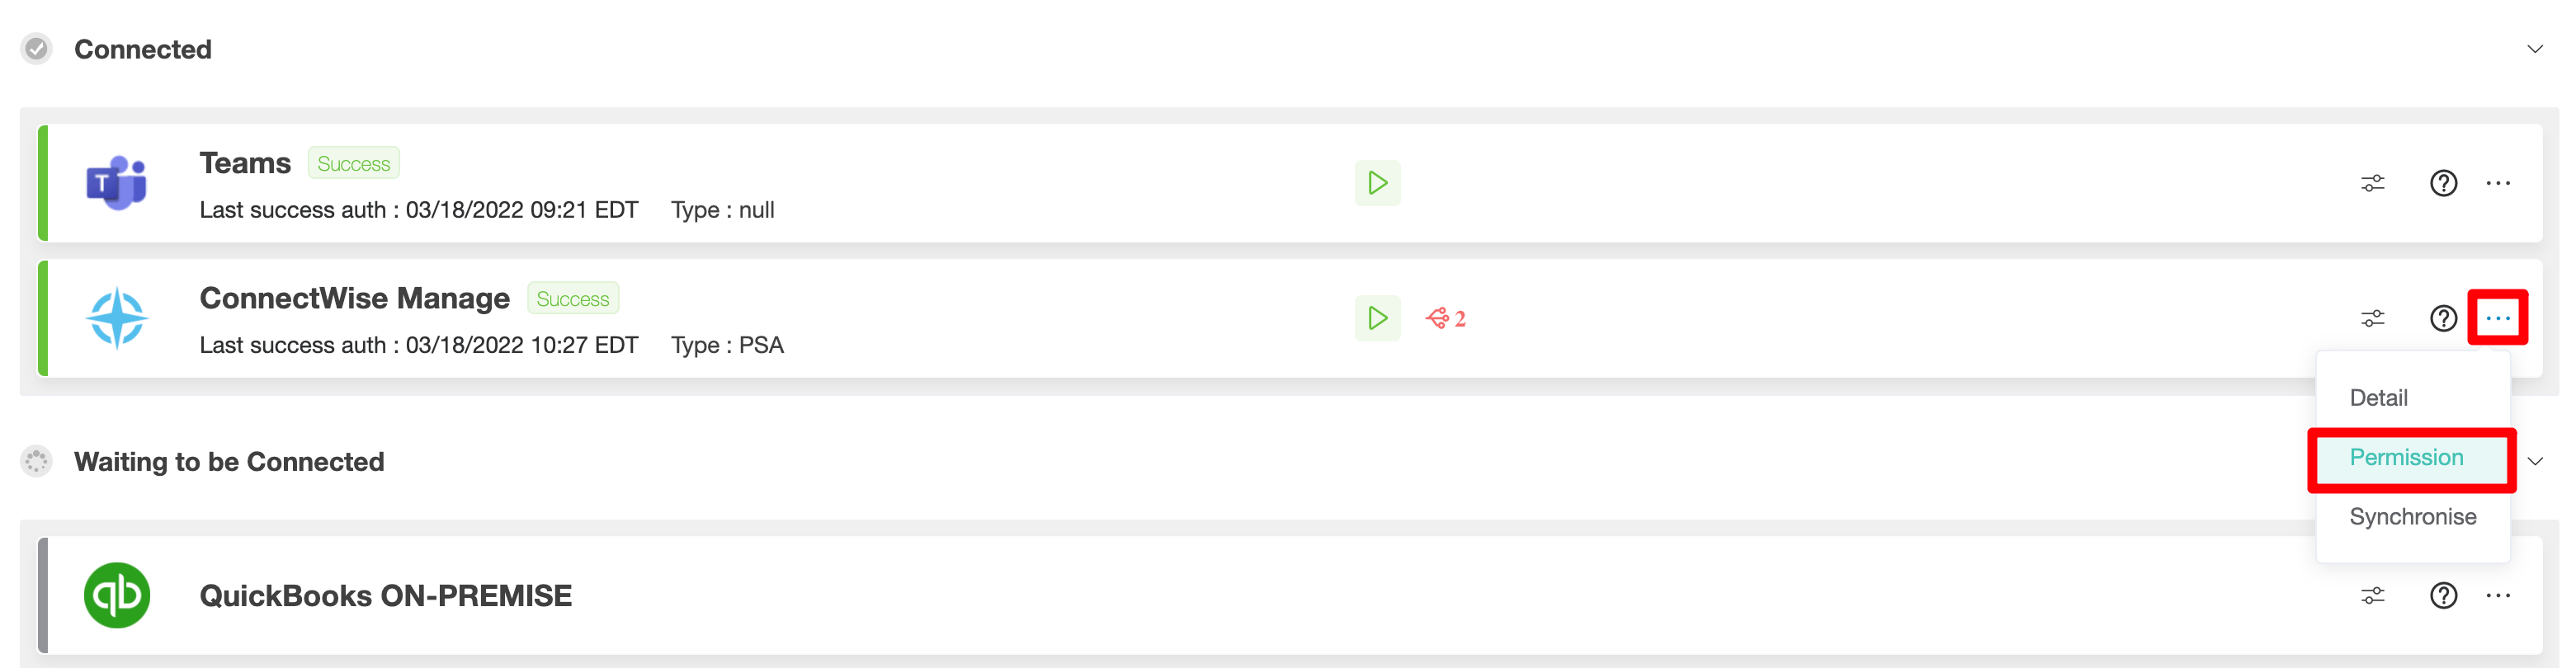
Permission:
- Please set "All" to "Inquire level" for all fields, no add, edit, delete level permission is needed, for now, keep them at "None".
- Please check the permission using the permission checking function.
- Make sure you also check the customized permissions:
- It is very important for the MSPbots to have permission to read your data, without data, the bots/reports won't work.
Since we need data to create dashboards and drive the bots for automation, just share whatever data that you are comfortable sharing and of course any data that you want to analyze via dashboards or create automation with. For example, if you want the auto dispatchers to put a higher priority on clients who pay you more, we need their MRR data. Most MSPs share everything since we have a lot of pre-built dashboards, except the password field.
- Please set "All" to "Inquire level" for all fields, no add, edit, delete level permission is needed, for now, keep them at "None".
- Create API key
- Click System / Members / API Members / +
- Fill in the blanks and select options on the required fields marked with a "*".
- Put the member ID and Member Name: MSPbots
- For the required drop-down fields, choose an option based on your company configuration
- Click Save to go to the next screen
- Role ID: MSPbots
- Click API Keys, then "+", then type "MSPbots" in the description, and save.
- You will get the Public Key and Private Key. Copy and paste them into the setup window in MSPBOTS to finish the setup.
- Set up your API in MSPbots
- Login to Integration
- Navigate to ConnectWise Manage
- Click Config option
- Copy and paste the details into the setup window

...
Overview
Content Tools