 N O T I C E
MSPbots WIKI is moving to a new home at support.mspbots.ai![]() to give you the best experience in browsing our Knowledge Base resources and addressing your concerns. Click here
to give you the best experience in browsing our Knowledge Base resources and addressing your concerns. Click here![]() for more info!
for more info!
Page History
To make a date range slicer:
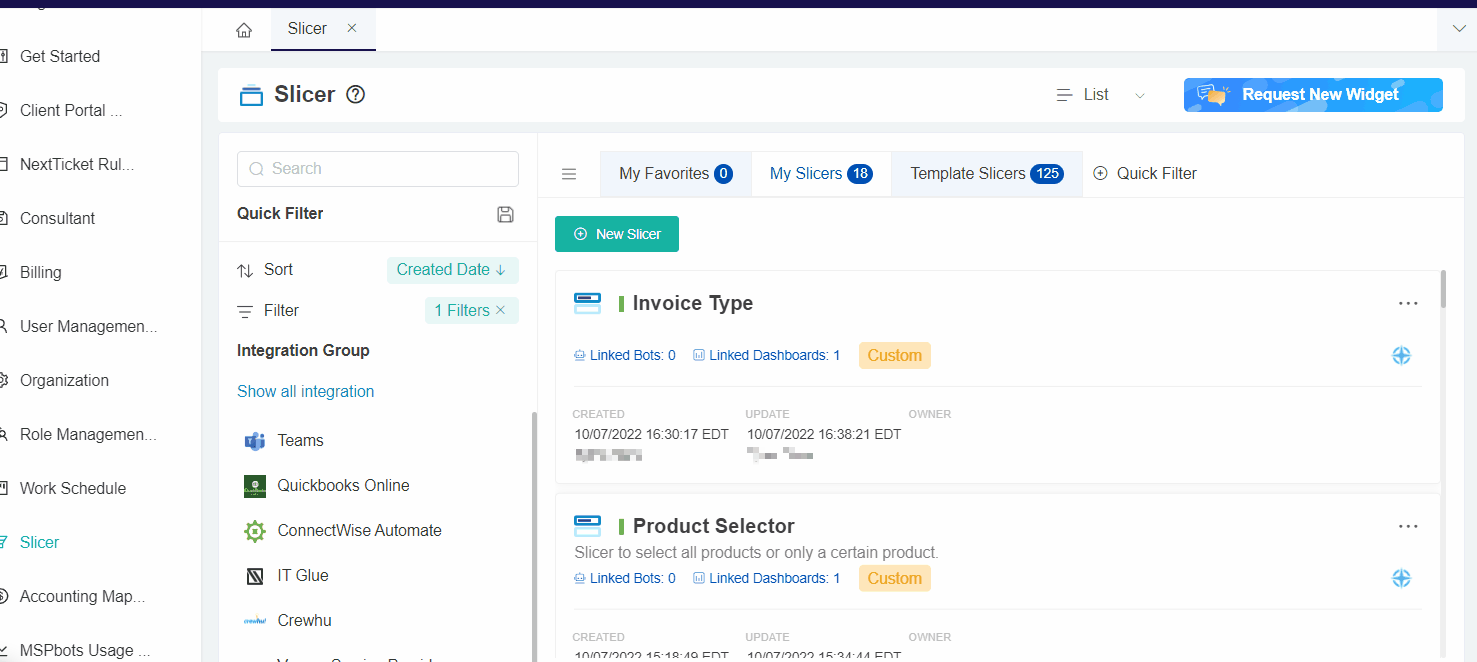
- On the MSPbots app menu. navigate to Settings > Slicer.

- Click the + New Slicer button.
- When the New Widget window appears, select the type of slicer you need to create. For our example, select Date Range.
- On the Widge Builder window, enter the widget Name and Description, then click Save.
- Click the configuration icon snd select a pre-defined Date Range setup.

- Keep the default settings for Date From and Date To Query Parameters.
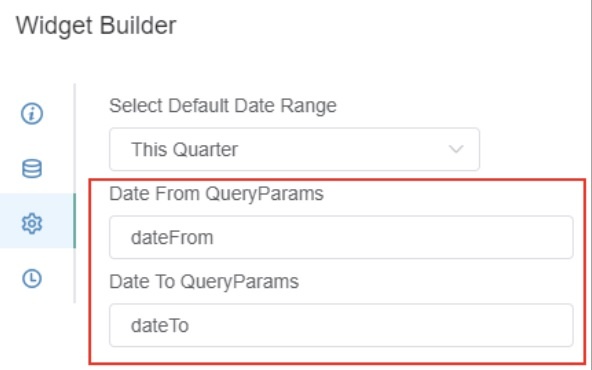
- Then, click Apply to save. This action will show the following notification.

- To check your new slicer, go back to Slicer on the app menu then click the My Slicers tab.

- Add the slicer to your dashboard. See How to Add a Slicer to the Dashboard.
| Content by Label | ||||||||||||
|---|---|---|---|---|---|---|---|---|---|---|---|---|
|
How to create a Slicers
1. Go to Settings, then click Slicer
2. Click + New Slicer icon to create a new slicer
3. Select specific slicer option to create: Date Range; Dropdown List ; Input; Cascader List; and User Dropdown.

3.1. Creating a Date Range slicer
3.1.1 Select Date Range

3.1.2. Fill-in the widget name and description
3.1.3. Click the Dataset icon.

Note: No need to add a datasource as the Date Range slicer has default date range setup.
3.1.4. Hover into the right side, and click the calendar icon. This shows the predefine date range setup and custom date options.

Overview
Content Tools