 N O T I C E
MSPbots WIKI is moving to a new home at support.mspbots.ai![]() to give you the best experience in browsing our Knowledge Base resources and addressing your concerns. Click here
to give you the best experience in browsing our Knowledge Base resources and addressing your concerns. Click here![]() for more info!
for more info!
Page History
This guide is intended for clients that want to delete user accounts for staff members who have left their organization. It illustrates shows how to switch a user's account status in User Management Attendance Manager from Enabled to Disabled. The stages in this method demonstrate how to change a user's account status from disabled to enabled and vice versa. It only applies to users whose accounts are disabled, who must actively disable them in MSPbots to use the app, or who must activate or reactivate their accounts to use the MSPbots app.
This process can be performed by an admin only. Individuals assigned to disabled accounts are unable to access the MSPbots app after being disabled. When a user is removed from your AD account, it will be immediately synced in 10 minutes and disabled in MSPbots.
...

...
This procedure is for clients that want to give Attendance Manager access to new users or to delete user accounts for staff members who have left their organization.
| Note |
|---|
Only an admin can perform this process. Disabled accounts will no longer have access to Attendance Manager. |
To enable or disable an account
...
- Log in to the MSPbots app using your Office 365 account and go to Apps.

- On the Apps tab, look for Attendance and open it.

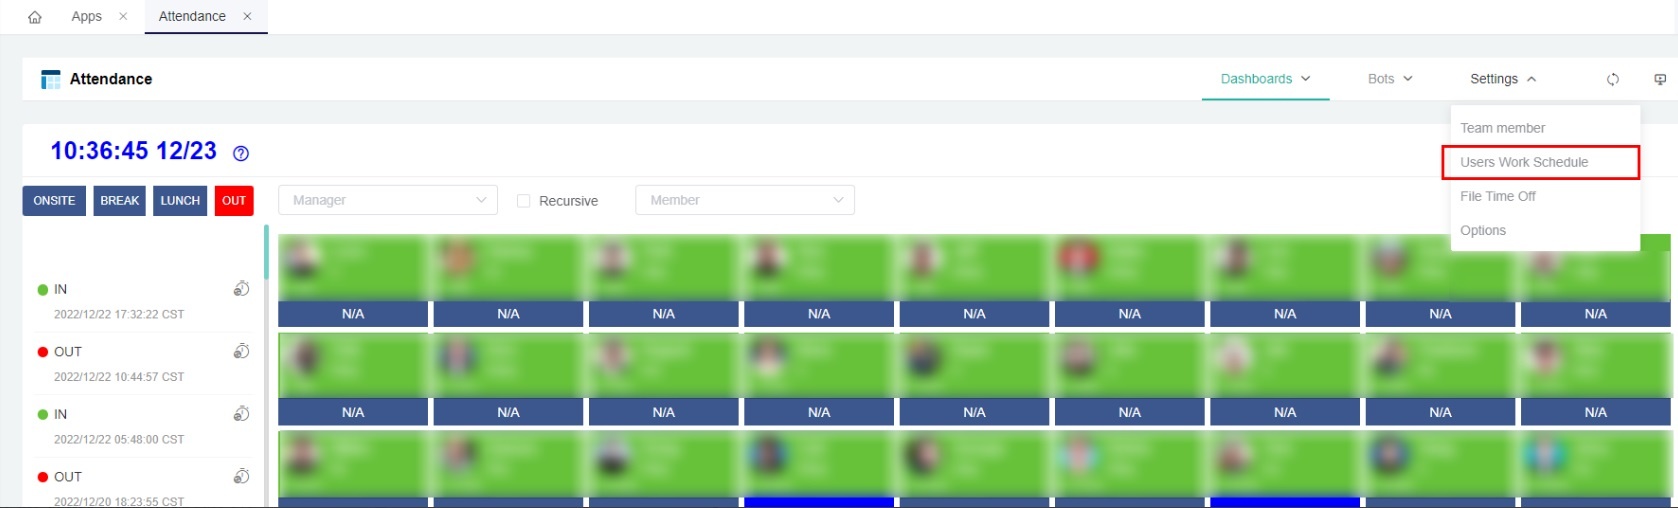
- Next, on the Attendance tab, go to Settings and select Users Work Schedule from the dropdown menu.
- O the Users Work schedule tab, tick the checkbox beside the user's name.

To enable a user, click Enable attendance or turn on the toggle switch under the Attendance column.
To disable a user, click Disable attendance or turn off the toggle switch under the Attendance column.
Overview
Content Tools