 N O T I C E
MSPbots WIKI is moving to a new home at support.mspbots.ai![]() to give you the best experience in browsing our Knowledge Base resources and addressing your concerns. Click here
to give you the best experience in browsing our Knowledge Base resources and addressing your concerns. Click here![]() for more info!
for more info!
Page History
...
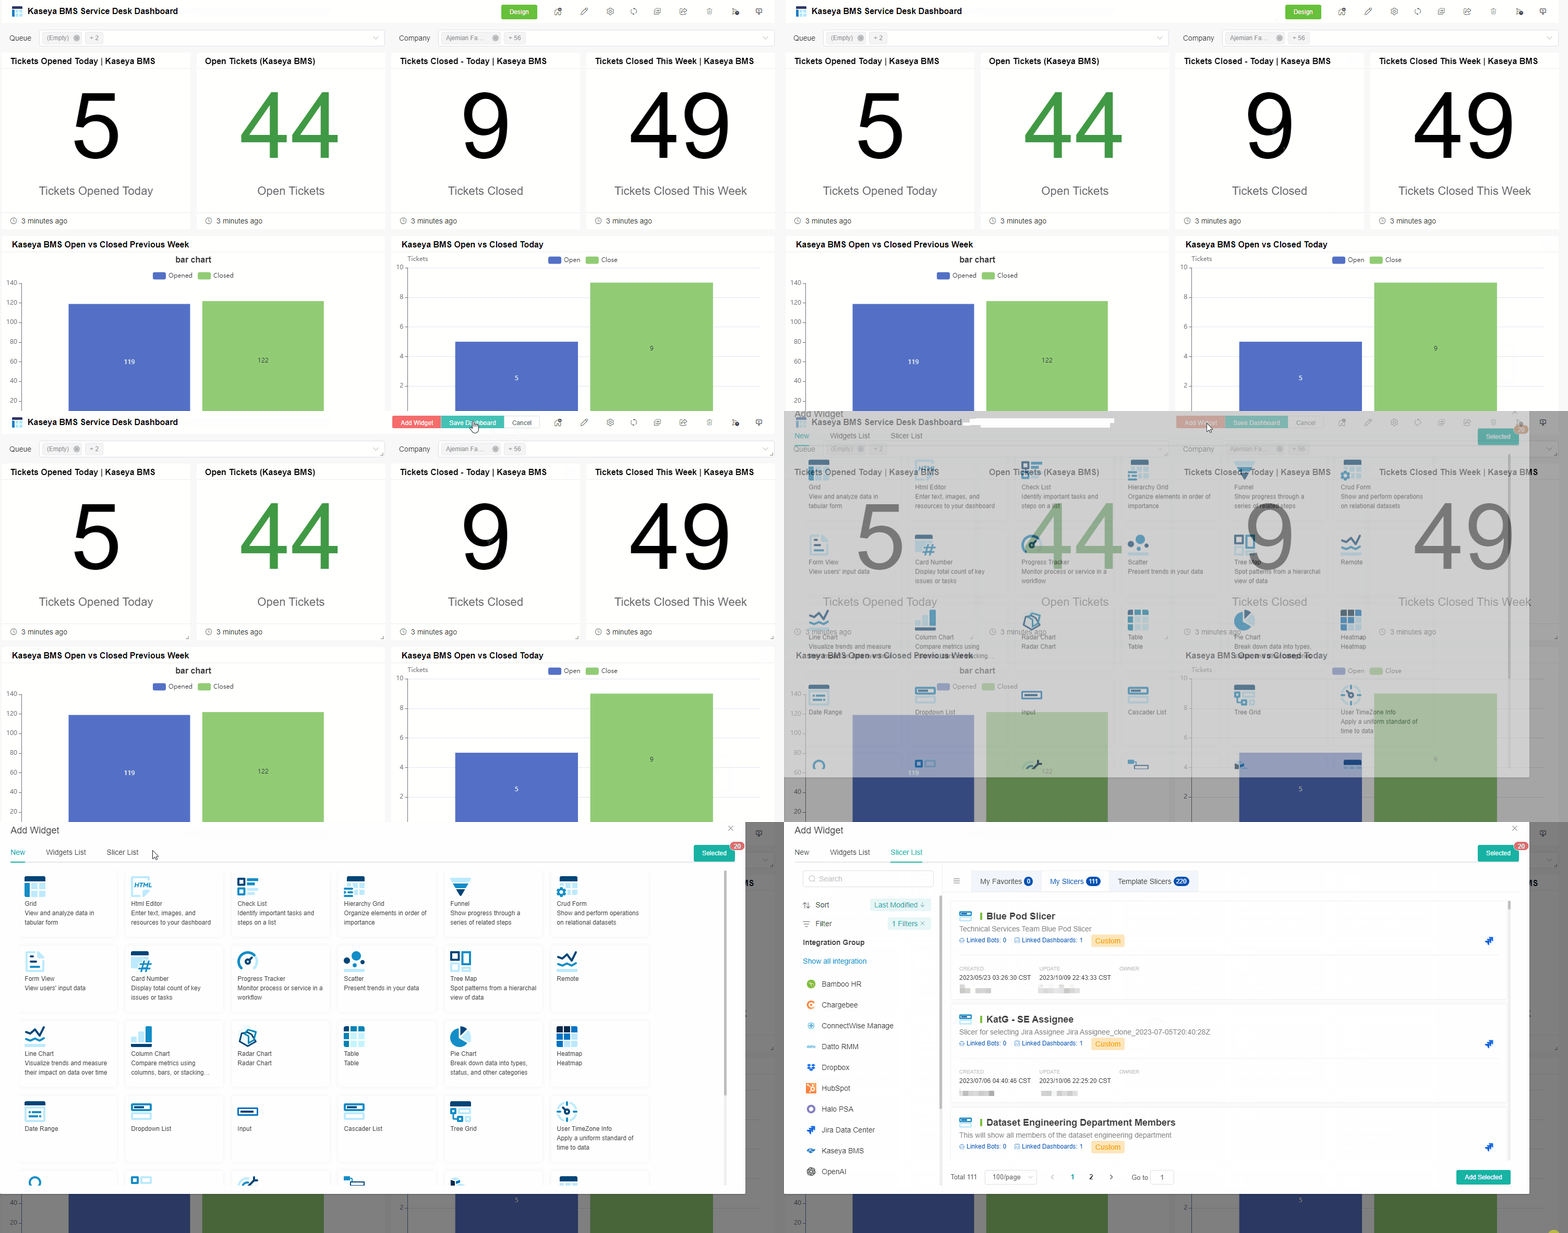
- Adjust the settings - Click the Design button to modify the widget settings and to adjust the report's size, and orientation.
- Edit the report's basic information when you click .
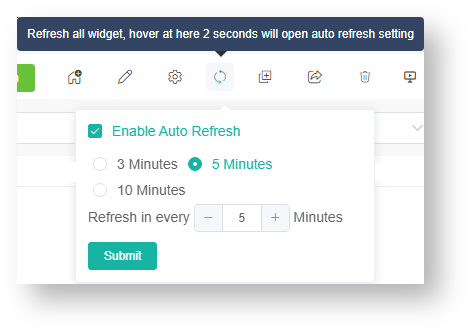
- Refresh the data on your report - Click to refresh all widgets. Hovering over the refresh icon for two seconds will open the auto-refresh settings.
Info title Widget Auto-refresh Rule The following rules apply once the auto-refresh feature is enabled and the refresh interval is set:
- If the current time when you open the dashboard is equal to or later than the last refresh time plus the auto-refresh interval, then the page will refresh automatically. A new countdown will start from the current time.
Example: The last refresh time is 9:00 and the auto-refresh interval is set to 5 minutes.
If you access the dashboard at 9:08, it will automatically refresh once and start a new auto-refresh timer at 9:08. - If you open the dashboard before the last refresh time plus the auto-refresh interval, the dashboard will not refresh. It will refresh automatically when the set interval is reached.
Example: The last refresh time is 9:00 and the auto-refresh interval is set to 5 minutes.
Using the same example, the dashboard will not refresh if you access it at 9:02, which is earlier than 9:00 and the set refresh at 5 minutes. If you stay on the page until 9:05, the dashboard will automatically refresh at 9:05. However, if you leave the page before 9:05, the last refresh time will remain at 9:00. - The dashboard will follow the set auto-refresh interval while it is open, and the automatic page refresh will stop when the dashboard is closed.
- If the current time when you open the dashboard is equal to or later than the last refresh time plus the auto-refresh interval, then the page will refresh automatically. A new countdown will start from the current time.
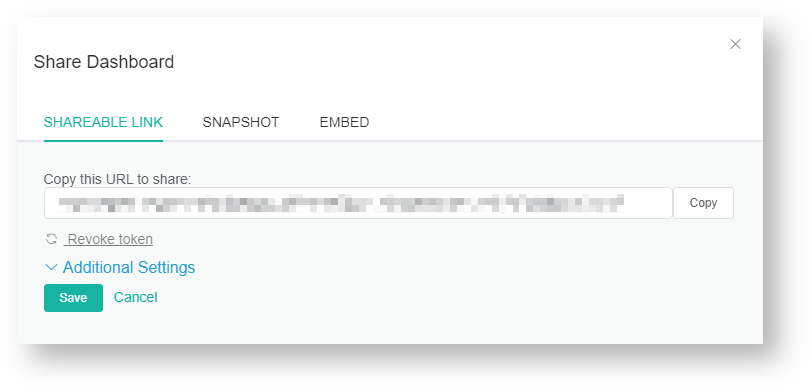
- Share your report - Click to share the report via shareable link, snapshot, and embedding.
For more information on sharing your report; refer to the following pages: - Delete your report by clicking .
- Create a schedule for sending your report. Click the Schedule Report icon for this. Refer to the section on How to Create a Scheduled Report for guided instructions.
- Export a PDF copy of your report. - Click to export the report in PDF format.
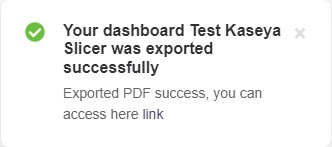
- When it displays Your dashboard was exported successfully, it means that the PDF file has been exported successfully and will be automatically downloaded. You can check the downloaded file in Downloads of your browser.
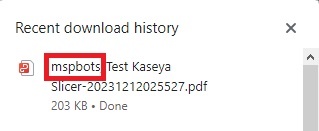
Tip If the report contains a slicer with the QueryParams="Company", the exported PDF file name includes the company name obtained from the slicer with QueryParams="Company". For example, if a report has a Company slicer=mspbots, then the exported PDF file name will include the company name mspbots.
If the report does not contain a slicer with the QueryParams="Company", the exported PDF file name does not display the company name.
- When it displays Your dashboard was exported successfully, it means that the PDF file has been exported successfully and will be automatically downloaded. You can check the downloaded file in Downloads of your browser.
- Send a filtered dashboard for the associated company of each recipient.
- This option only appears when there is a slicer with QueryParams="Company" in the dashboard.
- If you select this option, scheduled reports will be sent with filters according to the recipients' mapped company. For this, you need to configure the PSA by selecting an option from the PSA dropdown menu. The available options are Autotask, ConnectWise, Kaseya, Syncro, and Halo.
- Save Slicer. This option only appears when the dashboard has a slicer, excluding the Company slicer .
The Save Slicer option is ON by default. When this optio is ON, the current slicer selection is saved and applied to the scheduled reports.
The slicers displayed in your dashboard are set during dashboard creation. If you need to modify the slicers, go to the dashboard and click Design > Add Widget to add or delete slicers.
...
Overview
Content Tools
