 N O T I C E
MSPbots WIKI is moving to a new home at support.mspbots.ai![]() to give you the best experience in browsing our Knowledge Base resources and addressing your concerns. Click here
to give you the best experience in browsing our Knowledge Base resources and addressing your concerns. Click here![]() for more info!
for more info!
Page History
...
- On the NextTicket for Halo screen, select the Tickets filter list, and then click Add New Filter.
- When the Filter Settings window opens, enter a name for your filter in the Filter Name box.
- Next, add a condition for your filter by selecting the appropriate filter type from the Select Fields list.
- To complete your condition, enter additional details in the two new fields or lists that appear beside the Select Fields dropdown.
- When you're done setting up the filter, click Save.
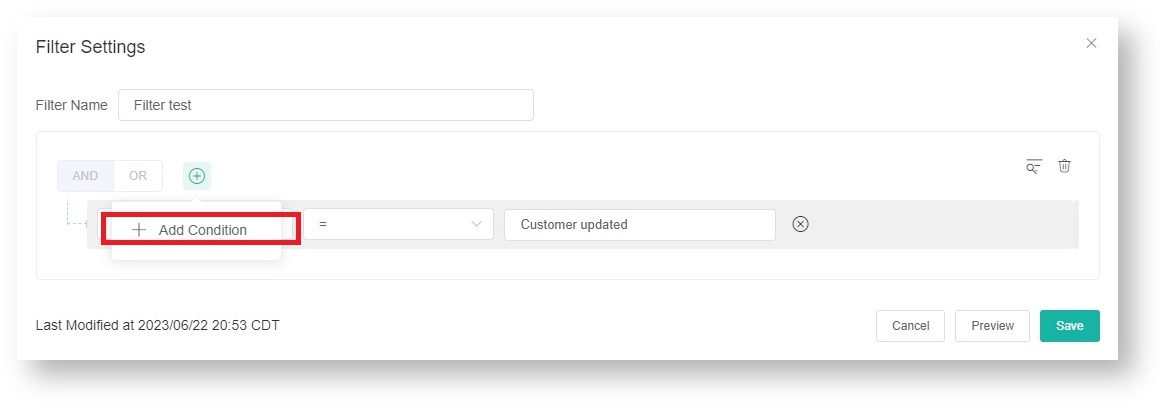
If you want to add more groups or conditions for the filter, click and then select either Add Group or Add Condition.
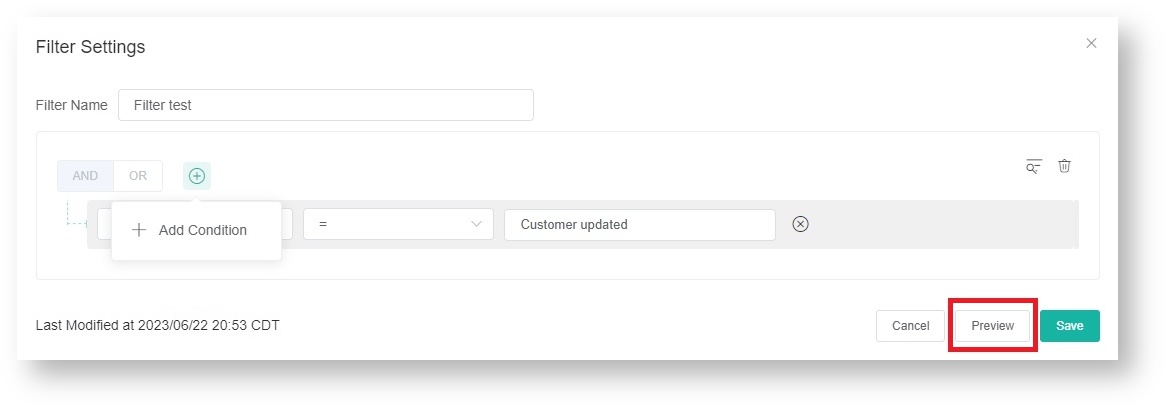
You can also click Preview to check if your To see a preview of the new filter settings or conditions are valid and check if these work as expected, click Preview before you save the changes.
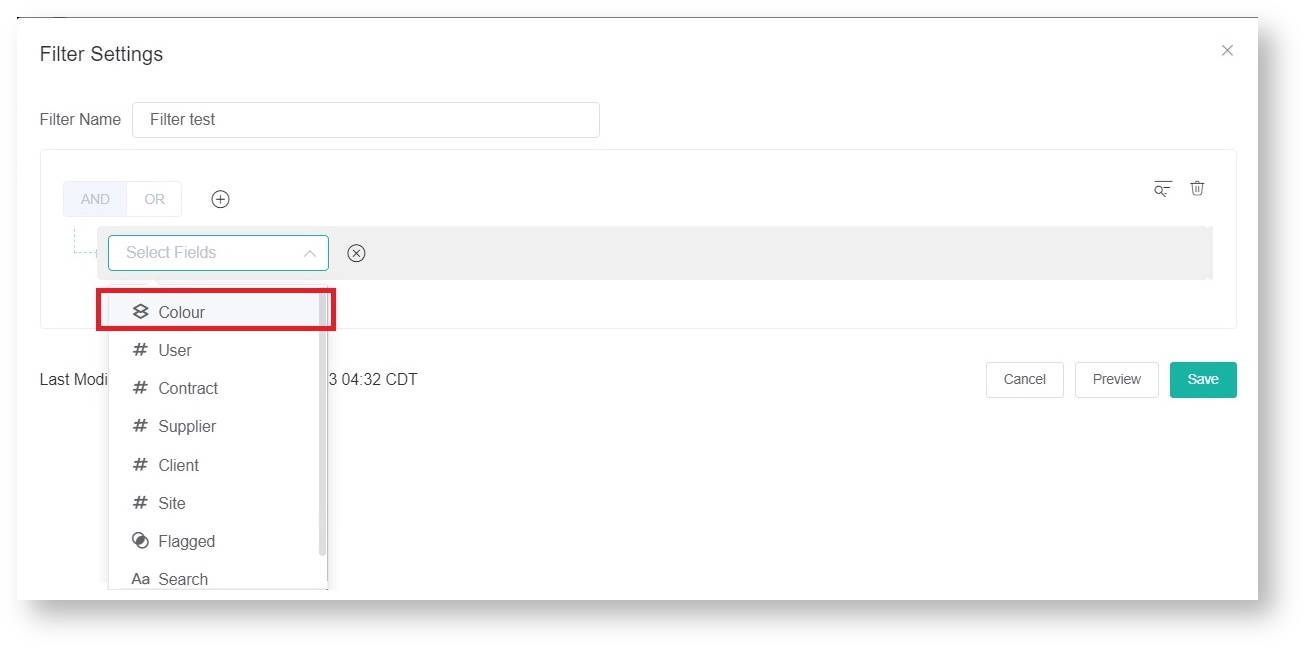
You can also set a color filter by selecting Colour from the filter list.
For more information on NextTicket filters, read the article How to Setup Filters for NextTicket Manager.
...
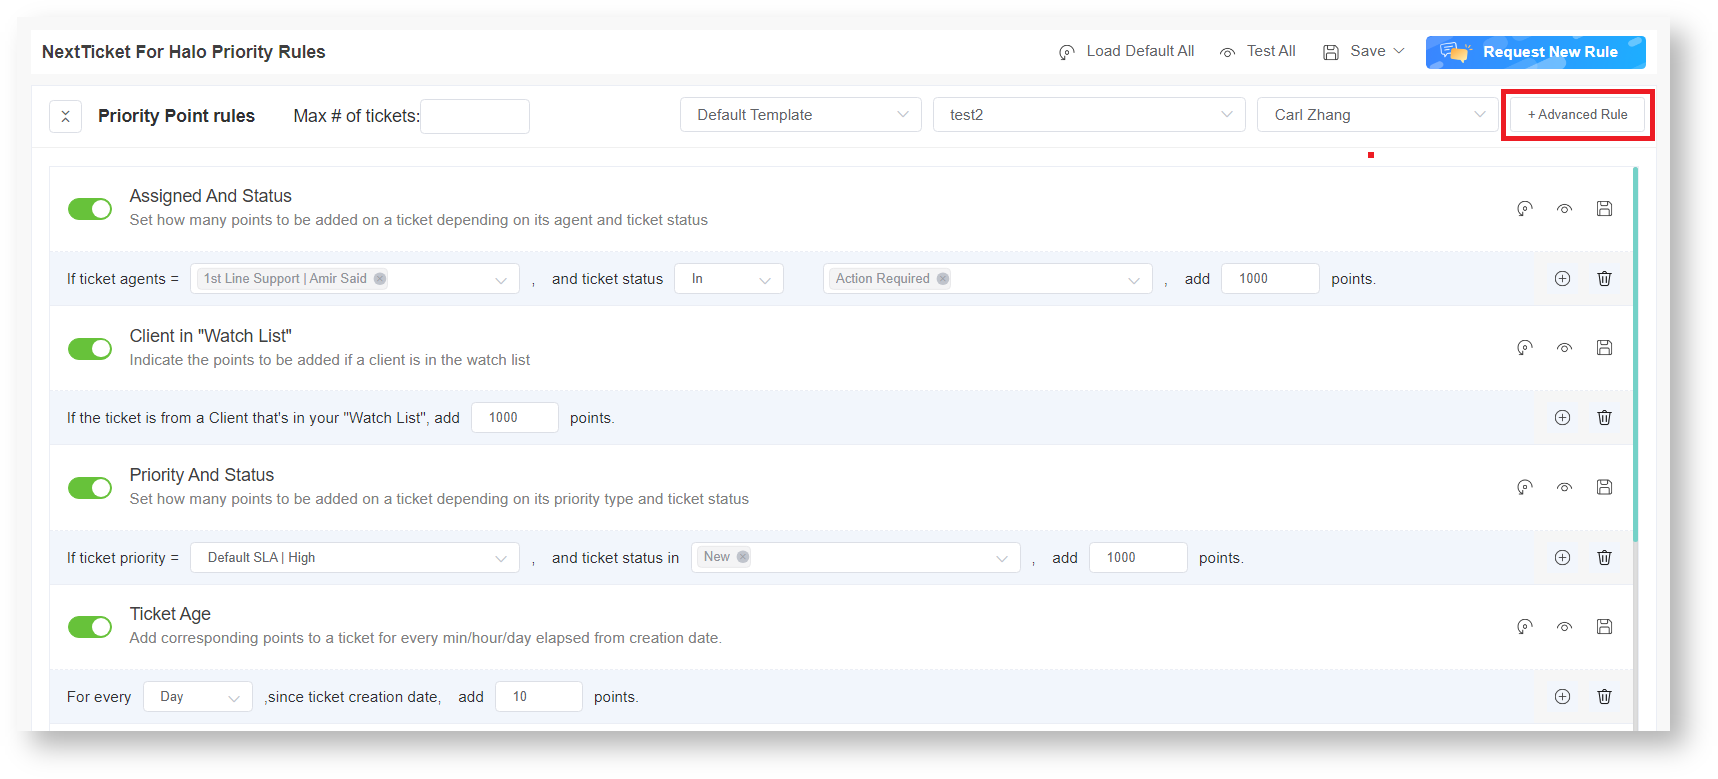
- Click Settings on the NextTicket for Halo screen, and select NextTicket For Halo Priority Rules.
- Go to the Tickets filter and User fields and select the options that apply to your requirements.
- Next, set up the priority rules.
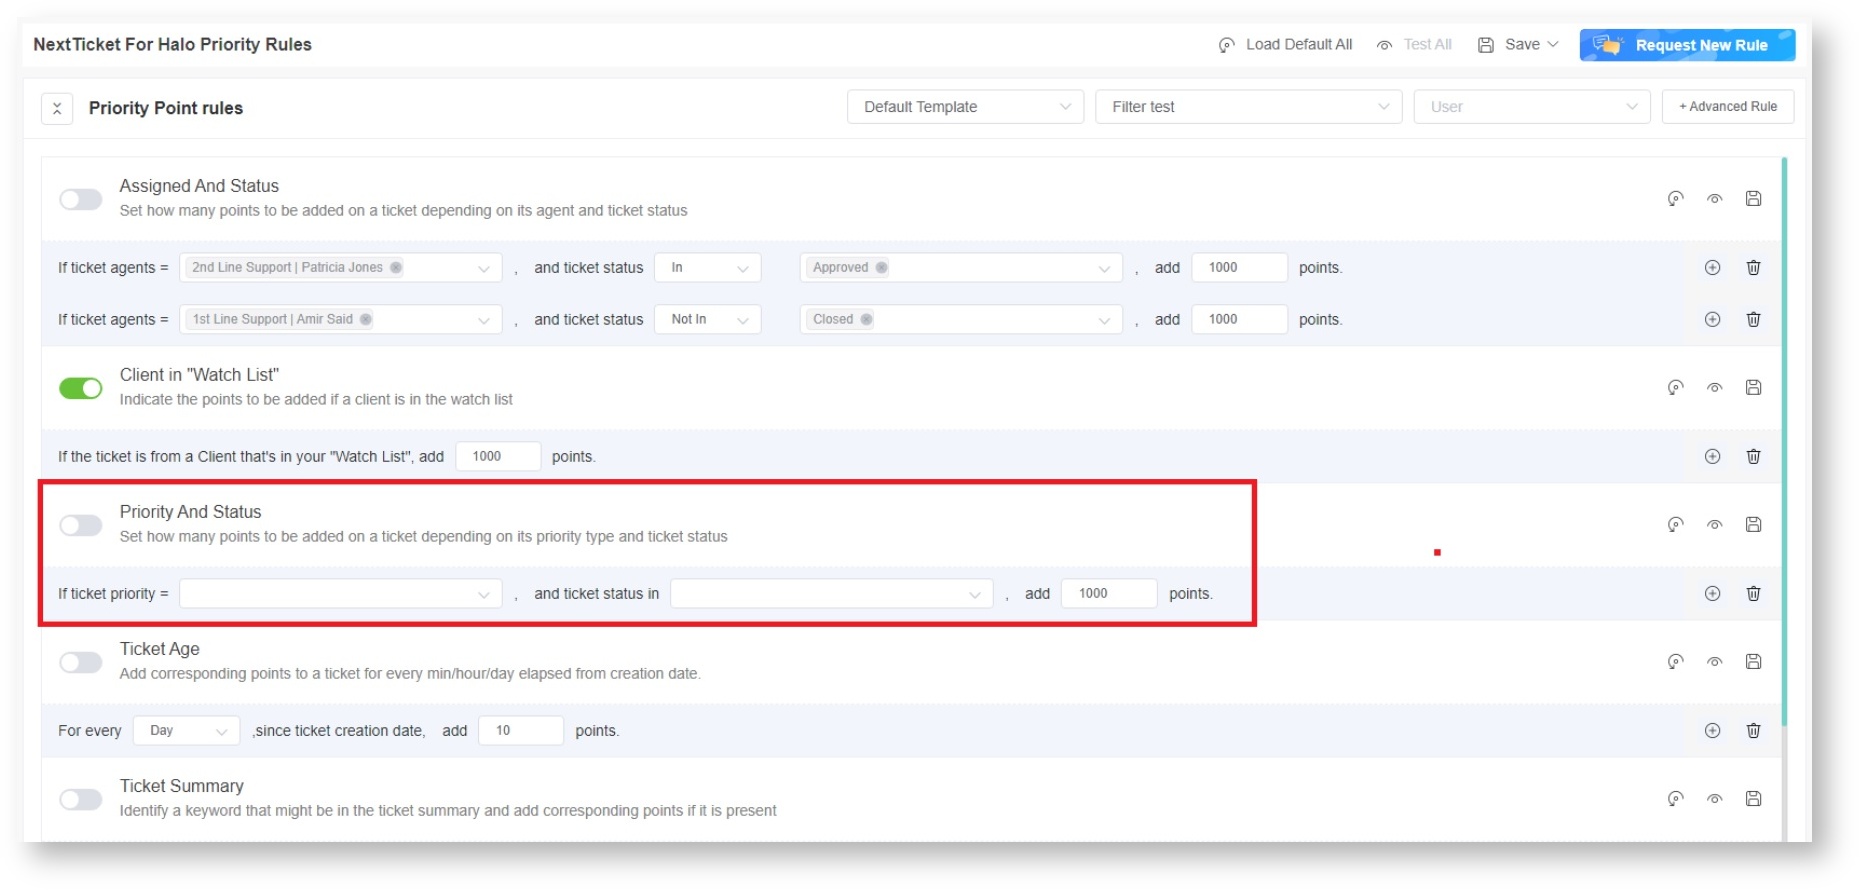
- Select a ticket priority type from the If ticket priority = field.
- Select a ticket status from the and ticket status in field.
- Then in the add points field, enter the number of points that will be given to tickets that meet the condition selected in Steps 3a and 3b.
To set advanced rules, see the section on How to add an advanced rule below.
You can refer to the section on the priority rules and functions below to know which rules meet your requirementrequirements. The rows of priority rules are expanded by default. You can click the the Priority Point rules switch to collapse all rows.
- After setting up each priority rule, you can click do any of the following:
- Click in front of the rule to enable the rule.
- Click the Load Default button to load the default value for the rule.
- Click the Edit button to configure advanced rules. Only advanced rules can be edited.
- Click the Save & Test button to save the changes for the specific priority rule and to test the values of the rule.
- Click the Save button to save the changes for the specific priority rule.
- Click the Delete button to delete the rule.
- After setting up all your preferred priority rules, do any of the following:
- Click Test All to test the calculation result for all the priority rules.
- Click Load Default All to load the default values for all the priority rules.
- Click Save and select Save All to save the changes for all the priority rules.
- Click Save and select Save Rule as Template to save the changes for all the priority rules as a template.In the Save Rule as Template window,set the Template Name and click Save.
...
- Go to Priority Rules by clicking the priority rules link on the NextTicket for Halo screen.
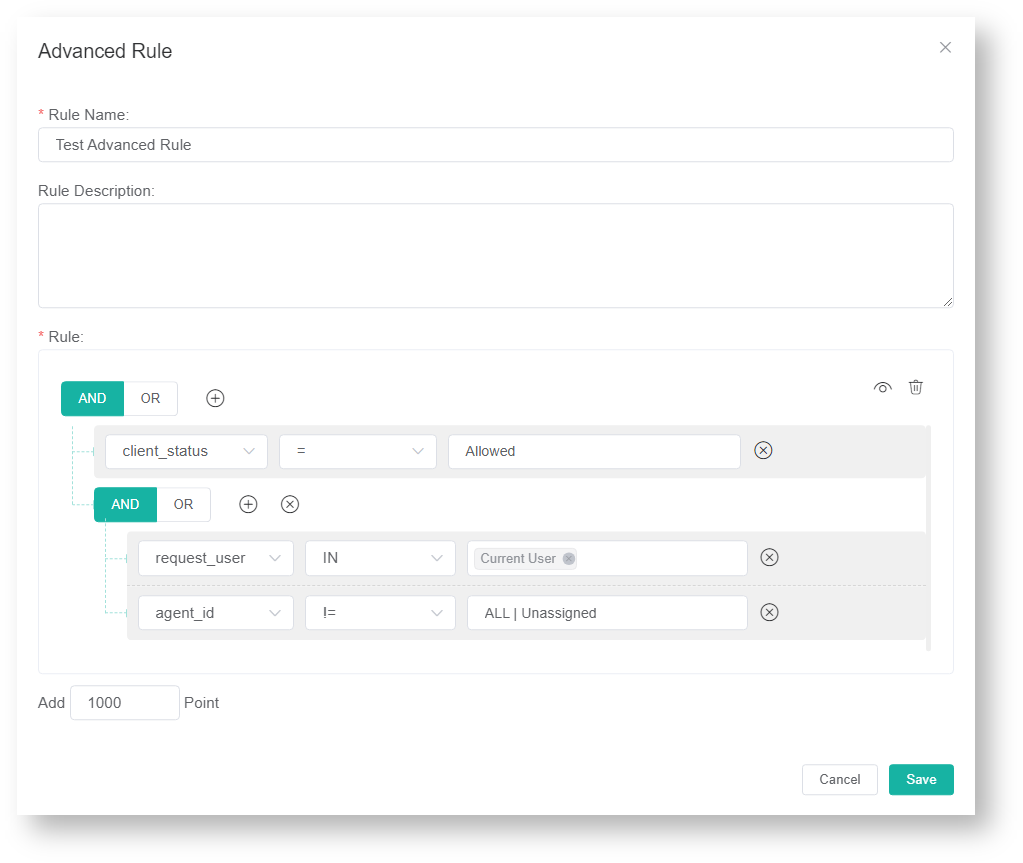
- Click the Advanced Rule button to open the Advanced Rule pop-up window.
- Fill in the following fields for adding an advanced rule:
- Rule Name - Enter a unique rule name.
- Rule Description -Enter a description for the rule. (Optional)
- Rule - Create conditions for the advanced rule. Add more groups or conditions if you need to.
- Add positive points to increase prioritization, or give negative points to decrease the priority.
- Click Save to keep the settings.
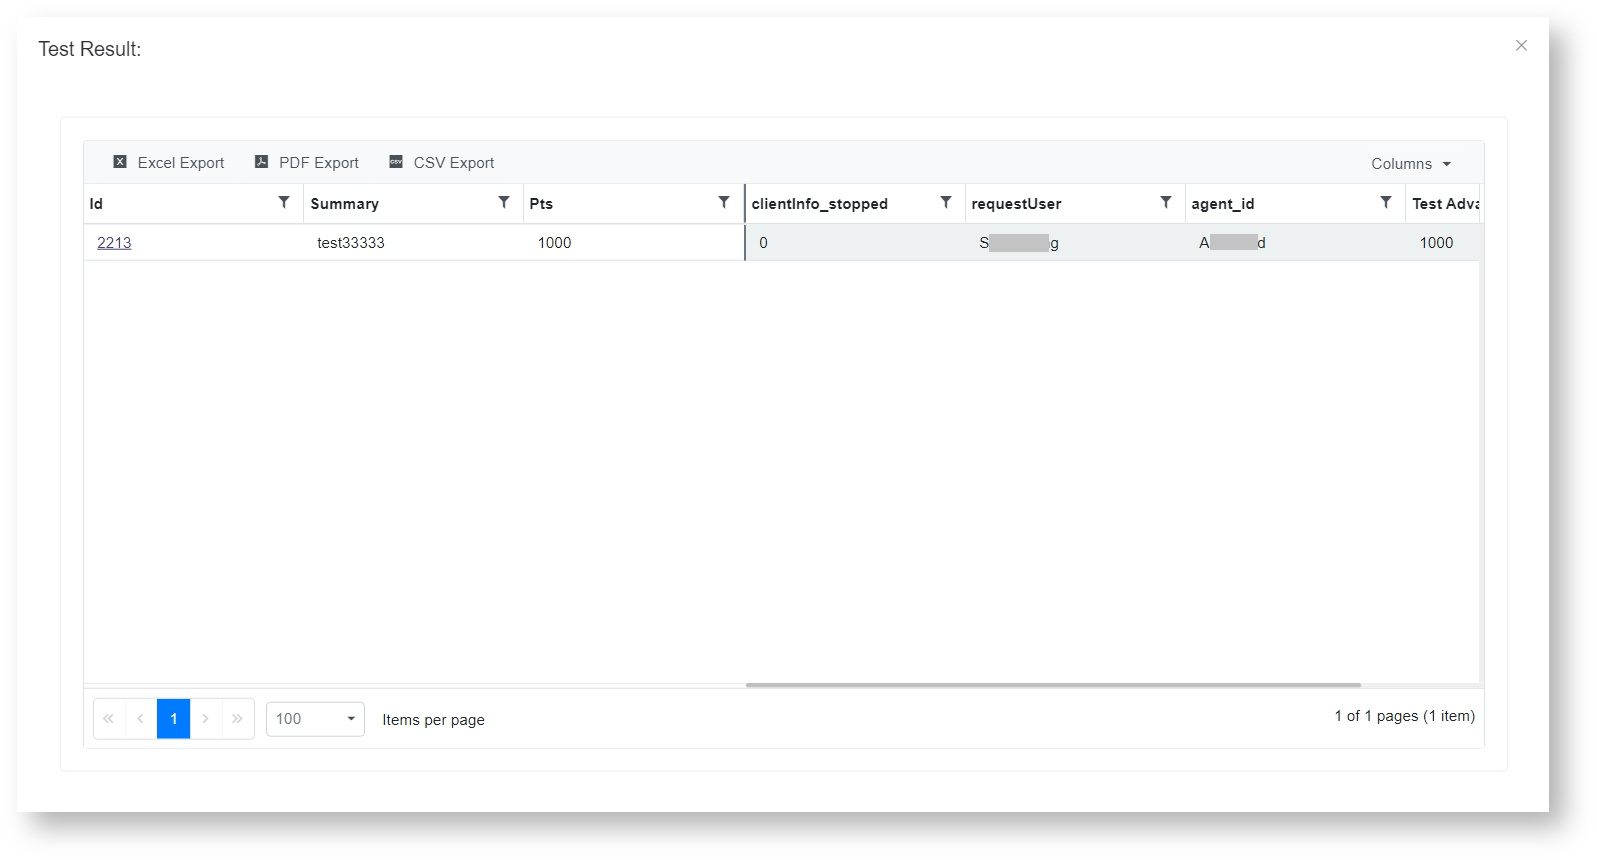
You can also do the following actions in this section:- Test the advanced rule - Click theicon to save the priority rule and test the values of the rule. Below is an example of the Test Result window.
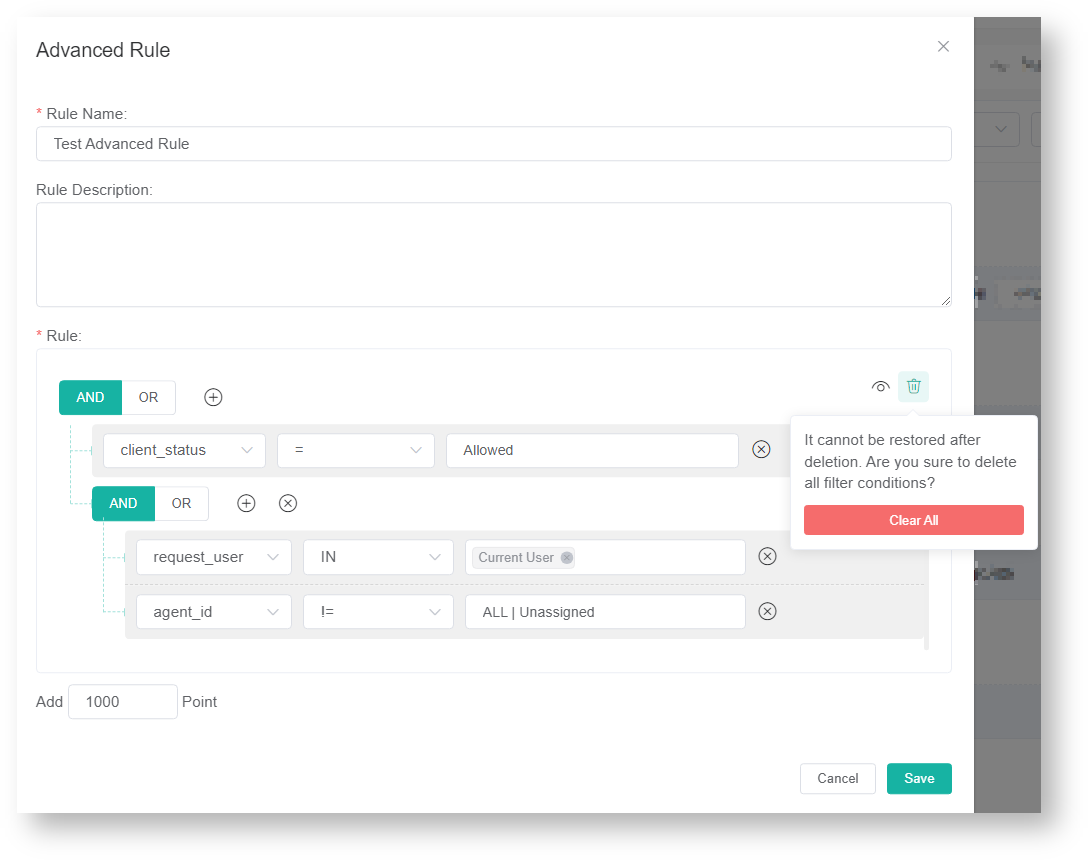
- Delete the rule - Click the icon to delete the rule.
- Test the advanced rule - Click theicon to save the priority rule and test the values of the rule. Below is an example of the Test Result window.
- Add positive points to increase prioritization, or give negative points to decrease the priority.
How to use the Colour filter when creating an advanced rule
You can also create an advanced rule that applies the Colour filter. For example, if companies are grouped according to color, you can add an advanced rule that will add (or deduct) priority points to companies assigned with the specified color. To do this, select Customer > Colour > IN and select the appropriate color.
FOR ADMINS: Add companies to the watch list
...
By adding companies to your watch list, you can give additional points to the tickets that they log so you can bump the priority of their tickets.from specific companies to increase priority.
To add companies to the watch list, follow these steps:
...
For more information on using the Watch List, read the article How to use the Watch List in NextTicket Manager.
FOR ADMINS: Customize Ticket URL
...
- Go to NextTicket for Halo app.
- Click Settings> Options.
- When the Options tab appears, toggle the Customize Ticket URL switch and enter your custom ticket URL, replacing the actual ticket number with the {{TicketNumber}} token.
- For example, if the original ticket URL is https://manage.mspbotssample.com/v4_6_release/ConnectWise.aspx?locale=en_US&routeTo=ServiceFV&recid=5027470, and you want to customize the ticket URL to https://mtx.link/5027470, you need to enter https://mtx.link/{{TicketNumber}} in the "Customize Ticket URL" option. So, when you click on the ticket number, the link will point to https://mtx.link/5027470.
Tip The "Customize Ticket URL" feature is universal in the Attendance Manage and all NextTicket apps:
- If you toggle on the "Customize Ticket URL" switch in any one of the attendance management or all the NextTicket apps, the switch for this feature in the remaining apps will also be turned on. If you turn off the switch in any of these apps, the switch for this feature in the remaining apps will also be turned off.
- When you configured the "Customize Ticket URL" in any of these apps, it will be applied to all the remaining apps.
- If the "Customize Ticket URL" switch is turned off, the ticket links will remain as the originally generated links.
- For example, if the original ticket URL is https://manage.mspbotssample.com/v4_6_release/ConnectWise.aspx?locale=en_US&routeTo=ServiceFV&recid=5027470, and you want to customize the ticket URL to https://mtx.link/5027470, you need to enter https://mtx.link/{{TicketNumber}} in the "Customize Ticket URL" option. So, when you click on the ticket number, the link will point to https://mtx.link/5027470.
- Click Save to keep your settings.
FOR TECHNICIANS: How to use NextTicket
...
