 N O T I C E
MSPbots WIKI is moving to a new home at support.mspbots.ai![]() to give you the best experience in browsing our Knowledge Base resources and addressing your concerns. Click here
to give you the best experience in browsing our Knowledge Base resources and addressing your concerns. Click here![]() for more info!
for more info!
Page History
...
- On the MSPbots menu, navigate to Widgets.
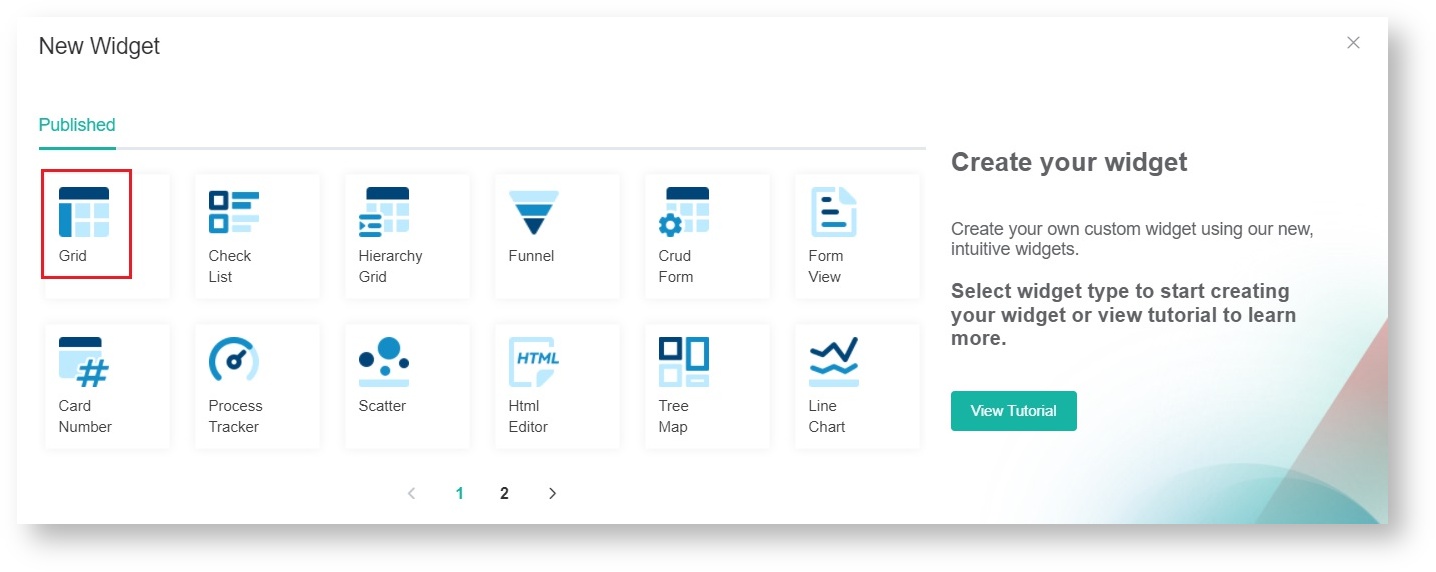
- On the Widgets tab, click New Widget.
- Choose the Grid widget type on the New Widget window.
- When the Widget Builder window opens, go to Basic Setting. Provide the following and click Apply.
- Name - Give the widget a
...
- Name.
- Description - Provide a short
...
- Description.
- Role - Select User or Admin.
...
- Go to Dataset . Click the + button and add a New Layer.
...
- Do the following on the Dataset window:
- Select a dataset to use.
- Add columns by selecting the needed column names and assigning an Alias and Business Type for each. Click the
button to add more rows.
- Add filters, measures, and dimensions.
Refer to What Conditions are Available for Creating Widgets? for a guide on choosing conditions.
- Click Save. This will show a preview of the simple grid table that you created.
- Cvlick Apply.
You can modify this basic widget further to show details like how many tickets are created per technician or to show the statuses of each ticket.
...
Overview
Content Tools


