 N O T I C E
MSPbots WIKI is moving to a new home at support.mspbots.ai![]() to give you the best experience in browsing our Knowledge Base resources and addressing your concerns. Click here
to give you the best experience in browsing our Knowledge Base resources and addressing your concerns. Click here![]() for more info!
for more info!
Page History
...
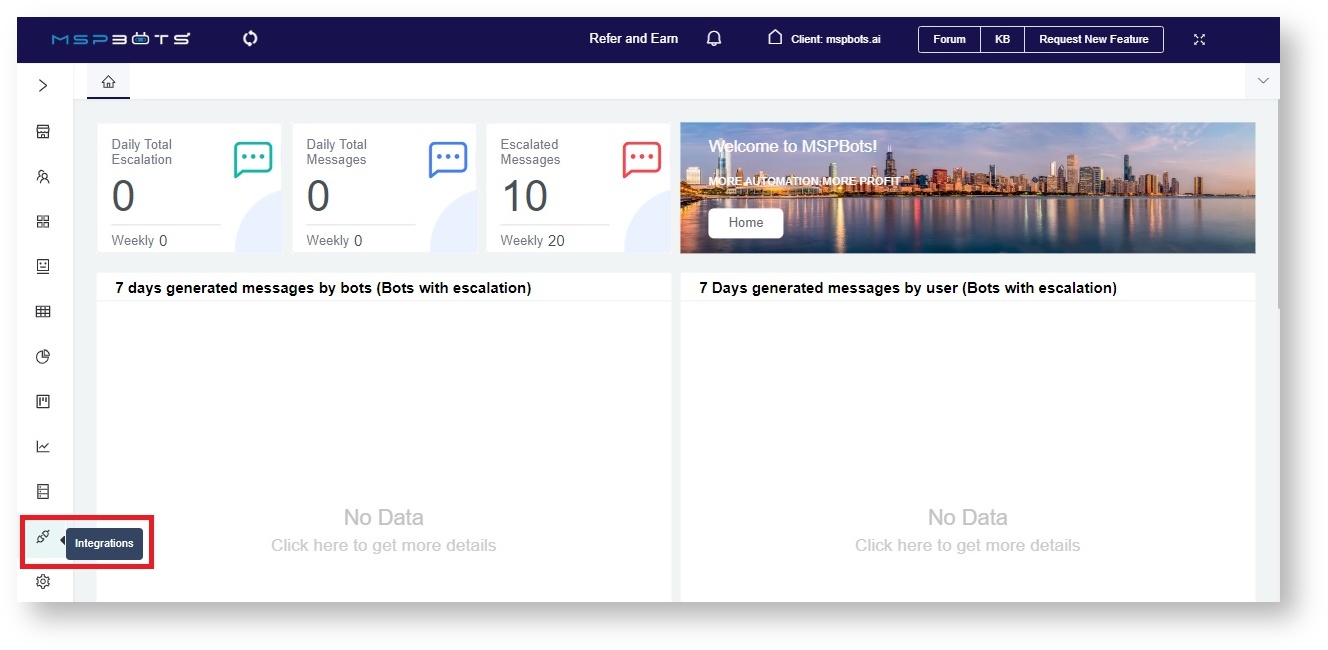
- Navigate to Integrations on the MSPbots app.
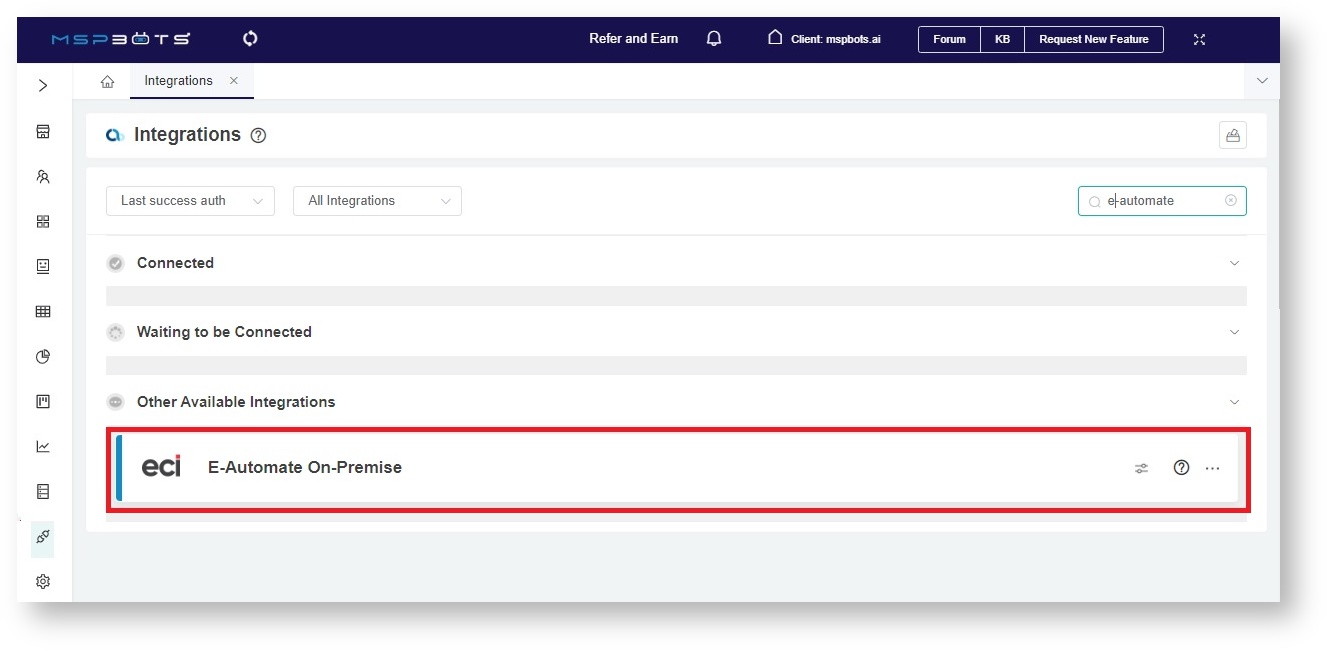
- Search for e-automate On-Premise and click it to open the connection settings.
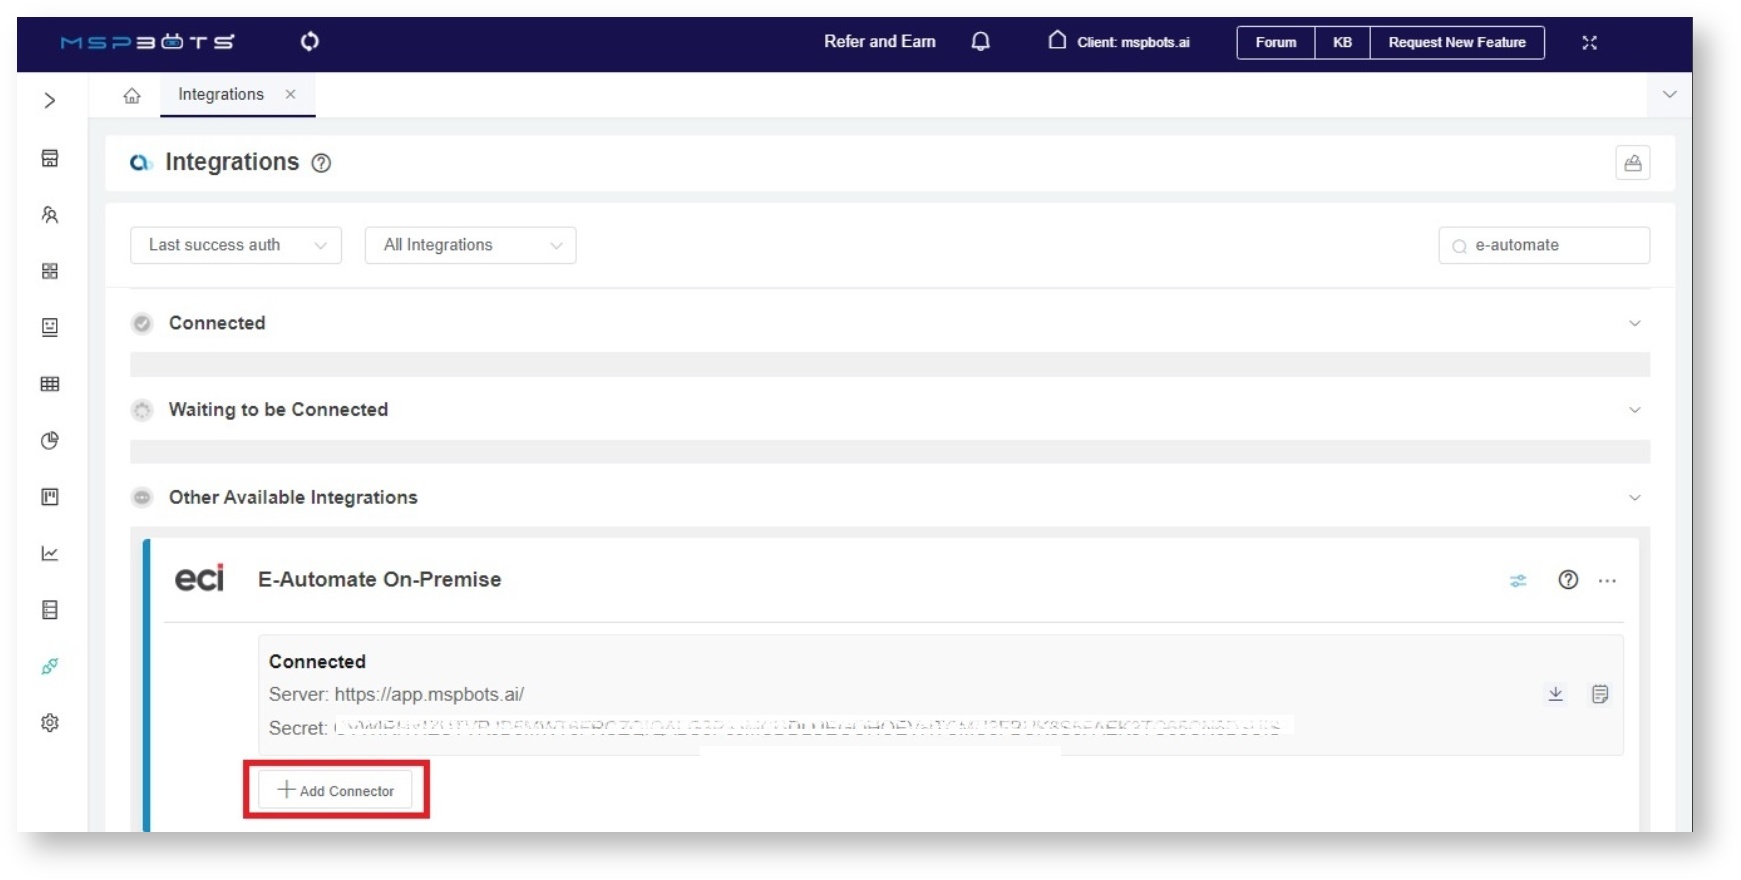
- Click the +Add Connector button.
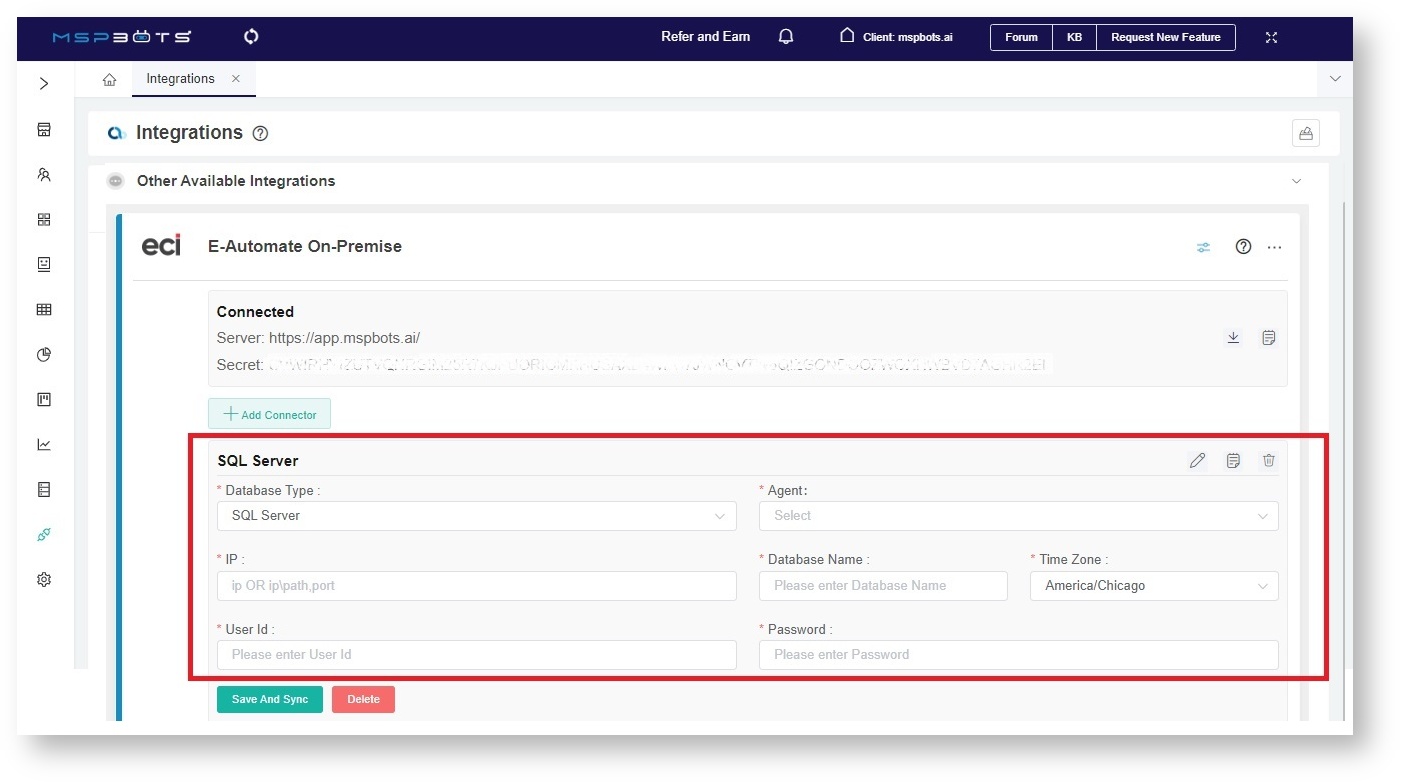
- Fill in all of the following required fields.
- Database Type - Select either SQL Server or MySQL.
- Agent - The agent will be populated automatically with the name of the installed machine.
- IP - Provide the internal IP address or FQDN of the SQL or MySQL server.
- Database Name
- Time Zone - Select the time zone used by the connected database.
- User ID - This is the username of the user with read-only access to the database.
- Password - This is the password of the user with read-only access to the database.
Note
- Click Save And Sync.
...
Overview
Content Tools


