 N O T I C E
MSPbots WIKI is moving to a new home at support.mspbots.ai![]() to give you the best experience in browsing our Knowledge Base resources and addressing your concerns. Click here
to give you the best experience in browsing our Knowledge Base resources and addressing your concerns. Click here![]() for more info!
for more info!
Page History
This article gives an overview of hot to create a bot for your widget. is a guide for creating a bot in the MSPbots app.
- Log First, log in to the MSPbots app app using your Office 365 account and go to Apps account.Look for Attendance on the My Applications screen and open it.
- Click on Bots, the third icon in the left most part of the window.
...
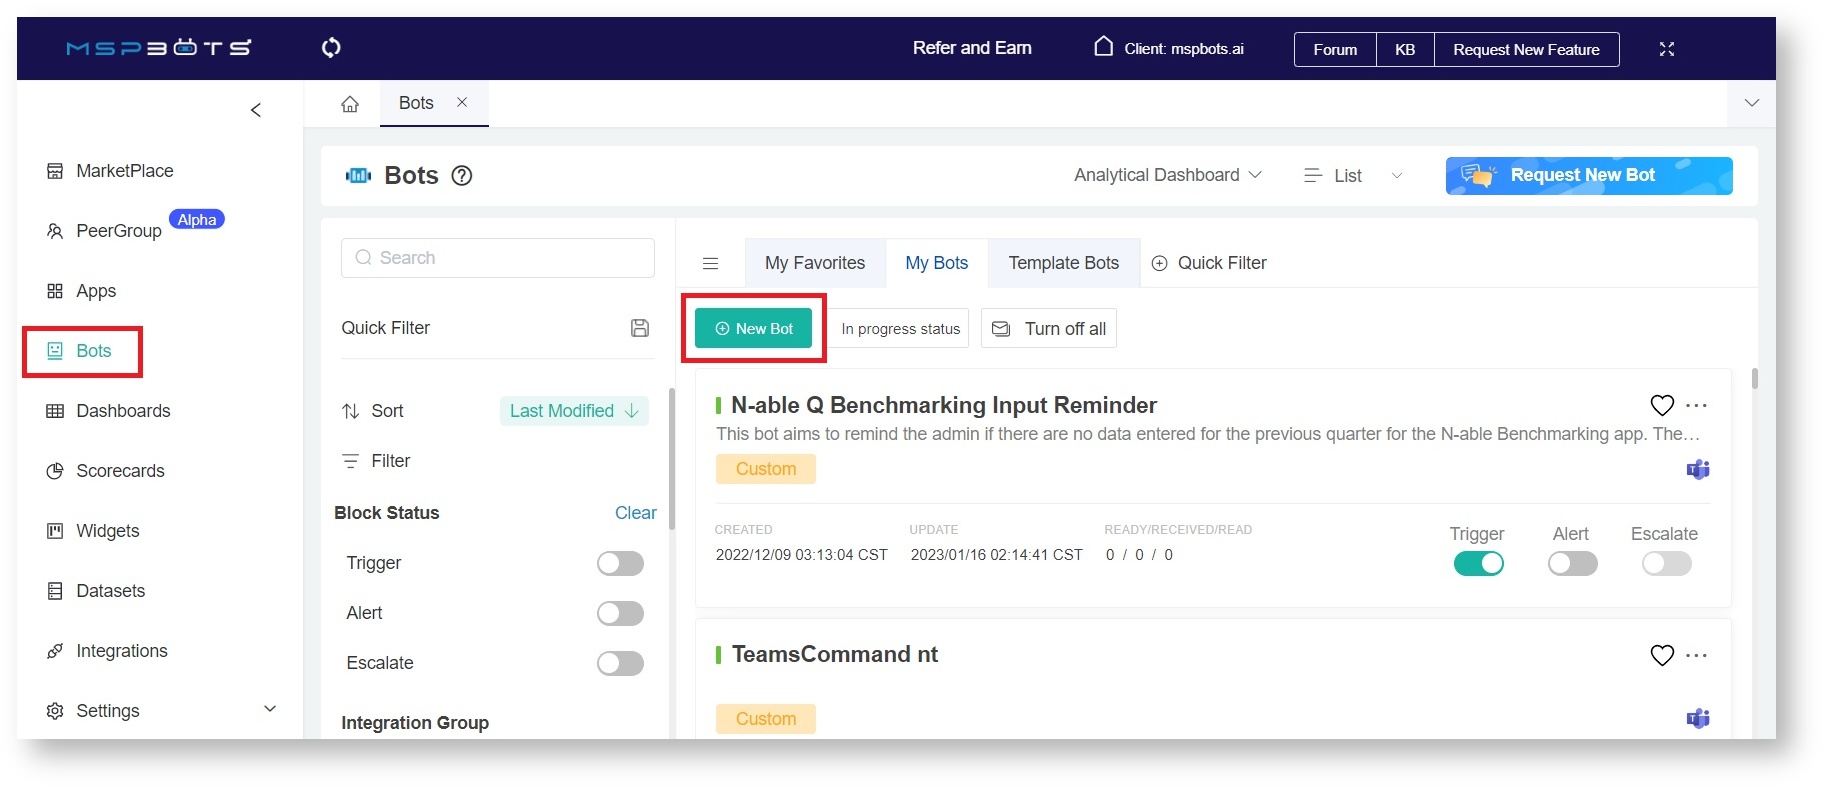
- Navigate to Bots on the left menu then click the New Bot button on the Bots screen.
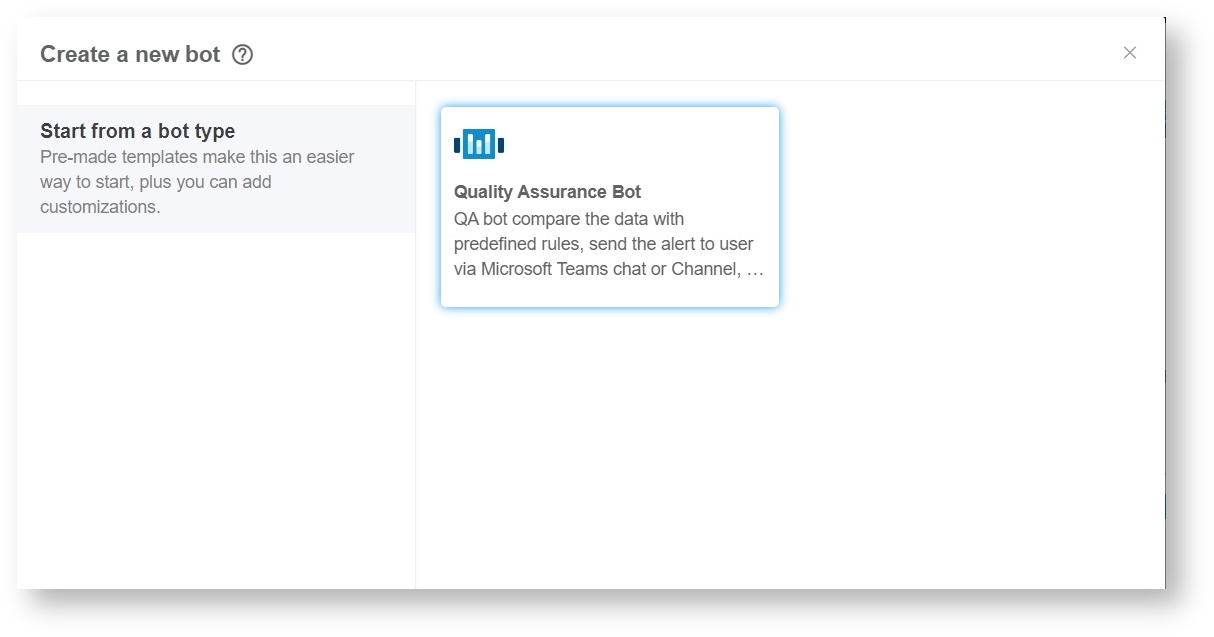
- When the Create a new bot window appears, select Quality Assurance Bot.
...
...
- .
- Next, enter a name in
...
- the Bot
...
- Name field.
...
- Next, identify the Role that will have access to the bot.
...
...
- Add a clear
...
- Description of the bot. (Recommended)
...
...
- Then click the
...
- Confirm button. This action opens the
...
Note: The Trigger screen or form is also accessible from the Design tab.
...
- tab for your bot with its details and the link to its design settings.
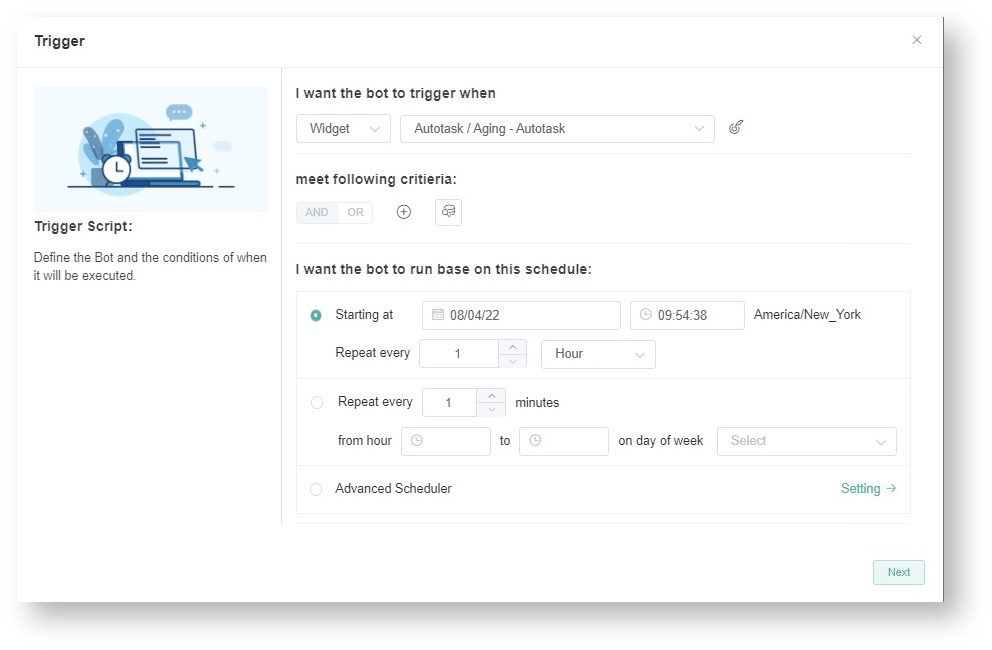
- Set up the bot trigger and click the Design button. This opens the Trigger window where you can configure the trigger script.
- Create conditions by selecting a trigger Proceed by setting the Trigger script. The widget field inherits the name of the widget selected in Step 2b.
b. Next, go to the meet following criteria section and define the criteria for triggering the bot. Hover over the icon and click +Add Group or +Add Condition.
...
Overview
Content Tools


