 N O T I C E
MSPbots WIKI is moving to a new home at support.mspbots.ai![]() to give you the best experience in browsing our Knowledge Base resources and addressing your concerns. Click here
to give you the best experience in browsing our Knowledge Base resources and addressing your concerns. Click here![]() for more info!
for more info!
 N O T I C E
MSPbots WIKI is moving to a new home at support.mspbots.ai![]() to give you the best experience in browsing our Knowledge Base resources and addressing your concerns. Click here
to give you the best experience in browsing our Knowledge Base resources and addressing your concerns. Click here![]() for more info!
for more info!
MSPbots Widgets help you to quickly view key data and highlight action items at a glance. This article shows how you can start creating your own widget which you can further customize according to your business needs.
Do these steps to create a basic grid-type widget:
- On the MSPbots menu, navigate to Widgets.
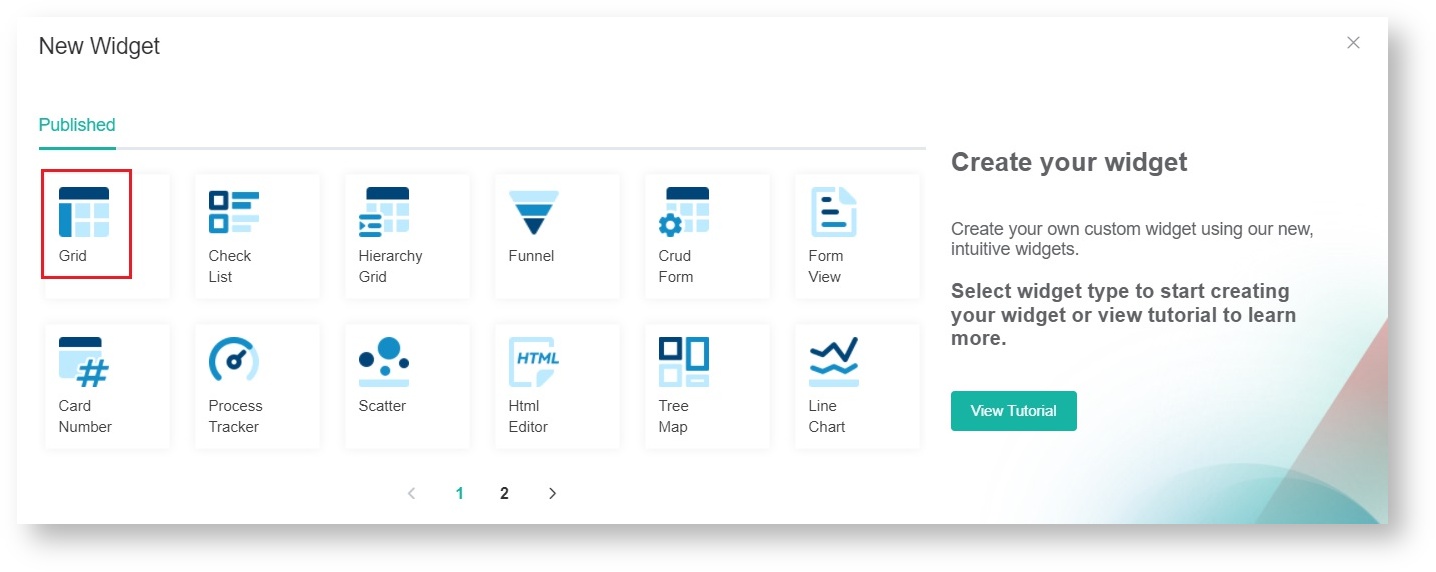
- On the Widgets tab, click New Widget.
- Choose the Grid widget type on the New Widget window.
- When the Widget Builder window opens, go to Basic Setting. Provide the following and click Apply.
- Name - Give the widget a name.
- Description - Provide a short description.
- Role - Select User or Admin
5. Go to Dataset. Click the + button and add a New Layer.
6. Choose a dataset and the columns that you want to display (for example, number). Give it an Alias and select a corresponding Business Type.
7. Add more columns as needed.
8. Add filters and conditions.
9. Click Save. This will show a preview of the simple grid table that you created.
This basic widget can further be modified to show details like how many tickets are created per technician or to show the statuses of each ticket.
Visit the Widgets page for more information on widget types and how we can help you customize widgets.


