 N O T I C E
MSPbots WIKI is moving to a new home at support.mspbots.ai![]() to give you the best experience in browsing our Knowledge Base resources and addressing your concerns. Click here
to give you the best experience in browsing our Knowledge Base resources and addressing your concerns. Click here![]() for more info!
for more info!
Page History
Table of Contents
How to Request Time Off in the Attendance App of MSPbots
- Go to Apps and open the Attendance APP.
- On the Attendance page, click on Settings, then select PTO Requests.

- Click
 to open the Request PTO pop-up.
 - On the Request Time Off pop-up, select the Date Range and provide a reason for your leave.

- Click Add.
- When the page displays Submitted successfully, it means the submission was successful.

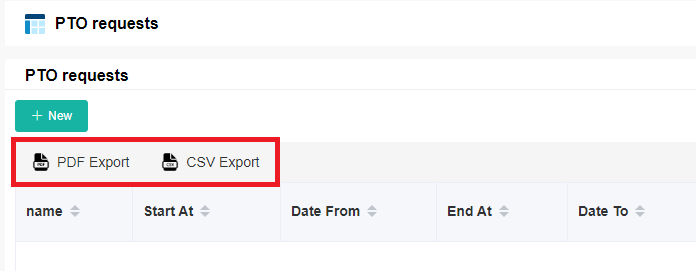
Info You can click on PDF Export or CSV Export to download the PTO requests table.
How to Cancel a PTO Request
- Go to Apps and open the Attendance APP.
- On the Attendance page, click on Settings, then select PTO Requests.
- Click on Cancel in the Operations column to access the Request Time Off pop-up.

- On the Request PTO pop-up, please make sure to check the Cancel? option.

- Click Confirm.
How to Set Leave Approval Manager
- Go to Apps and open the Attendance APP.
- On the Attendance page, click on Settings, then select Options > Approval Flow.
- Fill in the following fields.
- All/One
- One Must Approve - Approval process completes when one person agrees or rejects.
- All Must Approve - Approval process completes when all individuals approve, or if one person rejects.
- Approvers - Admin sets one or multiple approvers. You can directly choose {Your Manager}, or select one or multiple approvers.
- Exceptions - Approval in exceptional circumstances.

- All/One
- Click Save.
How Approvers Approve Time Off Requests
- Go to Apps and open the Attendance APP.
- On the Attendance page, click on Settings, then select PTO Requests.
- Click on Approve in the Operations column to access the Request PTO pop-up.

- Click Approve or Reject. Please use caution when selecting Approve or Reject, as the action takes immediate effect upon clicking.

- When the page displays Submitted successfully, it means the approval or rejection was successful.
Overview
Content Tools