 N O T I C E
MSPbots WIKI is moving to a new home at support.mspbots.ai![]() to give you the best experience in browsing our Knowledge Base resources and addressing your concerns. Click here
to give you the best experience in browsing our Knowledge Base resources and addressing your concerns. Click here![]() for more info!
for more info!
Page History
...
- Go to Apps and open the Attendance app.
- On the Attendance page, click on Settings, then select PTO Requests.

- Click the +New button to open the Request Time Off pop-up window.

- On the Request Time Off window, select the date(s) for your time off from the Date Range field and fill in the Reason field.

- Click Add to send your request. The message "Submitted successfully" shows that the submission is successful.

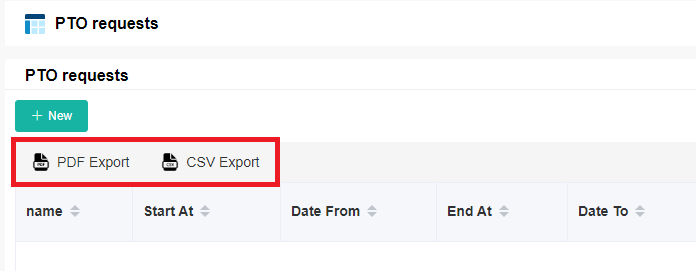
Tip Download a PDF or CSV copy of the PTO requests list by clicking the PDF Export or CSV Export buttons.
...
- Go to Apps and open the Attendance app.
- On the Attendance page, click on Settings, then select PTO Requests.
- On the PTO Requests list, click Approve under the Operations column.

- When the Request Time Off window appears, click Approve or Reject.

Note Remember to take caution when selecting Approve or Reject because the action takes immediate effect upon clicking.
- The message "Submitted successfully" appears to show that the approval or rejection was successful.
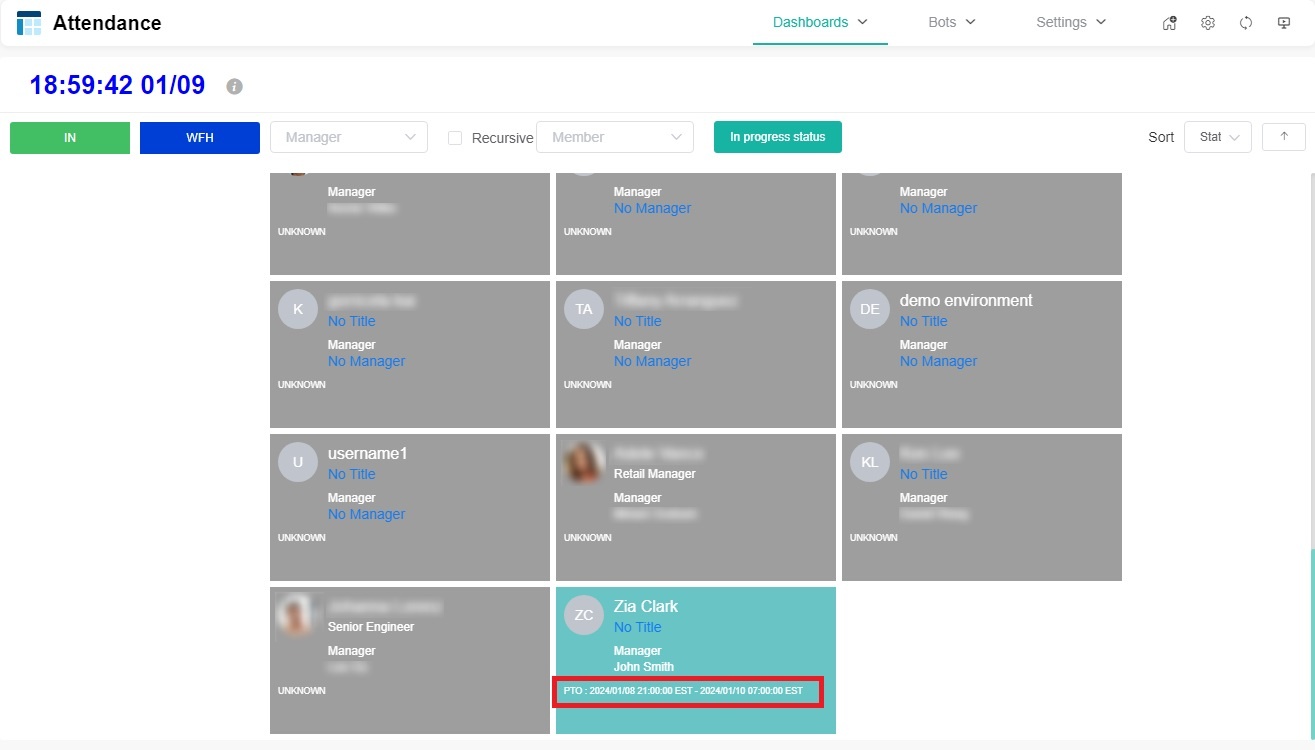
Tip Once the requester's PTO request is approved, the requester's PTO status will be displayed in the format PTO: {time point A} - {time point B} on the requester's Attendance app card, for example, PTO: 2024/01/08 21:00:00 EST - 2024/01/10 00:00:00 EST.
The displayed time zone depends on the time zone of the person viewing the individual card.
This makes it easy for anyone to view the requester's vacation plans, and the team can schedule meetings, projects, and task assignments more easily based on the requester's vacation plans, avoiding any confusion or time conflicts.
Related Topics
...
Content by Label showLabels false max 5 showSpace false excludeCurrent true cql label = "pto"
...
Overview
Content Tools