 N O T I C E
MSPbots WIKI is moving to a new home at support.mspbots.ai![]() to give you the best experience in browsing our Knowledge Base resources and addressing your concerns. Click here
to give you the best experience in browsing our Knowledge Base resources and addressing your concerns. Click here![]() for more info!
for more info!
Page History
...
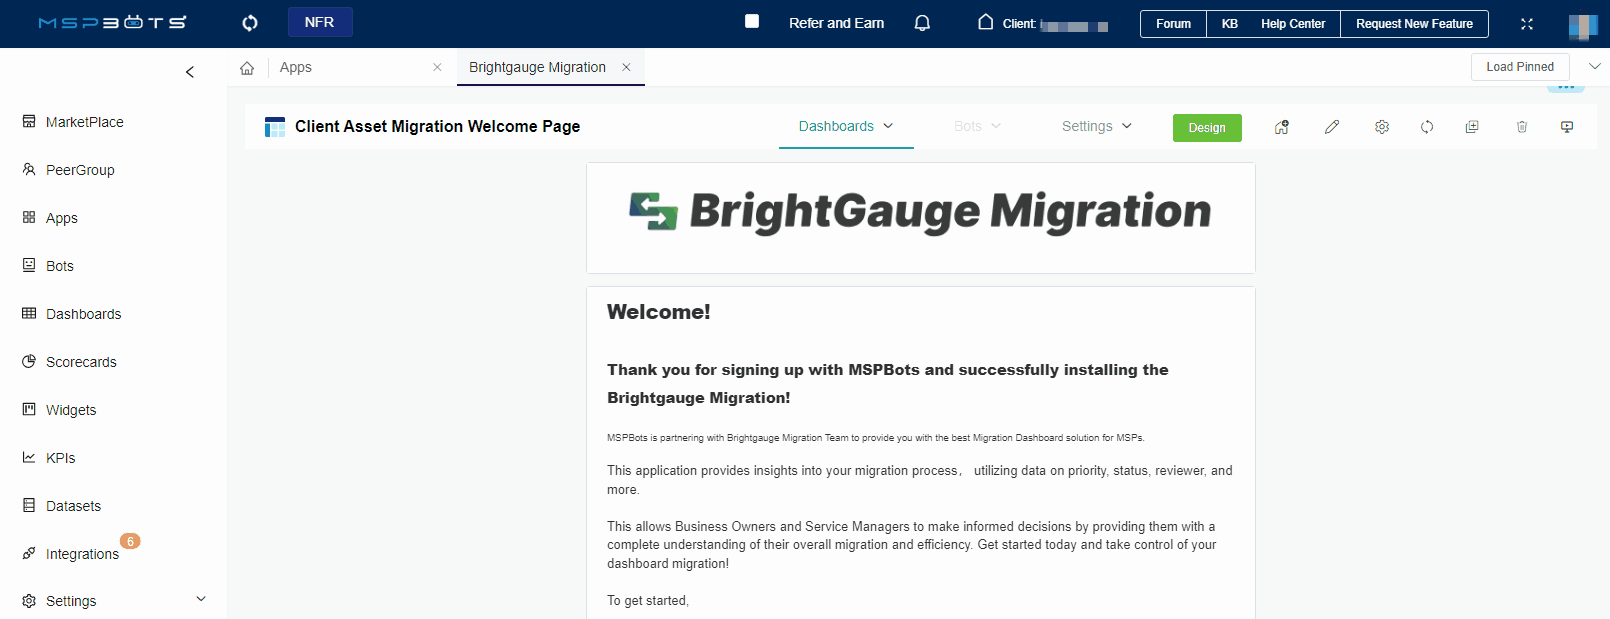
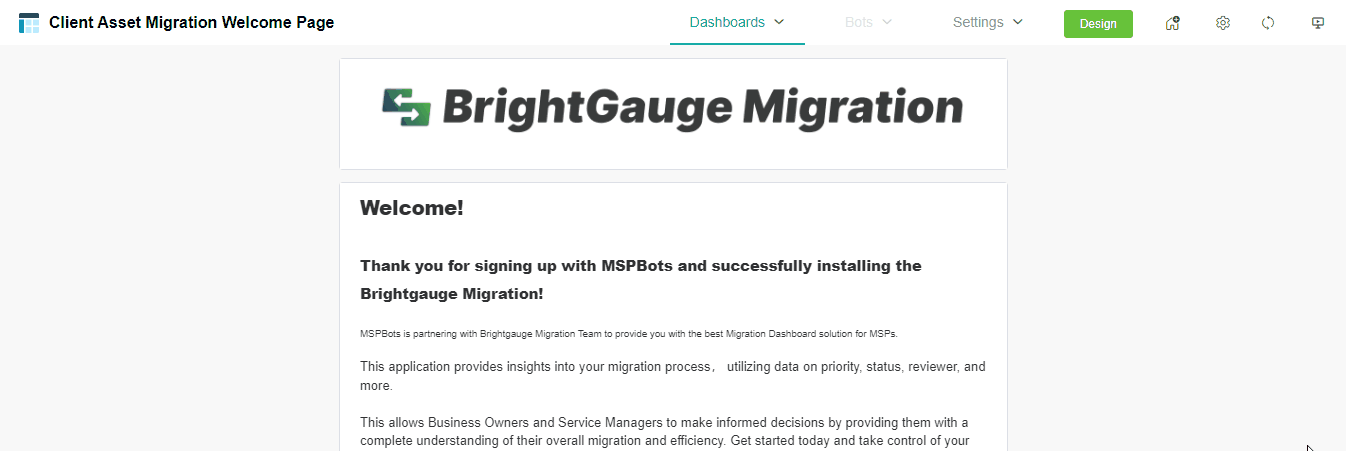
- Log in to the MSPbots app with the Admin role.
- Go to App > Brightgauge Migration.
- Hover your mouse over Settings and select Migration Dashboard - Setting.
- Configure the priority of dashboards to be migrated.
- Bulk configure the priorities of dashboards.
- Select one or more dashboards.
- Click on the button in the top right corner.
- Batch High Request
- Batch Medium Request
- Batch Low Request

- Click Confirm.

Configure the priority of a specific dashboard.
Select the Brightgauge dashboard that the client wishes to migrate.
Click on Request in the Operations column to open a pop-up window.
Pop-up Window Fields:
Dashboard - The name of the dashboard.
BG Link - The link to the dashboard in Brightgauge.
Priority - Select high, medium, or low from the drop-down menu.
Remark - Add any additional remarks or comments.
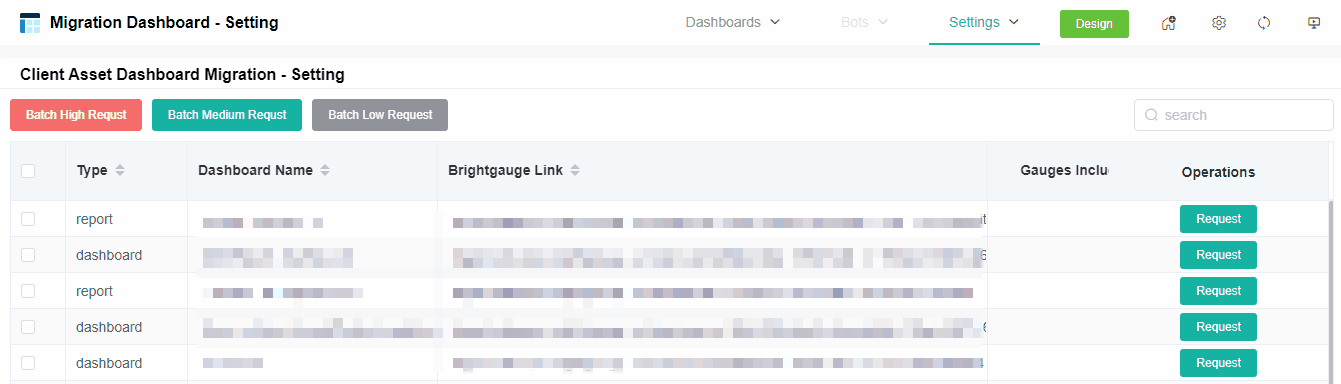
Click Confirm to save the configuration.
- Bulk configure the priorities of dashboards.
...
- Log in to the MSPbots app with the Admin role.
- Go to Apps > Brightgauge Migration.
- Hover your mouse over Dashboards and select Migration Dashboard - Client.
- On the Migration Dashboard - Client page, you can manage the migration of dashboards.
- Cancel - Click
 the Cancel button, and click Confirm to cancel the migration of the dashboard.
- Complete - When the Complete Rate of the dashboard migration shows 100%, you can click on the link in the Dashboard Name column to check the accuracy of the data on that dashboard.

- If it is correct, please click
 the Complete button to finish the migration of that dashboard. The Status of both the dashboard and the widgets within the dashboard will be displayed as Published.
 - If you find any inaccuracies in the data, please click
 the Comment button to open the pop-up window, add comments to indicate which data is incorrect, then click Confirm; and we will address it promptly.
- If it is correct, please click
- Cancel - Click
Overview
Content Tools